Introduction:

Hello and welcome to another installment of Reddit Asks! I’d actually started this post quite some time ago, and then completely forgotten about it – so I won’t bother linking the now quite stale thread this question comes from – but I think it’s still a good question that’s crossed plenty of minds at this point:

Why buy multiple budget keyboards instead of one top-shelf premium one?

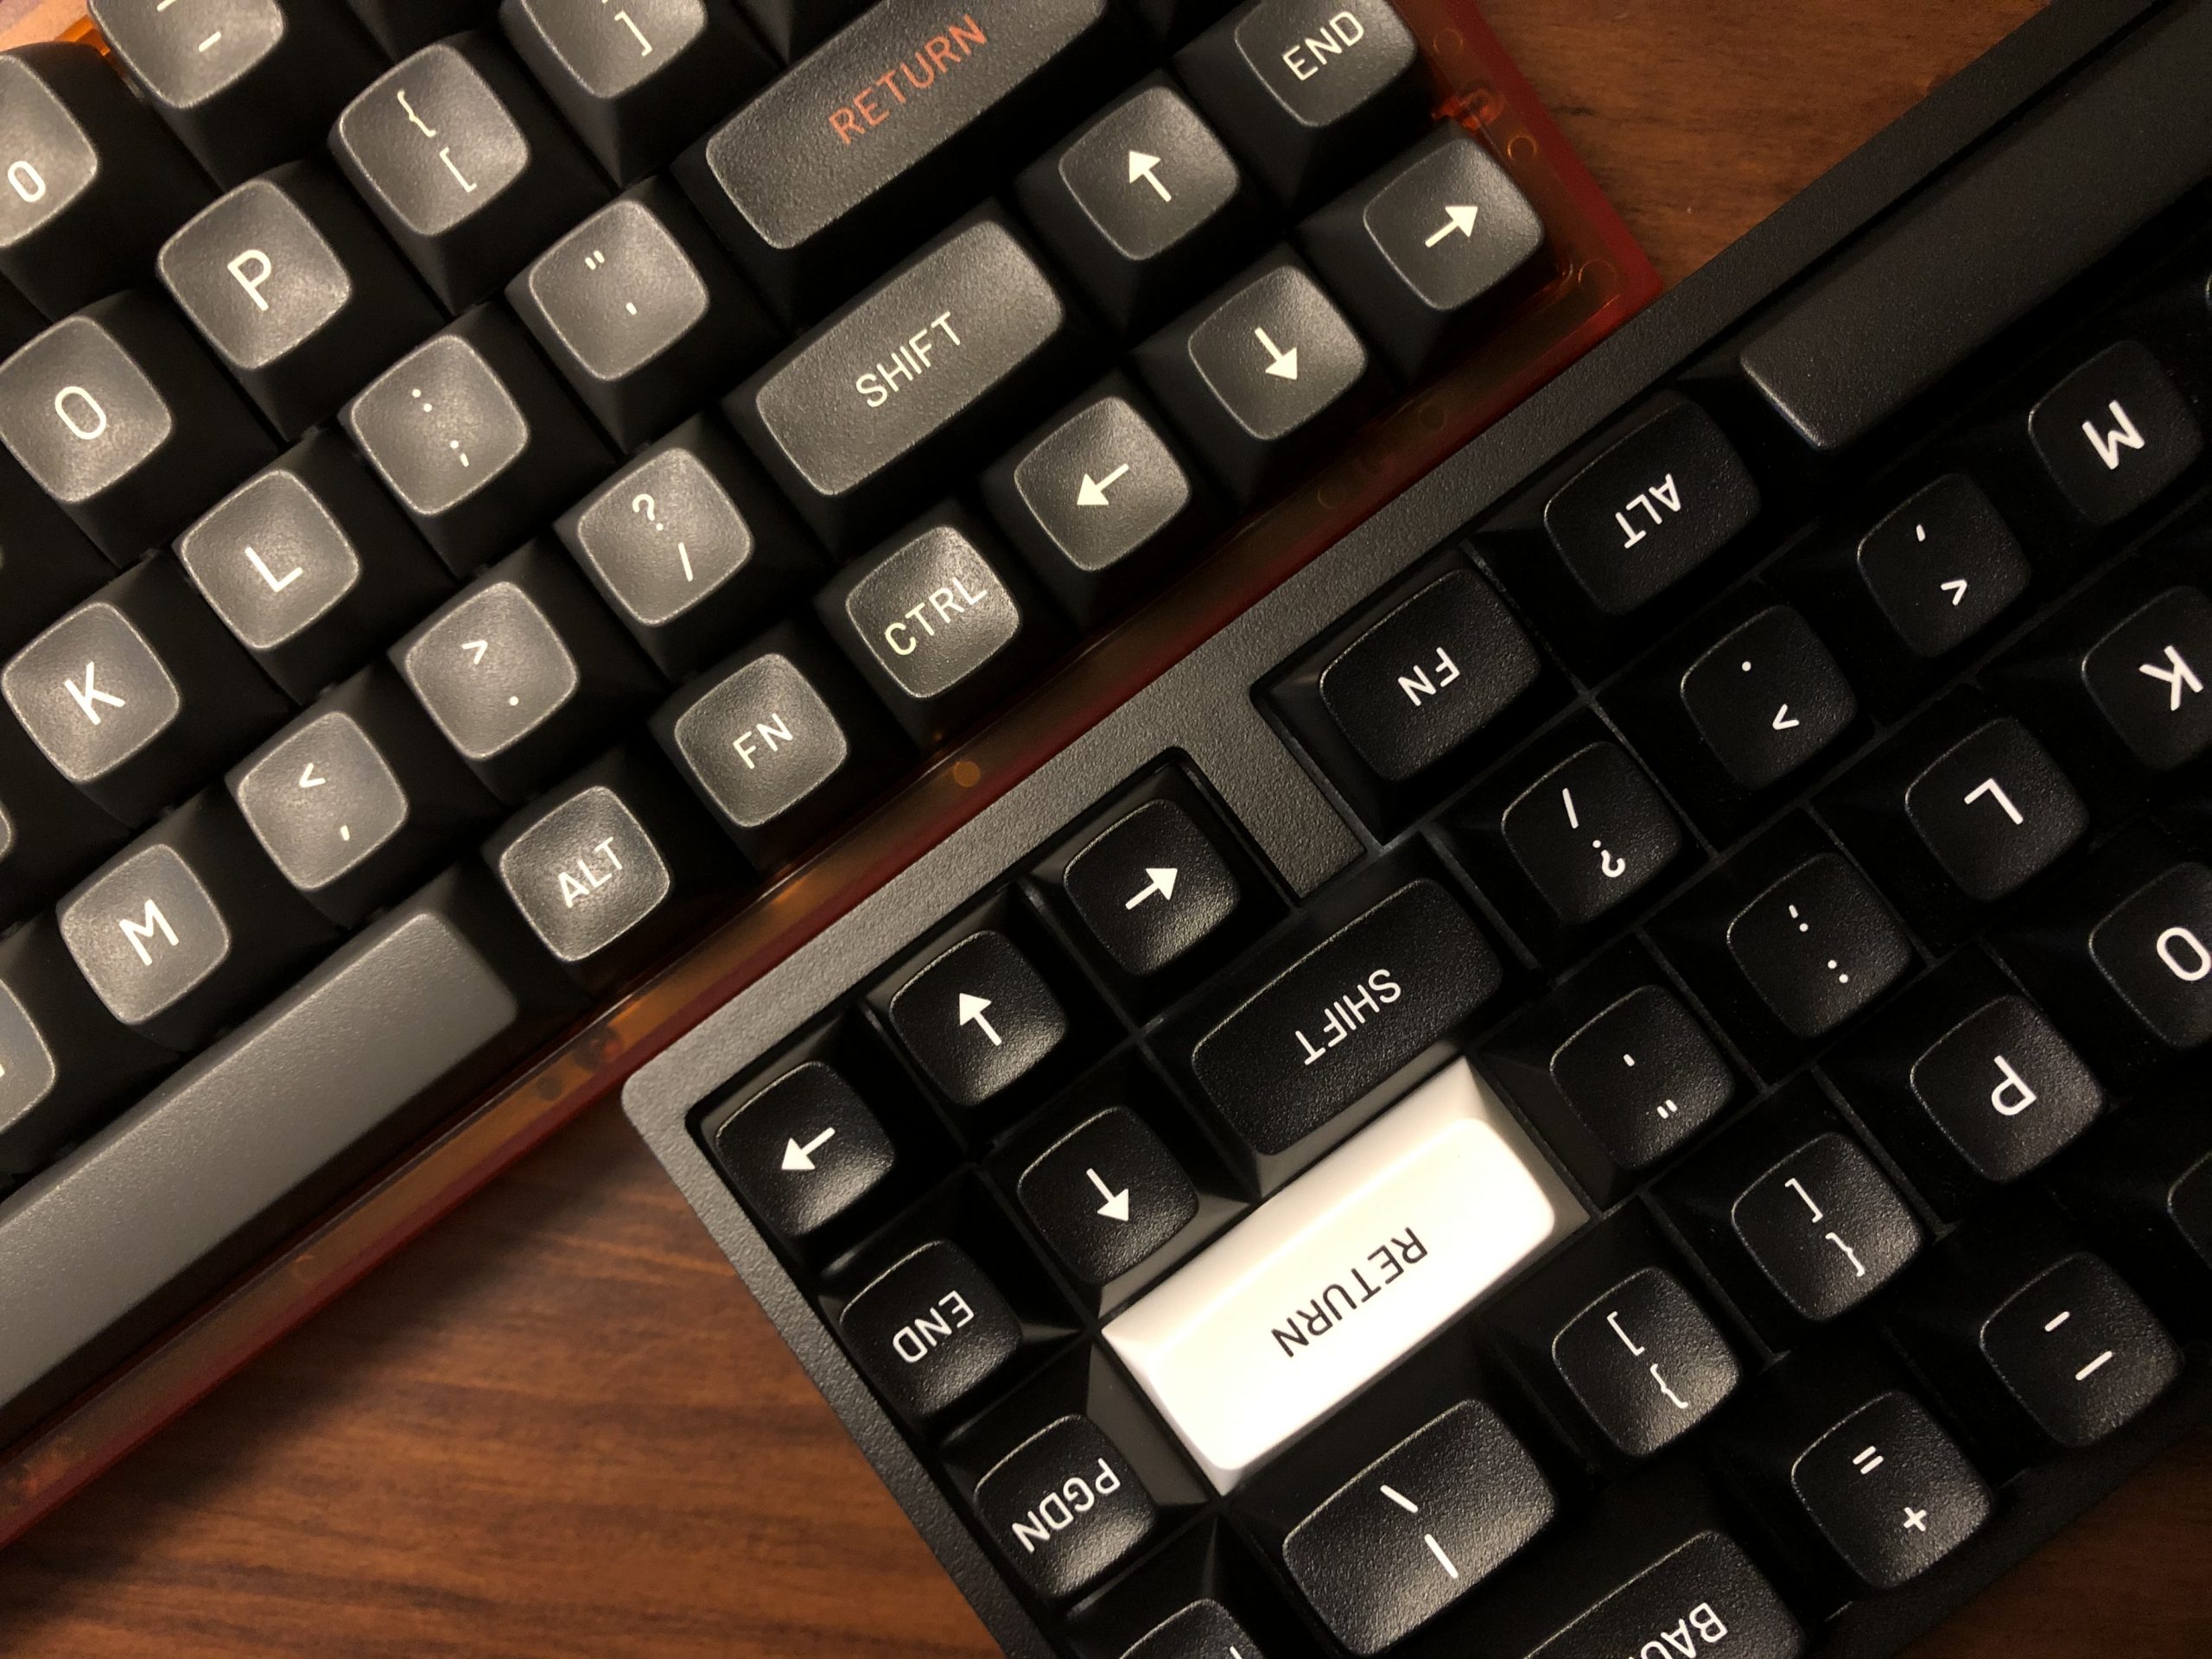
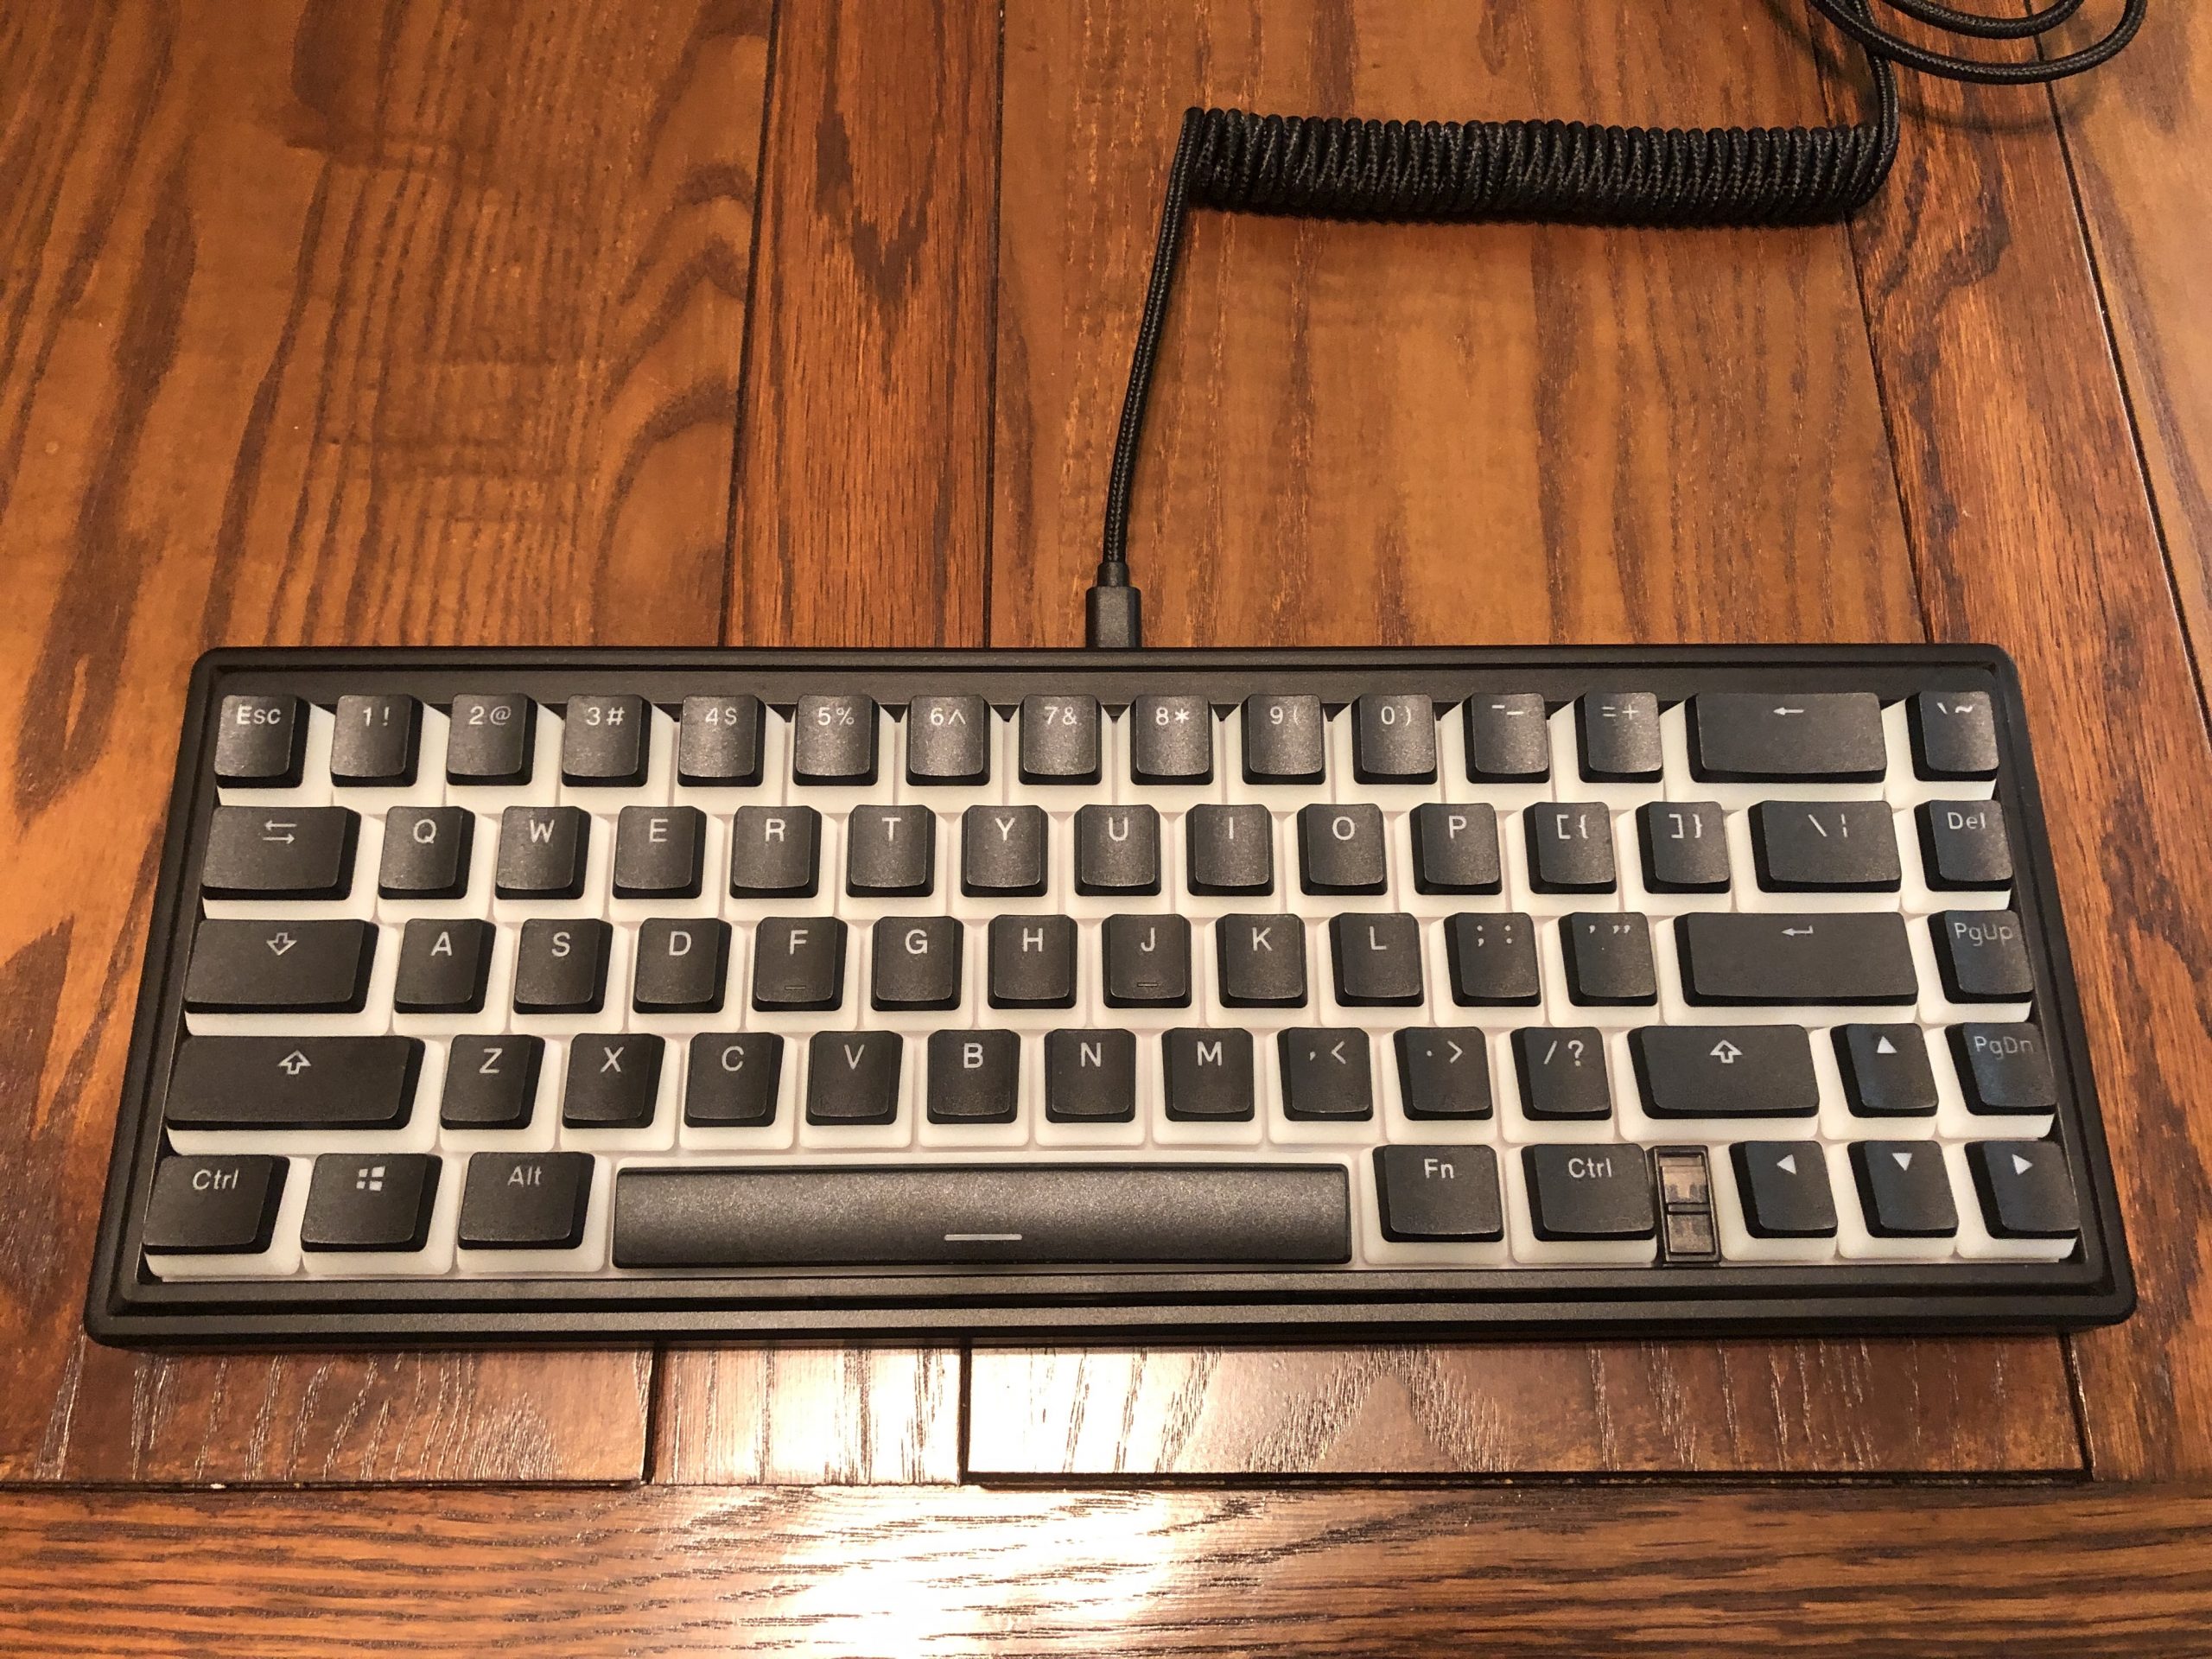
Two “entry level” titans: the Novelkeys NK65 Entry Edition & KBDfans KBD67 Lite, each topped with a set of MT3 profile keycaps.

TL;DR:

It’s like how there’s a bunch of different kinds of car people; some hunt-down the perfect specimen of their favorite rare or highly engineered chassis and build it into an apex machine. Others might be constantly buying and selling (or just buying) a bunch of different types of less expensive or older car, more interested in exploring the medium. It depends on priorities, preferences, and all that qualifying goodness.


In terms of my own experience, over the years I’ve picked up a couple “real” customs, but I go back to a few specific “budget” boards because they sound and feel either just better to my tastes, or at least good enough along with their lack of preciousness that I use them most of the time. I like a high-quality keeb, but I tend to like a highly-configurable one even more as my preferences basically change with my mood.

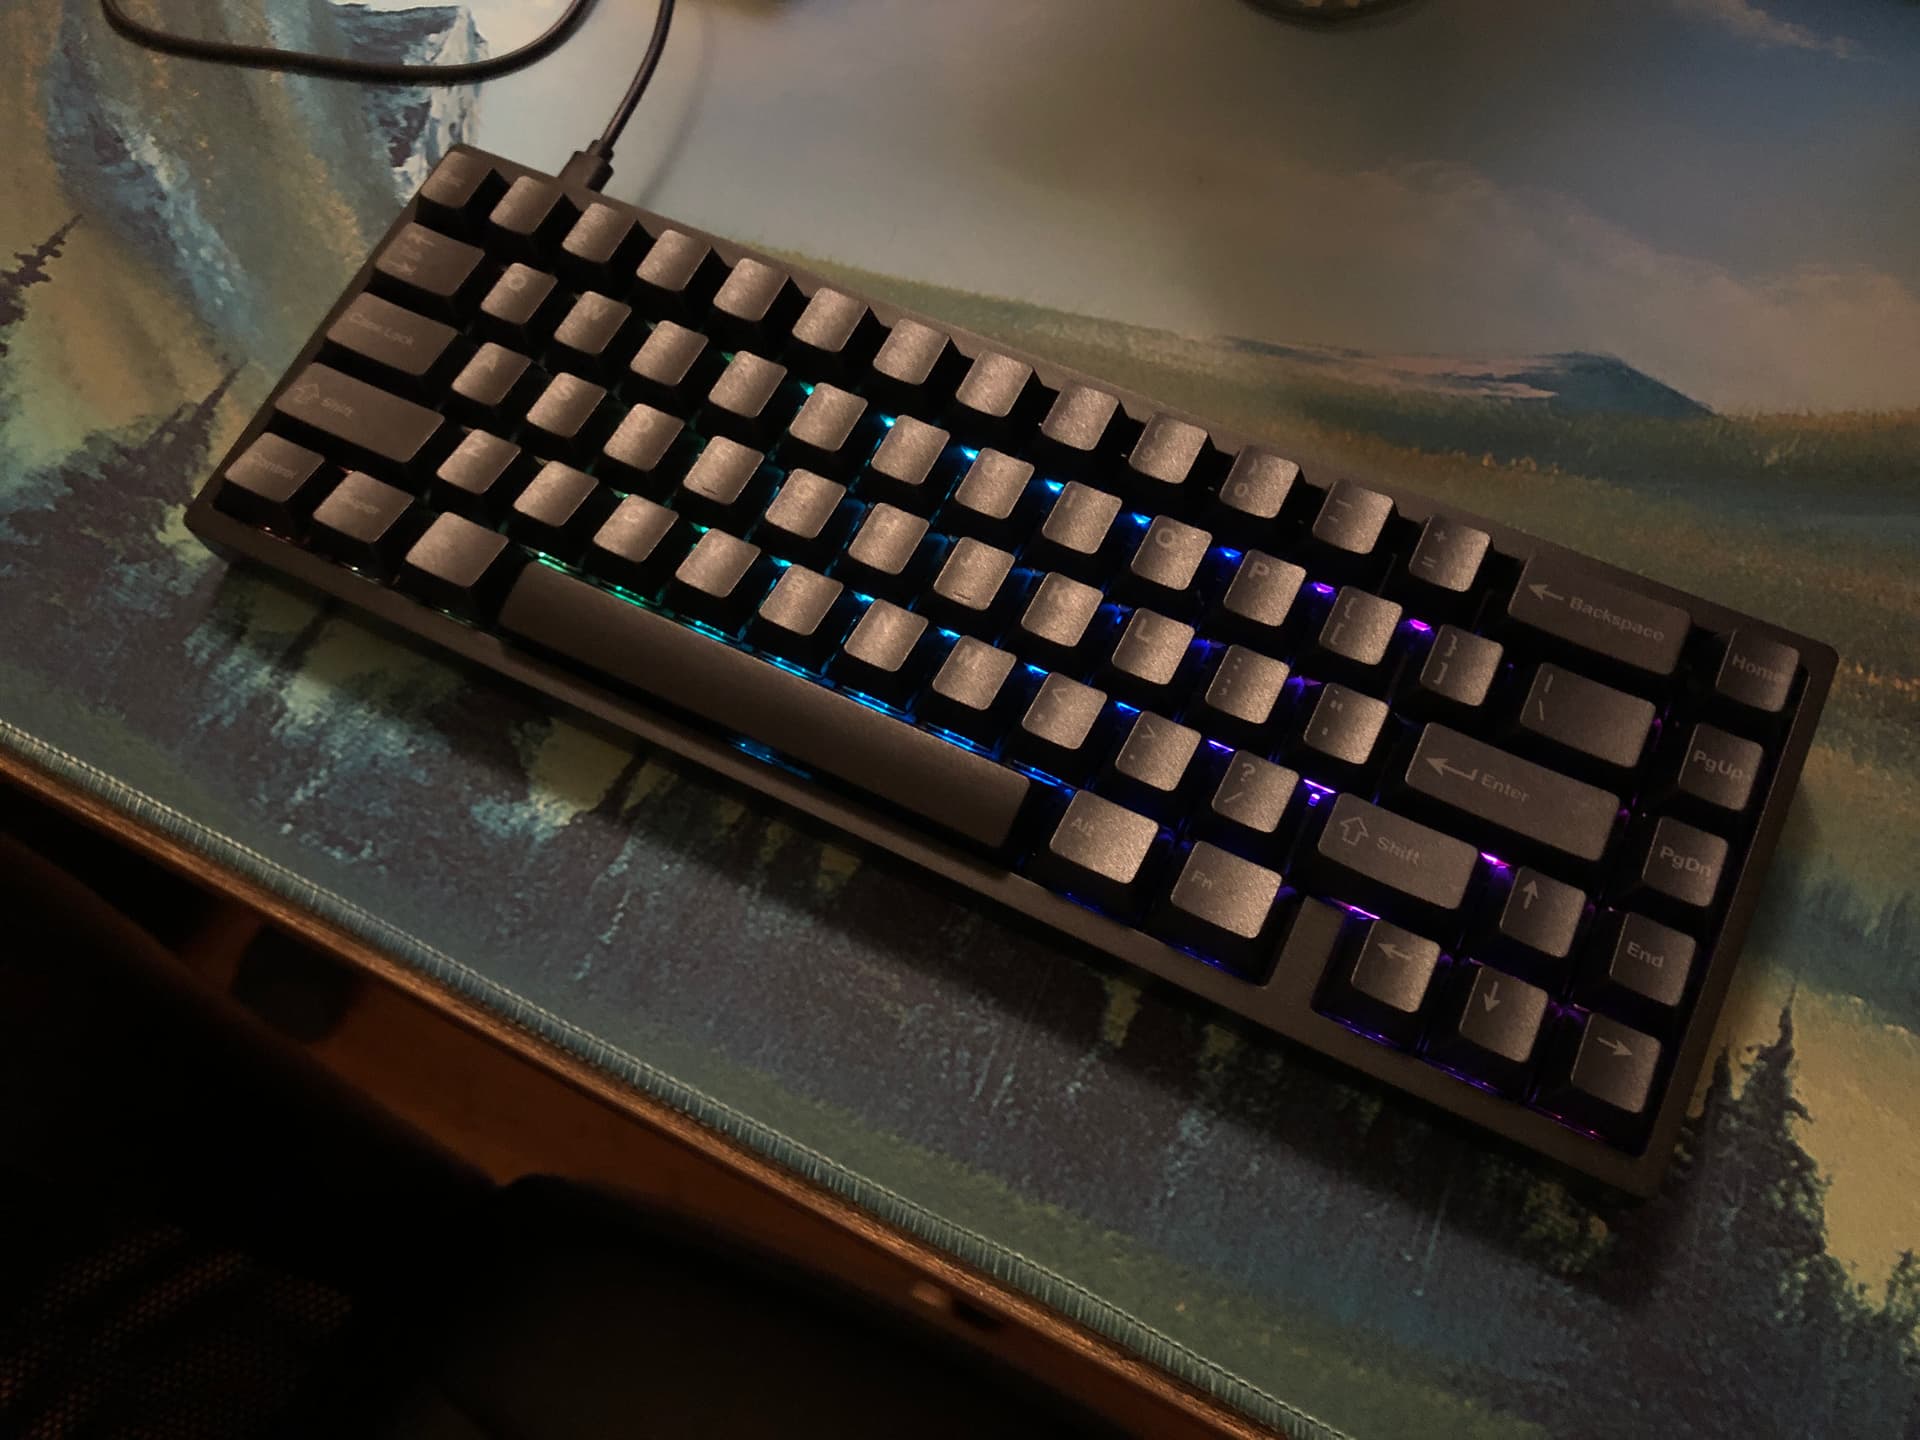
An example of a highly-configurable keyboard: the KBD67 Lite, here seen with a black case, Owlstabs, POM plate, JWICK semi-slents, and Novelkeys’ Cherry Charcoal keyset.

I’ve had more fun exploring a wide variety of configurations than I have with a given holy grail keyboard. I appreciate chassis with tons of aftermarket options like a bunch of plate or even case materials. For my personal priorities, luxury / high-end customs have at least one foot in the door of diminishing returns.

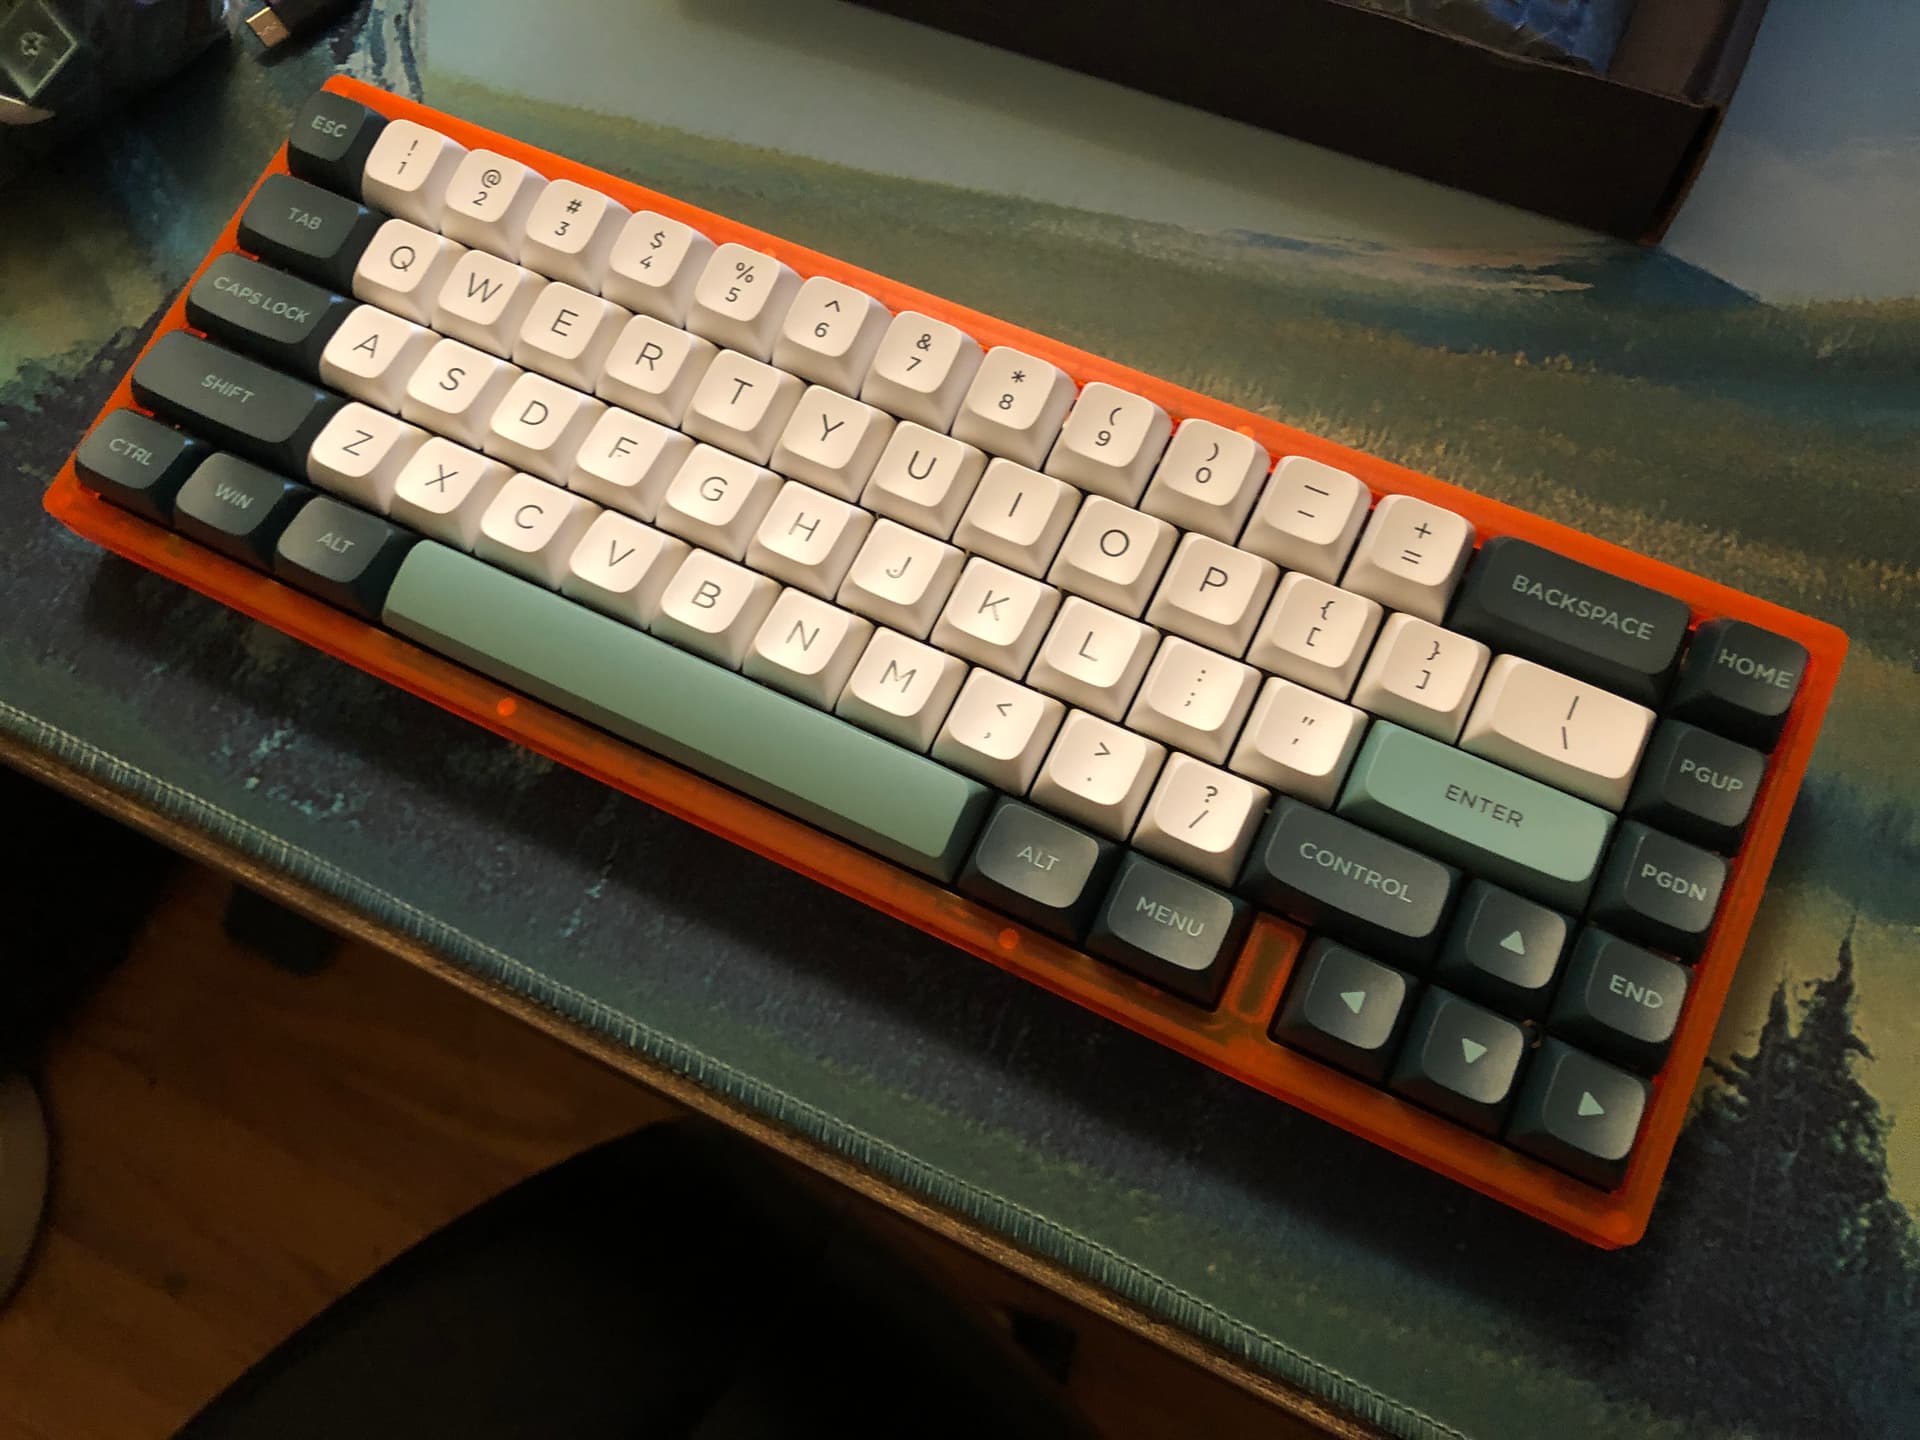
Here’s the very same keyboard, in a Ship-of-Theseus sort of way. It’s numerically the same PCB, switches, and stabilizers – but with an orange case, FR4 plate, and XVX profile keycaps.

Not unlike today’s inspirational OP, I’ve collected what most sane people would reasonably call a ridiculous amount of keyboards – and I like most of them at least a little bit. However – if I could only keep one, it wouldn’t be even in the top three most expensive, and barely in the realm of common custom prices – not unlike OP’s QK65.

It’s this one. If I could only have one keyboard from any I’ve had over the past decade, it would be this one: a(nother) KBD67 Lite with the YD67BLE bluetooth PCB. If any keyboard could rightly be called my daily driver, this is it. KBDfans calls this smoky grey case color “transparent”, and that’s GMK Prepress (what I do for a living) with TTC Silent Bluish Whites and Equalz V3 stabs underneath.

Aside from laying-out my general predilection towards this kind of keyboard, I can also tell you that the quality available in the budget sector has come a long way in the past few years.

I put budget in quotes up there in the intro paragraph because at this point there’s a truly wide spectrum of price and quality going on before you even brush the under-side of high-end customs. These days you can easily get a hot-swap wireless keyboard for $25, or a gasket mounted keyboard with a polycarb plate for less than $50. You can get some nicer commercial / mass-produced hobby ones with varying levels of options / aftermarket support in a range from $90-ish to $300+.

What I consider to be one of the true “budget hero” keyboards: the CIY GAS67. Just a few short years ago, “gasket mount with polycarb plate and dampening silicone” was limited to a scant few ultra-high-end pioneering customs. Now you can get one for less than the cost of a new video game – and you can go much cheaper if you don’t care about the buzzword features. If you’d like to know more about this keeb in general or the specific build as seen above, I have a full review and build guide of it here on the site.

All of that is vaguely referred to as entry-level / beginner, I’d say because pretty much none of that includes small-run / high-end machined pieces and rarely includes complicated builds. Some are pre-built, most are easy-mode hot-swap, plenty involve soldering switches (themselves easy mode of soldering), and a *few* involve soldering a large number of other components, mostly diodes.

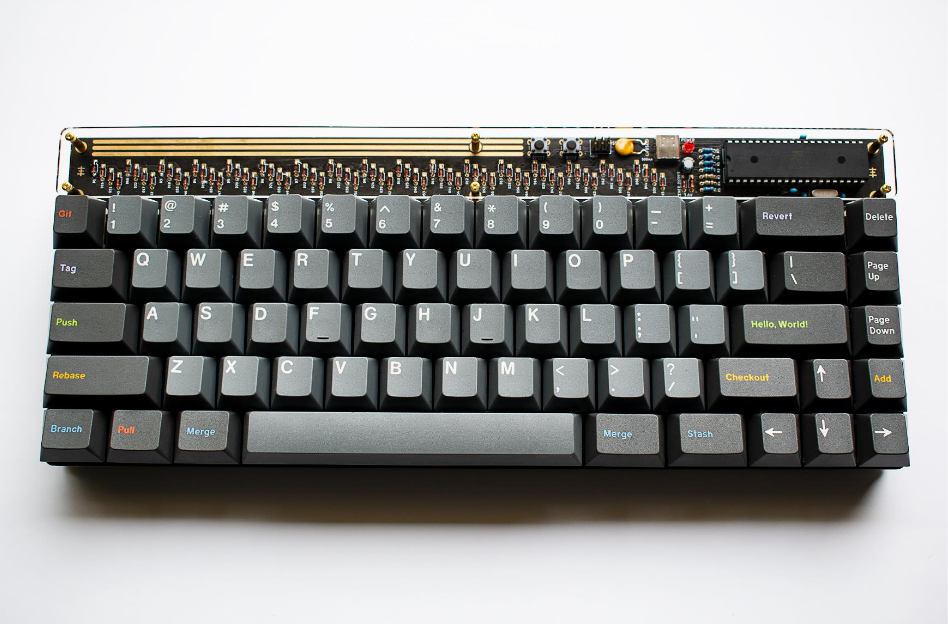
A fairly rare example of a very complicated build that isn’t very expensive – and in its base form, doesn’t even have a case: the Discipline 65%. (That’s GMK Oblivion on top, if you’re wondering.) Photo taken from the official build guide by coseyfannitutti.

High-end customs have pioneered all the clever designs that are now commonplace among commercial boards, and often continue to bring new innovations to the table. The materials are rarely anything less than luxurious. The designs are often genuine works of art and artful engineering. Lots of them can sound downright luscious.

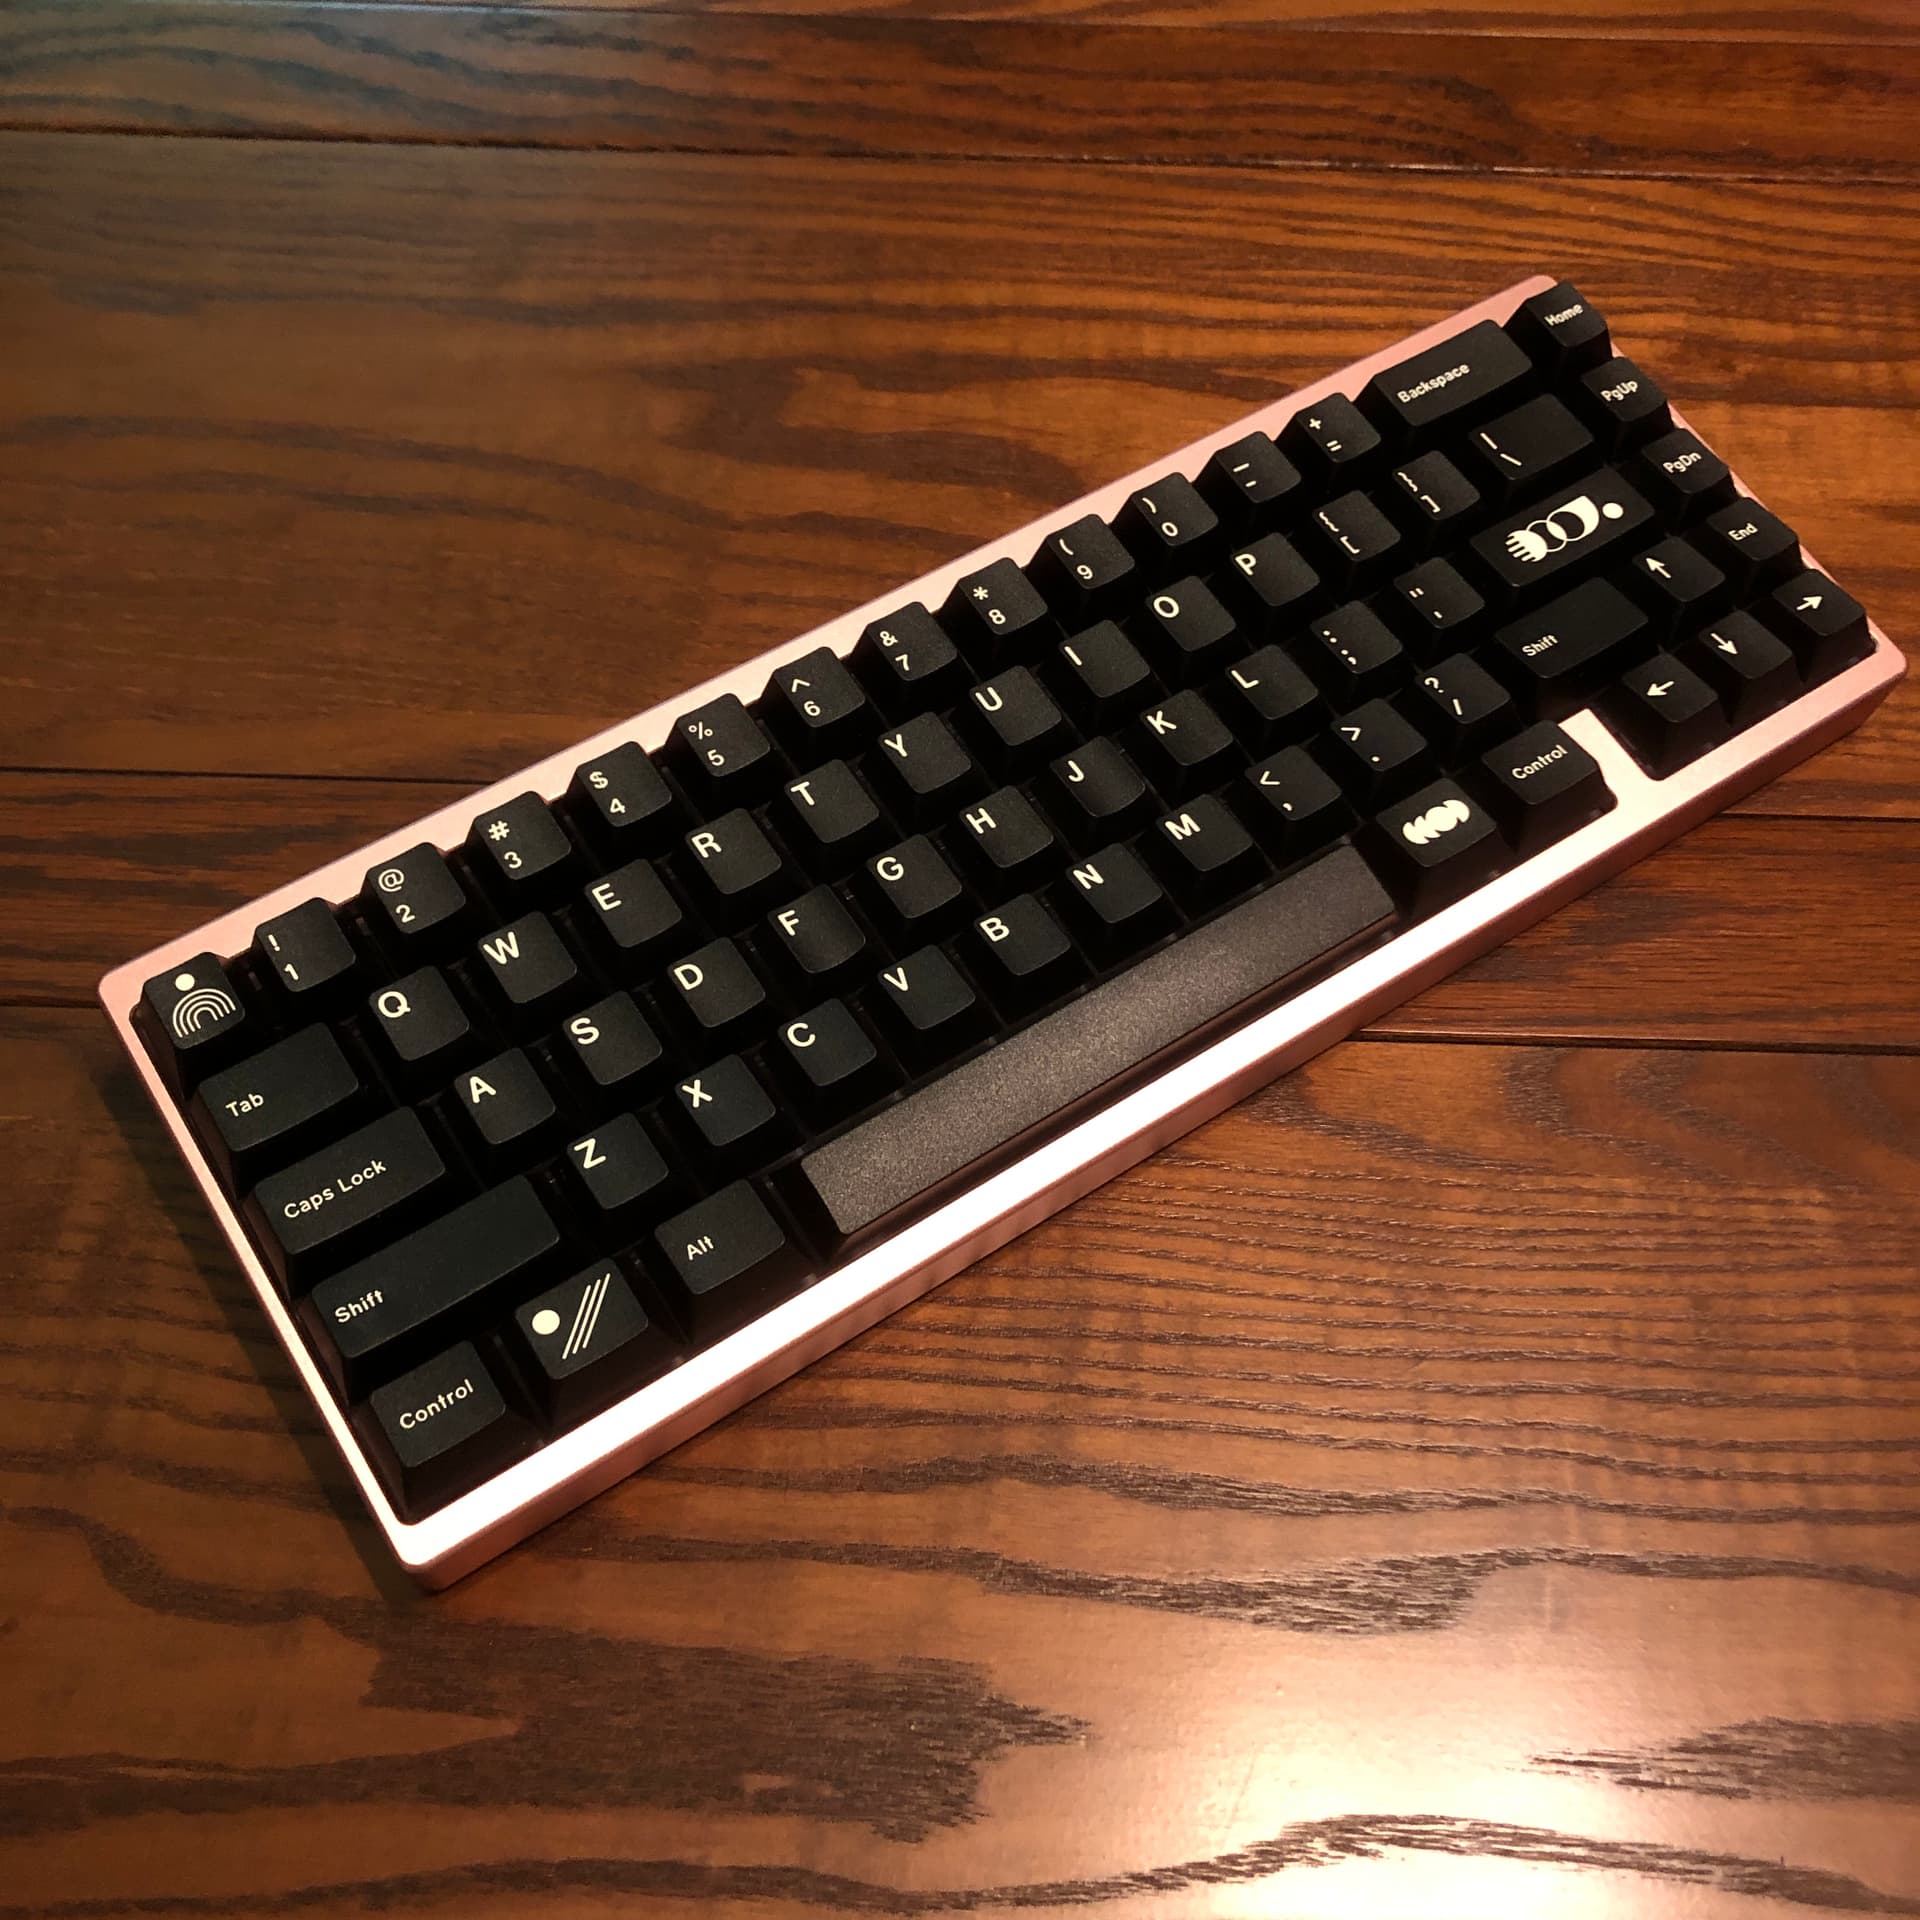
Representing the other end of the “entry level” price scale, and probably my personal favorite keyboard, the Portico68 Black Label by The Key Company, seen here in pink, topped with GMK Noire. (No, I never figured out why they named a 67-key board “…68”)
 
This is a sort of up-scaled swan-song of the original Portico 65% – just one little run of these has happened so far, but I think this could be a staple keyboard. It has at least one foot in the door of high-end, with a full machined aluminum chassis, flex-cut polycarbonate plate, dense dampening foam, and of course gasket mounting. Everything has that nowadays, though – I actually love this because it’s straightforward, aesthetically beautiful, and it feels fantastic while making delicious sounds. If you’d like to know more about this one, I have a full review here on the site.

Even so, not all my favorite keebs are precision-machined, ASMR-ready desk jewelry, and my personal sweet-spot has settled around the higher-end of the “entry” realm of things, which I’ve been calling the “middle market”. It includes things like the Bakeneko family, plenty of Keychrons, KBD67 or Tiger Lite, Portico, Ikki68 Aurora, etc. – with these options you can get some really nice typing experiences and the occasional great sound, and save on the luxury materials.

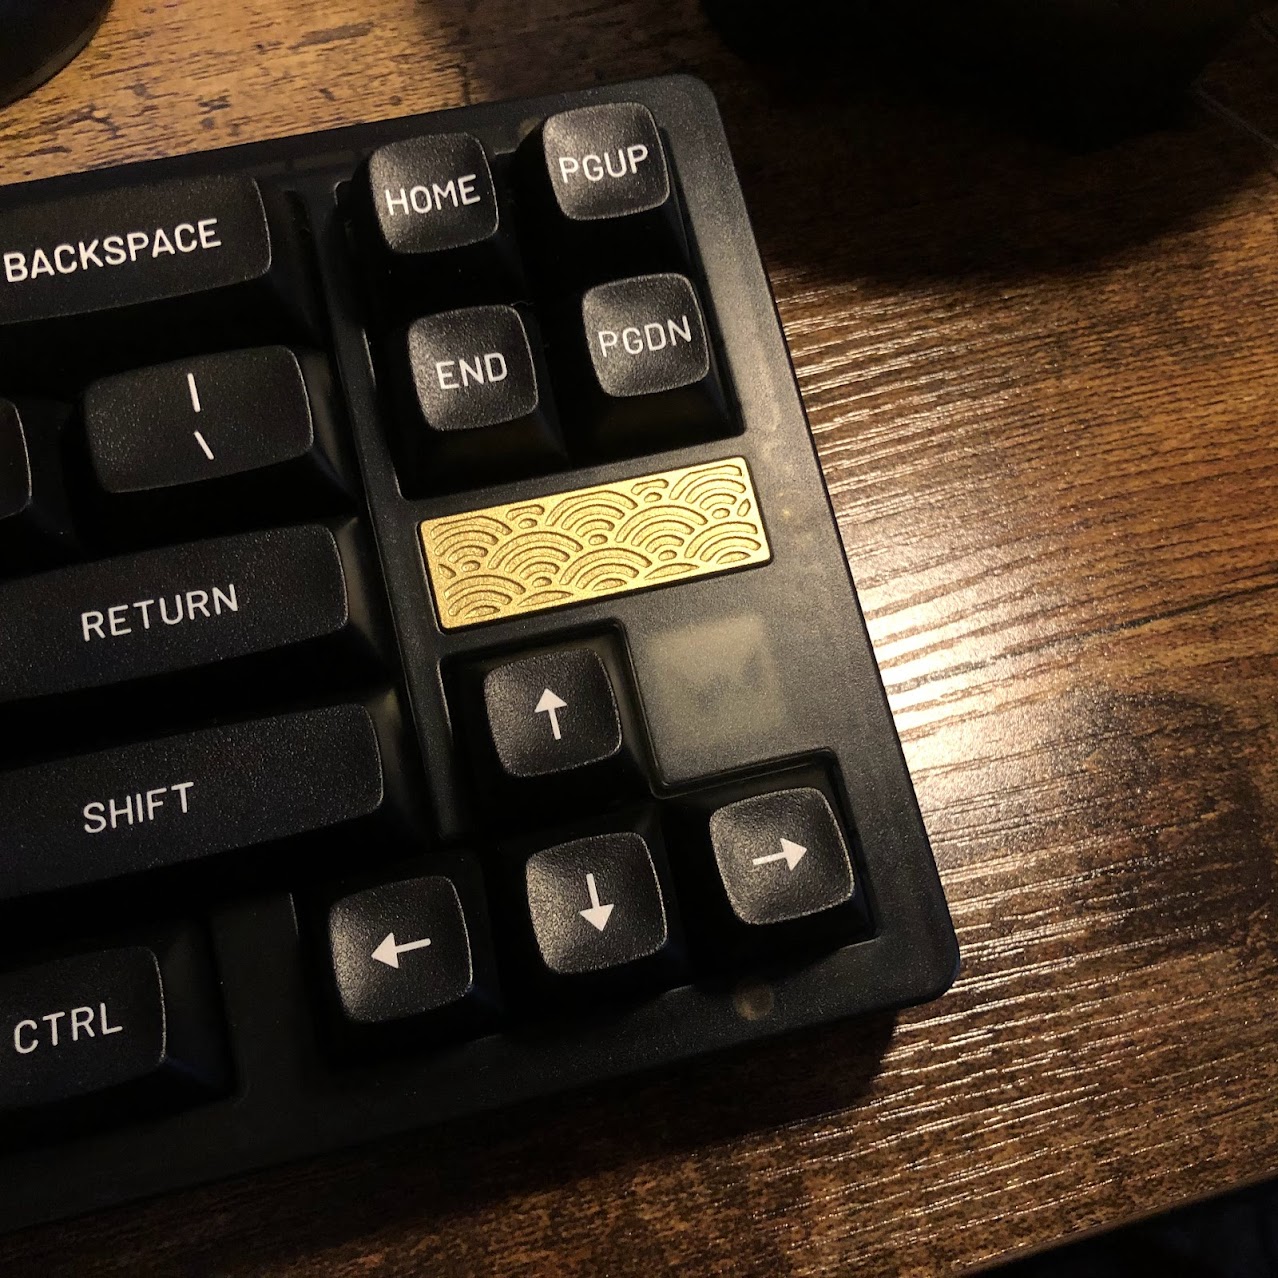
Ikki68 Aurora – for when you still want a splash of luxury with your “entry” keyboard.

This is great not just for folks on a tight budget who care about having a nice keyboard, but also great for keyboard nerds like myself who are interested in exploring a wide range of materials, mounting styles, layouts, key shapes, switches, etc. I enjoy being able to flip the keeb-channel on a whim, and those middle-market boards really facilitate that without having to sacrifice too much in terms of typing quality. I also personally really enjoy collecting related-but-distinct things – add on top of that an innate desire to help people find the right [ thing ] for their use-case, and I was pretty much if pleasantly doomed when I found customizable keyboards.

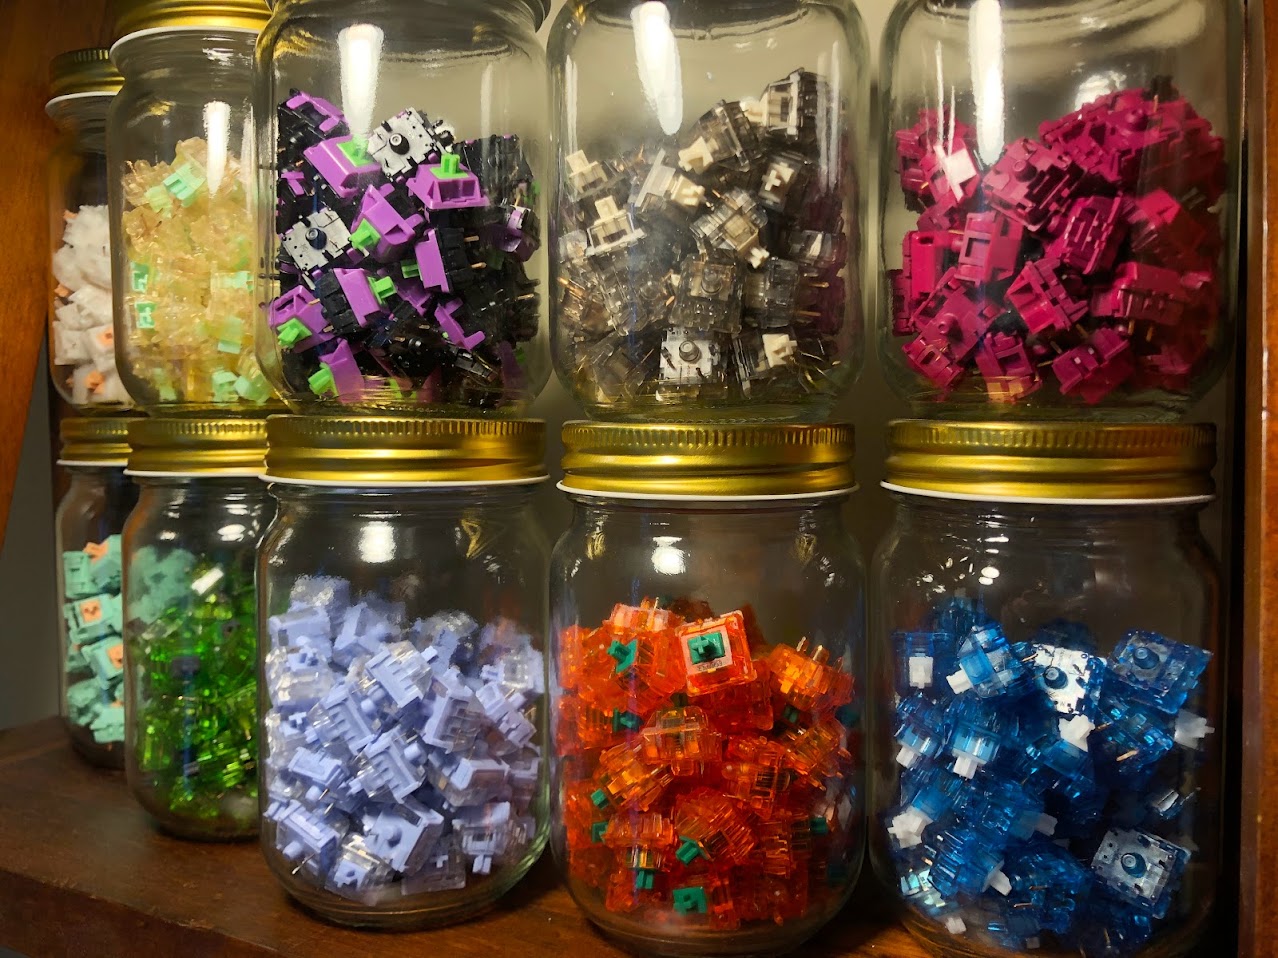
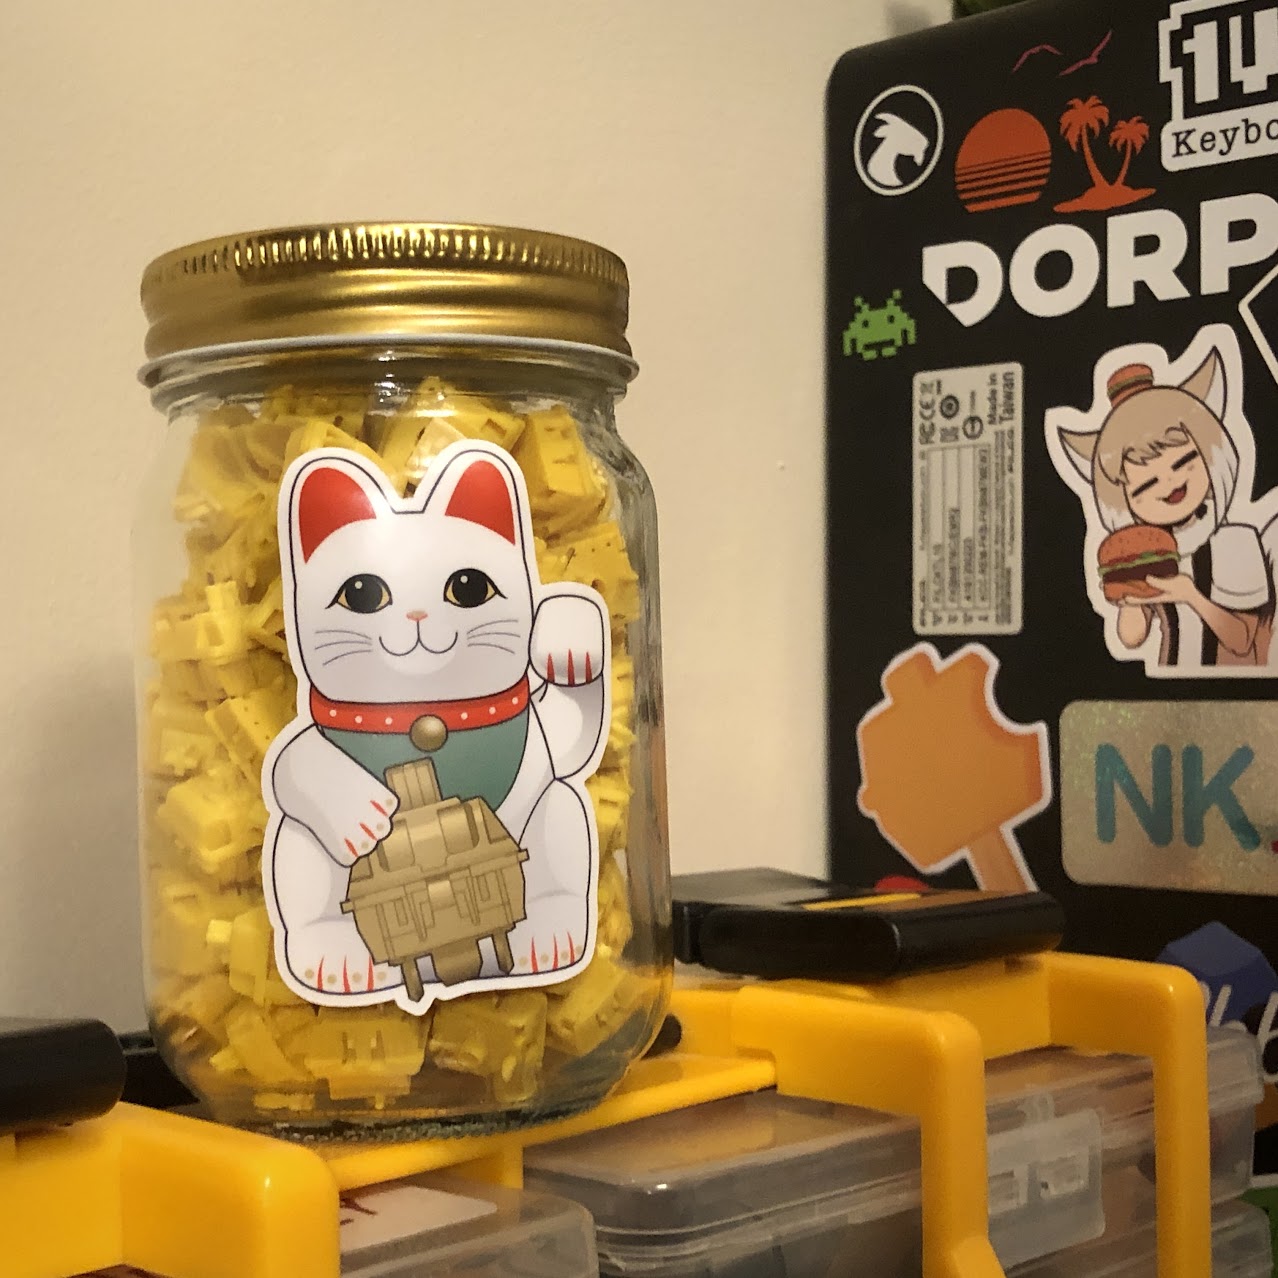
We’re not even going to talk about switches. Yet.

All of this is why, at least for me, a collection of various “entry” boards is more attractive than a single premium one – I’m more interested in the medium of keyboards and what makes them excellent than I am any particular excellent keyboard. While I’m sure this doesn’t represent most keyboard buyers out there, I’d bet it could describe enough of them to provide a satisfactory answer for today’s instigating query.

Well – that’s about all the fluff I can possibly add to the topic for now.

Thanks for stopping-by, enjoy the remainder of your wake-cycle, and keep on keebin’ on.


Hello my friends, I felt like writing this evening so it’s time for another episode of Reddit Asks.


u/regiment262 of r/MechanicalKeyboards asks,


Do plate and case foam make a big difference in boards with clicky switches?


Short answer: Yes.


Alright, thanks for reading, everybody!


Just kidding.

Long answer:

Generally, foam will deaden reverberation – so you’ll still hear the clickies click obviously, but they won’t resonate through the case as much. How much a difference it makes will depend on a few things, mostly how much empty space there is and what material(s) the walls of that space are made of. Another big factor is the roof; the plate and PCB – how flexible those are and what they’re made of.

If there’s lot’s of space and the walls are something like rigid aluminum, you will notice a pretty big difference no matter what dampening you use, and will probably notice the most difference between types of dampening. If it’s a really small space with mostly plastic walls, you can definitely still tune it but the changes won’t be as drastic.

Generally, the more flexible the plate-and-pcb assembly, the deeper of a sound it’s going to send down into the chamber below. Inversely true with more rigid assemblies; those tend to be more high pitched and sharp. Both and the spectrum between will change with dampening, but not necessarily in the same ways. The more flexible assemblies will also tend to be louder and reverberate more, but by the same token you can put a sock in that both by absorbing the sound waves with dampening material and/or by dampening the assembly’s vibrations through direct contact. (Just make sure to be gentle; don’t force anything and you should be good.)

From there, you can tune the degree and character of dampening with density / composition of foam.

Polyfill (stuffed-animal / pillow stuffing) can do wonders to clean-up a harsh chamber without totally silencing it, and because it’s fluffy and compressible (and cheap) you get a lot of range to dial-in your preference. At the other end, something like Sorbothane is super dense (and expensive) and will pretty much stop sound-waves in their tracks. It comes in a variety of thicknesses usually in the form of sheets. The thin foam that tends to come with electronics like keyboards is legit useful for sound tuning, either between the plate and PCB or below the PCB, and that stuff is basically free.

Some keebs have silicone wedges that fit in (like the KBD67 Lite, Portico, and a bunch more), or you can pour it in. I’d do some research if you want to try the latter; it’s not too hard but you don’t want to approach it blind. That stuff is heavy, dense, and pretty firm – it actually does make the typing feel more firm if it’s close enough to the PCB to reduce (or negate) its range of flex.

If you want a more solid-feeling typing experience and some sound deadening without changing any other bits, this might be the option. For clickies I think this would be fine for the sound, same for silents – but for thock-chasers et-al I’d be more hesitant in recommending filling-up a chamber with something dense like that.

If you think you might want to give that a try, I found a video guide by Mandydeth on YouTube about doing a silicone pour for a Preonic / Planck. He doesn’t have a recording before for comparison, but he is using clickies in his sound test, and there’s also some good pointers and discussion in the comments.

Alright, that’s my primer on case fillers. Thanks for coming to my TED talk.

Hello my friends! I have lots of larger projects on the back-burner, so I decided to start a short-and-sweet style series to address questions posed on Reddit – so, welcome to Reddit Asks! Let’s get right into it.


u/Seareeeal from r/switchmodders asks,

Does anyone have a picture of cream v1 and v2 stems?

I have some others I’ll link below, but I took some fresh ones with this comparison in mind:

NK_ Creams

Our specimens for today; an original Cream on the left, and a Cream Arc on the right.

I picked the Arc to represent the newer Creams because its different color will make it easier to distinguish; the Arc is identical to a contemporary standard Cream save for the color and spring.

The original Cream on the left can be recognized by its smaller logo in comparison to the newer Arc on the right. Now, let’s look at the stems:

Cream stems; OG on the left, newer on the right.

Both come with modest factory lubing in the form of light clear grease. Both have the same basic shape, but looking closely it’s evident the tooling is completely different.

The newer pole is longer, and has a longer portion after the tapered section. The newer stem has a shorter “forehead” section; the block between the cross mount and pole. The rails are also shaped a bit differently.

Not the best photo, but does show some comparative detail from straight-on. OG on the left, updated on the right.

Now, for some slightly more exact science:

OG Cream stem: 13.41mm according to my calipers.

This is effectively consistent with the last time I measured an original Cream, where I got 13.42; I’d call that within the margin of error, either for manufacturing or my measuring device.

Updated Cream stem, taken from a Cream Arc: 13.48mm according to my calipers.

The same Updated stem shape in another color, this time from a Launch Cream – also showing 13.48mm.

It’s not a big difference, but it’s measurable: aside from the other changes in the tooling, newer Cream stems are 0.07mm longer from top to bottom than the old ones.

I’d gotten a different measurement for an updated Cream stem last time I tried this, so I decided to measure a handful and it turns out my old measurement matching the OG Cream stem was the fluke – Launch and Arc Creams indeed have longer stems than the originals. However while testing this I also discovered something I didn’t expect – some other versions I’d assumed to be the same aren’t after all:

This is a stem from a second-run Nolve, which is ostensibly a Cream re-color.

These feature the new-tooling housing with the bigger logo – but it looks like the stems aren’t the same at all. In fact, that measurement is closer to that of a standard Kailh linear stem – within the margin of error, in fact.

The stem from a new Dream switch, which is ostensibly a standard Cream that’s been actuated 600,000 times at the factory; broken-in from the box.

These Dream versions also appear to have standard Kailh linear stems; reading just 0.01mm shorter than the Nolives, this is both within the margin of error and I’ll also note the above stem is supposed to have gone through more than half a million presses at the factory, so it wouldn’t shock me if it shortened the stem just a tiny bit.

I was definitely surprised to find that Dreams and Nolives *don’t* use the updated Cream stems that standard new Creams, Launch Creams, and Cream Arcs use, but instead appear to use re-colored versions of the standard Kailh linear stem found in Blacks and Reds.

Yeah, science!


If you’d like some further comparison between long-pole stems (featuring the above OG and Retooled Creams as well as Kailh Blacks and Pro Burgundys), check out this thread on KeebTalk.

Recap of measurements including those from the long-pole thread, rounded to nearest 0.01mm when that close to another:

  • Kailh Black, Dream, Nolive V2: ~13.31 (I think all these use the same tooling)
  • OG Cream: 13.41 (older Chocolate Creams & old V1 Nolives should also have same stem, but it’s certainly possible that they don’t)
  • Launch Cream, Cream Arc (Updated Cream): 13.48 (should be same as normal-colored new Creams as well as newer Chocolate Creams)
  • Kailh Pro Burgundy: 13.65
  • Kailh Speed Navy: 13.69

Thanks for reading, and have a good one!