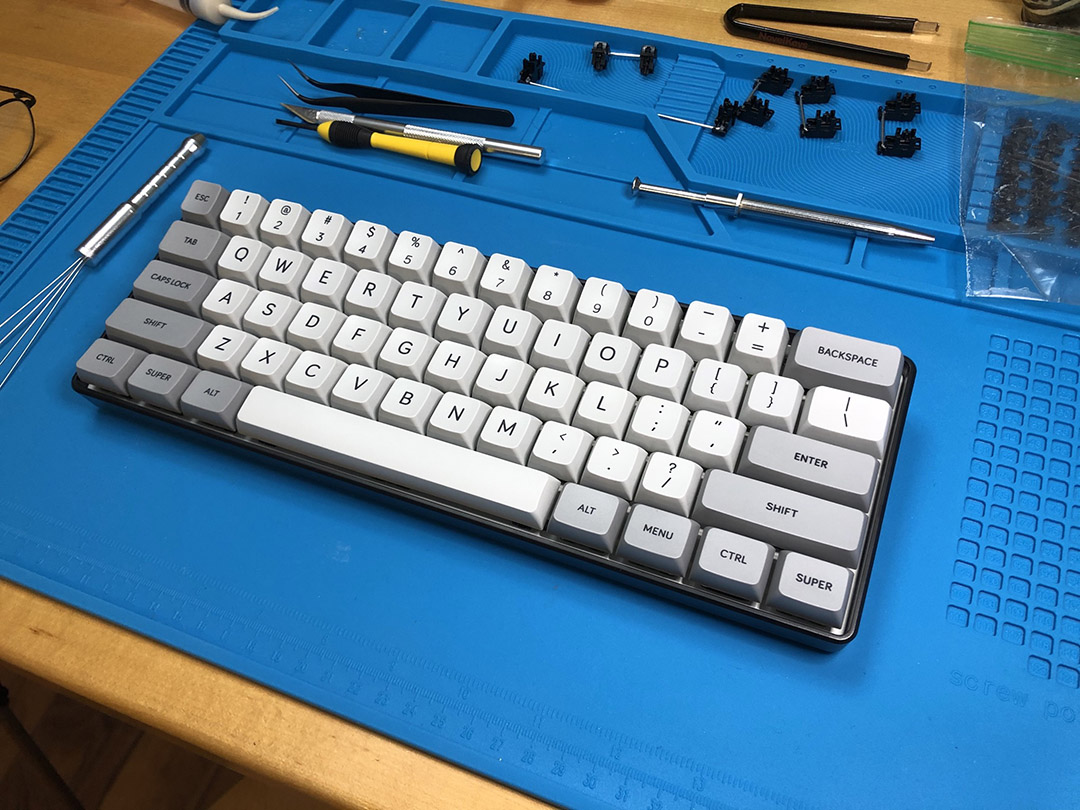
Originally posted March 2021

  • Client: Programmer & Help Desk
  • Budget: $200
  • Core goal: Satisfying Silence for Work
  • Form-factor: 60%

Very quiet, strong tactility, and some very nice keys. If you’re interested, come along and take the journey with me.

When one of our company’s new IT guys mentioned he wanted a good keyboard, I started asking him the keeb questions, narrowing-down layout selection first. He really didn’t hesitate, and went straight for 60% after seeing the usual suspects.
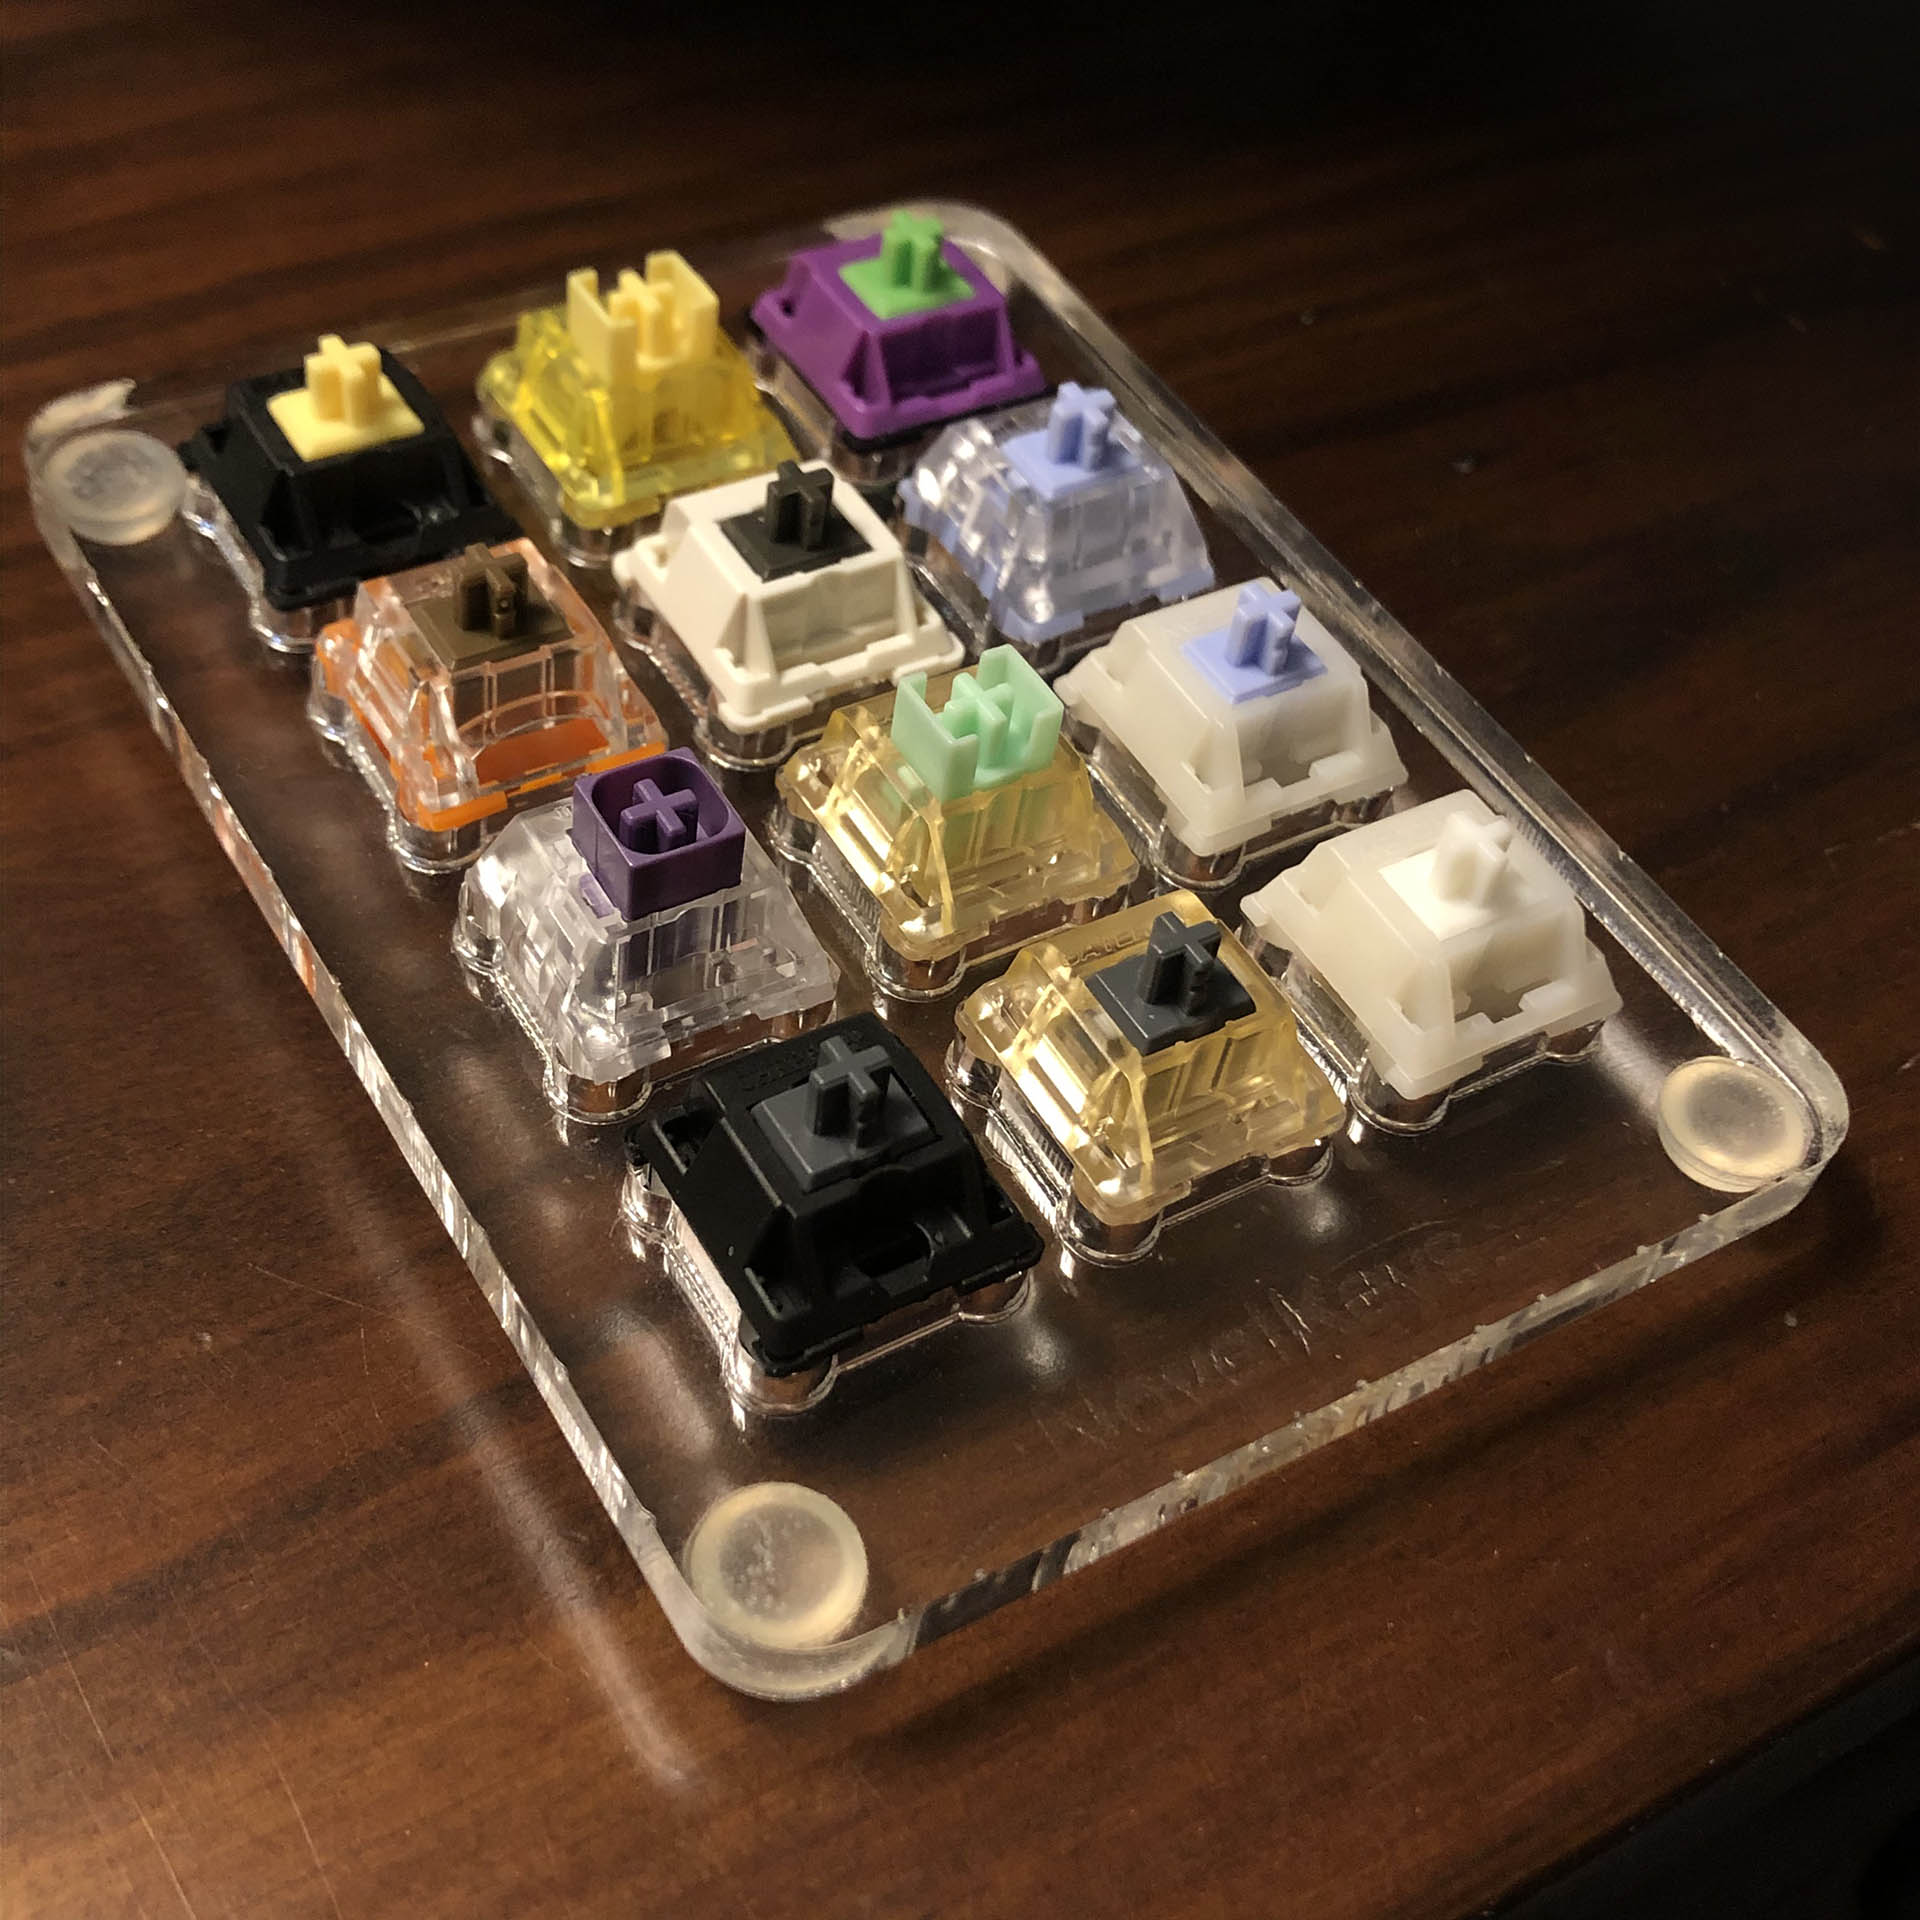
Not the exact switches, but you get the idea.

I gave him a 12-switch tester to try, and again he didn’t take long to hone-in on his favorite, a frankenswitch based around the Gazzew U4 stem and a linear leaf. He liked that it was quiet while also having the big bump, but he passed up other silent switches with the same stem and a stronger tactile leaf that weren’t as smooth or quiet.
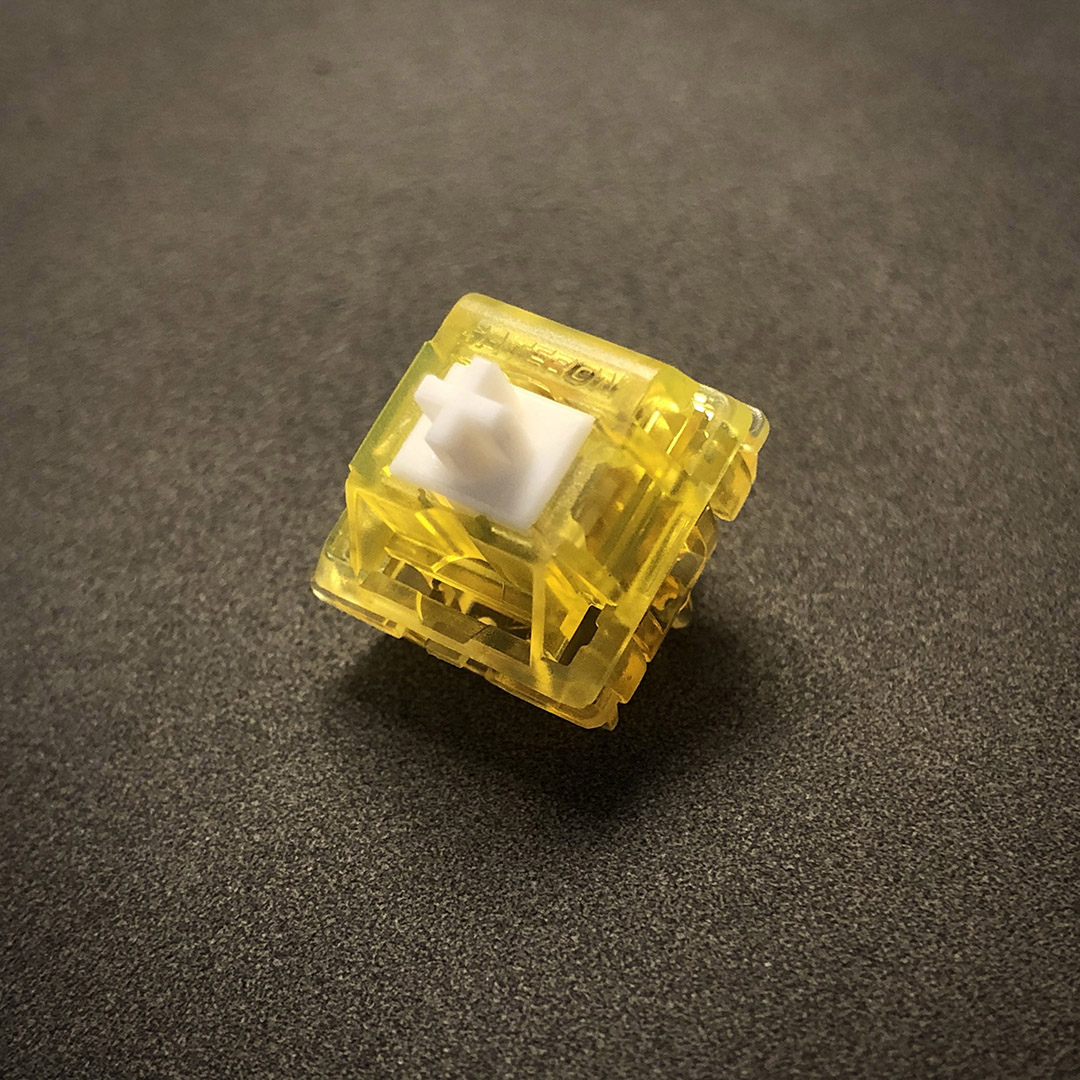
Our enabler’s – er, client’s switch of choice; a progressive silent tactile I call Lemon Lush.

Noting that he’d picked the single most expensive frankenswitch I think I’ve put together so far, that’s when I asked about budget. After giving him a feel for what exists in some different brackets, he went for $200. Later that day we were discussing priorities, and he said it seemed like switches were the most important part for a budget keyboard that doesn’t suck, and I generally agree.

I’d also observed his typing – he’s pretty heavy-handed, and punctuates his lines with a purposeful THONK of the Return key. With this and his other priorities in mind, I went about researching and selecting potential parts. Focusing on switches, his favorite of the 12 had a 68g progressive spring and an Ink housing – both couldn’t come along for the ride with this budget, so those nuanced springs got the cut in light of our friend’s heavy typing style.
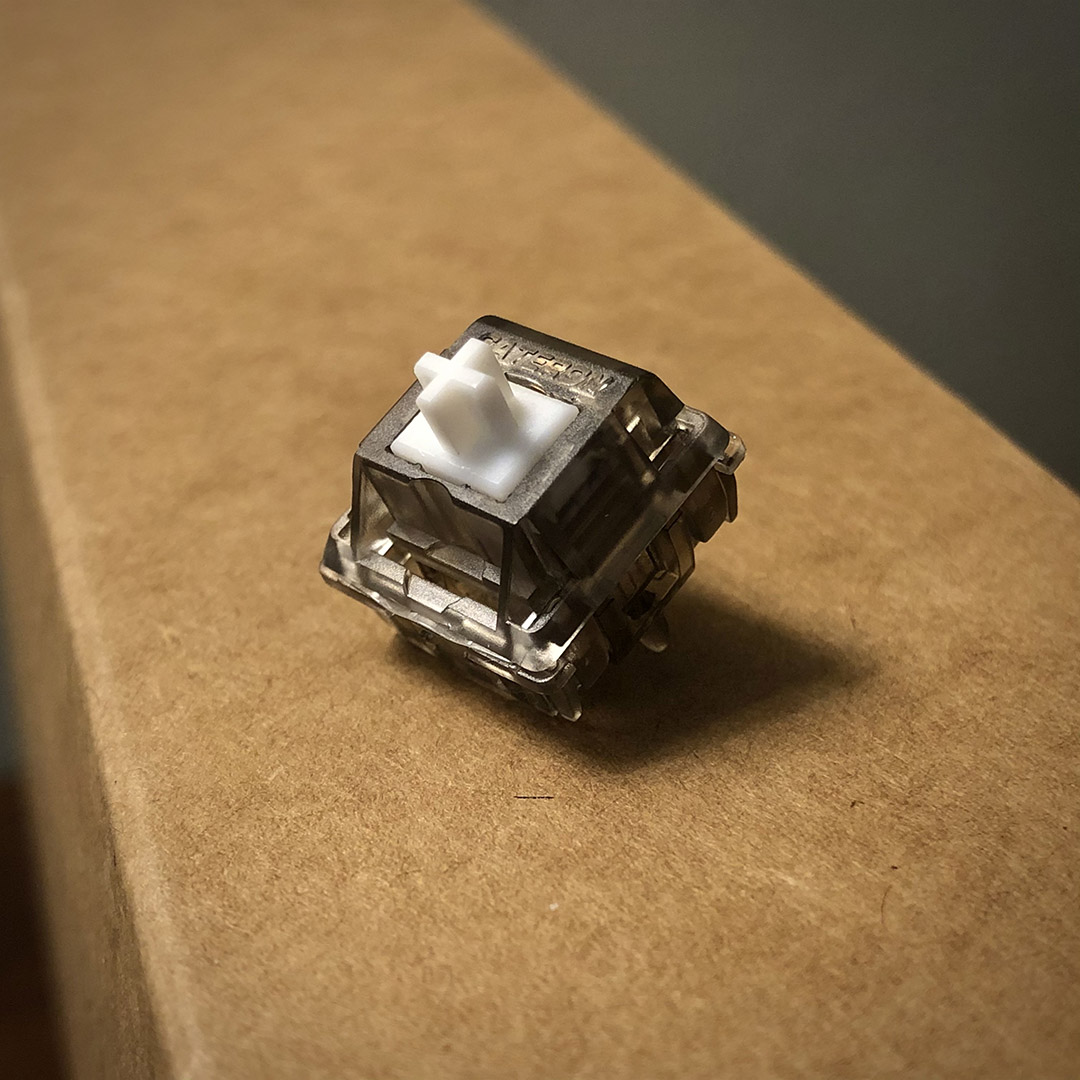
Taking custom springs out of the equation and accounting for a heavy-handed typing style, Black Ink U4s fit the bill.

I first went for BSUN Panda springs because I have a ton of them, but they really didn’t feel right with the U4 stem. Not bad – but not complimentary to all that potential in the U4. I was already using Ink Black housings, so I gave those springs a try instead – and they were a much better fit with Gazzew’s stem.
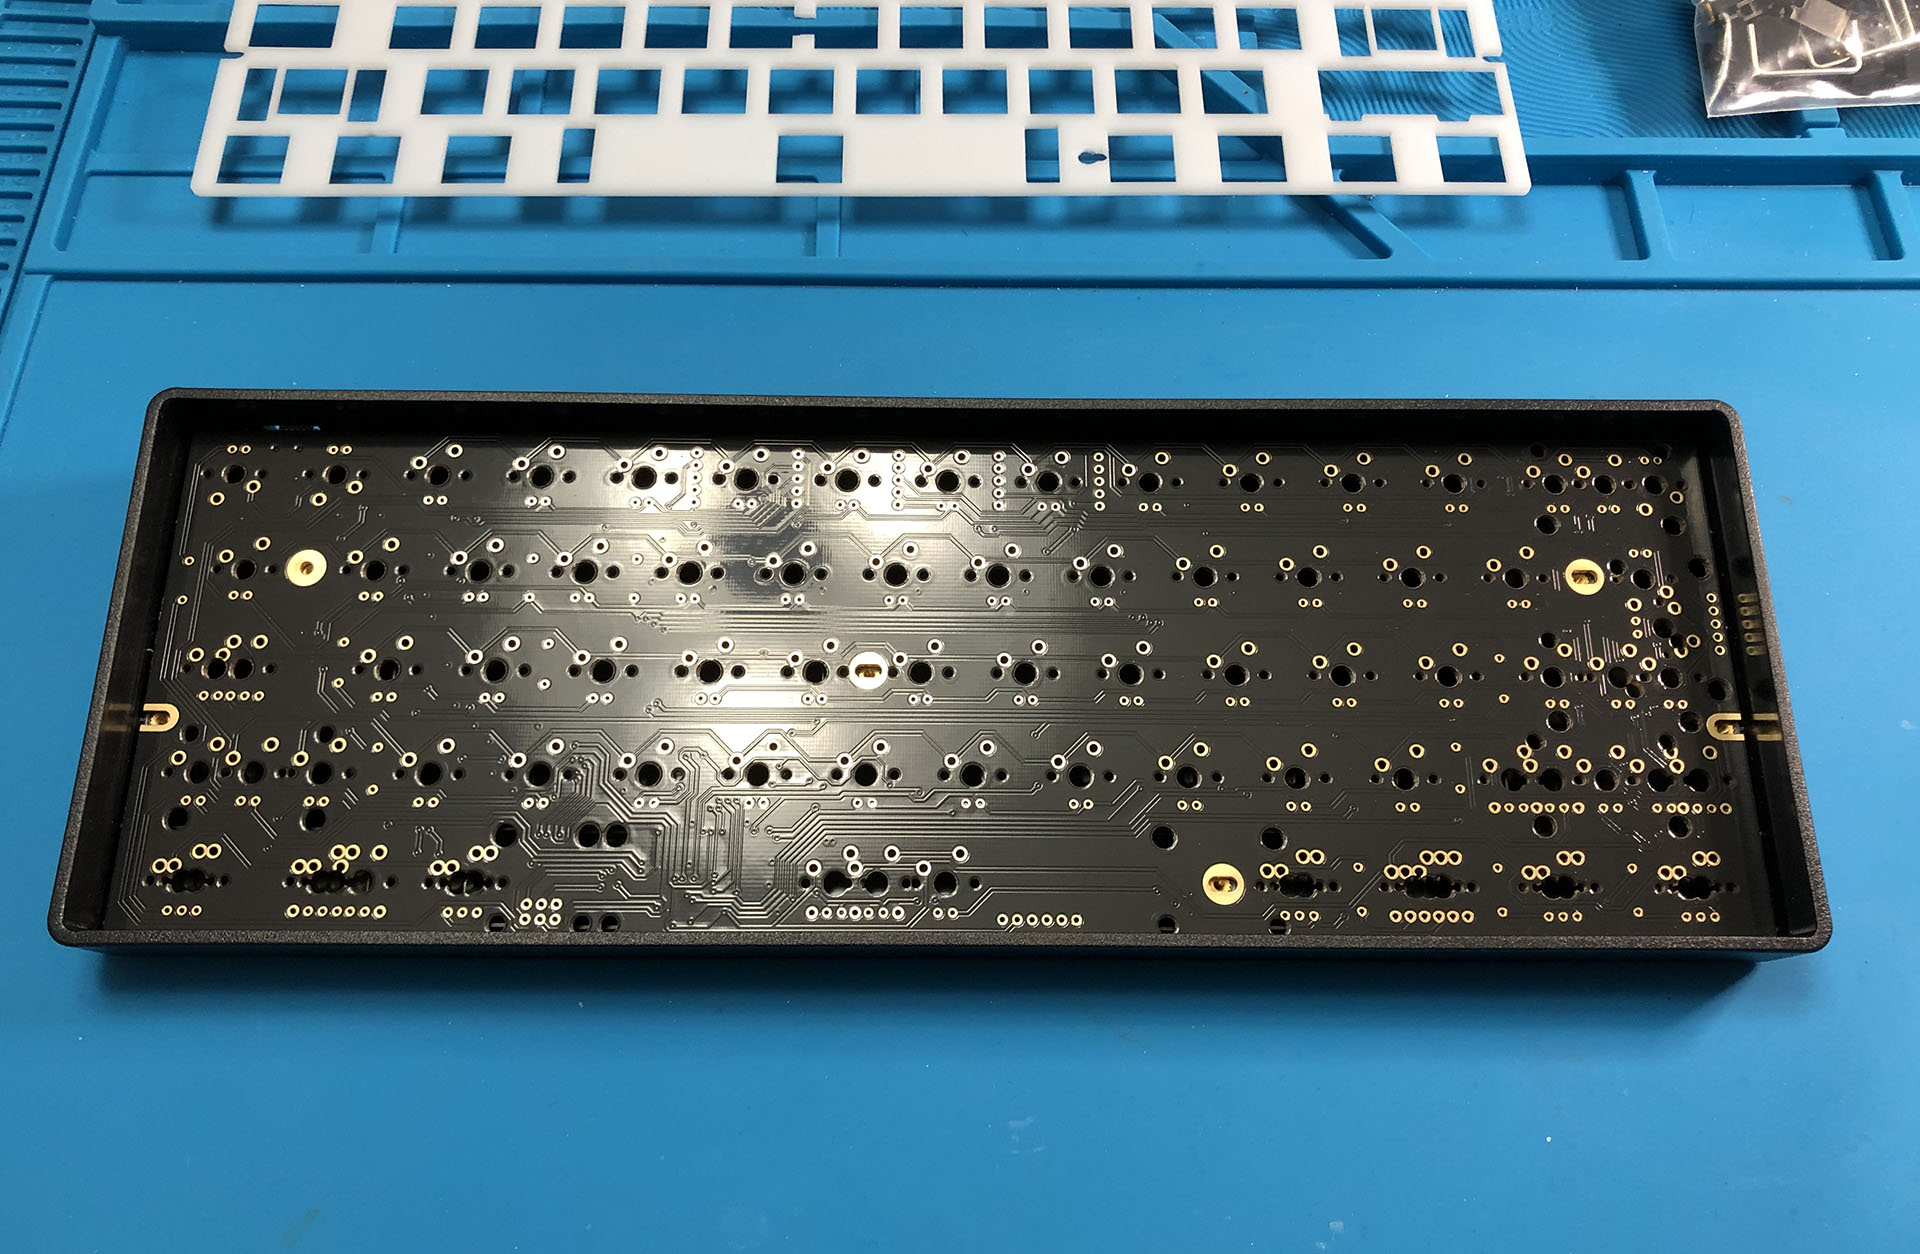
“Great,” I thought, “this will be an easy, straightforward build. Having just done a full-size with a vinyl wrap, this little guy will be a piece of cake!” …You know where this is going.

For stabilizers, I’d first started with some random screw-ins I had on-hand, but I just couldn’t get them to sound decent; I went with Durock V2 stabs after that. I also tried to use the pre-cut heat-shrink sleeves with both, and had not-so-good results. I’m going to give them another chance with some Cherry stabs, but I’m pretty sure those were the culprit for some quite heinous key-twist with these others. In fact, what I thought was the sound of stab rattle turned out to be the right shift key striking the adjacent ones!
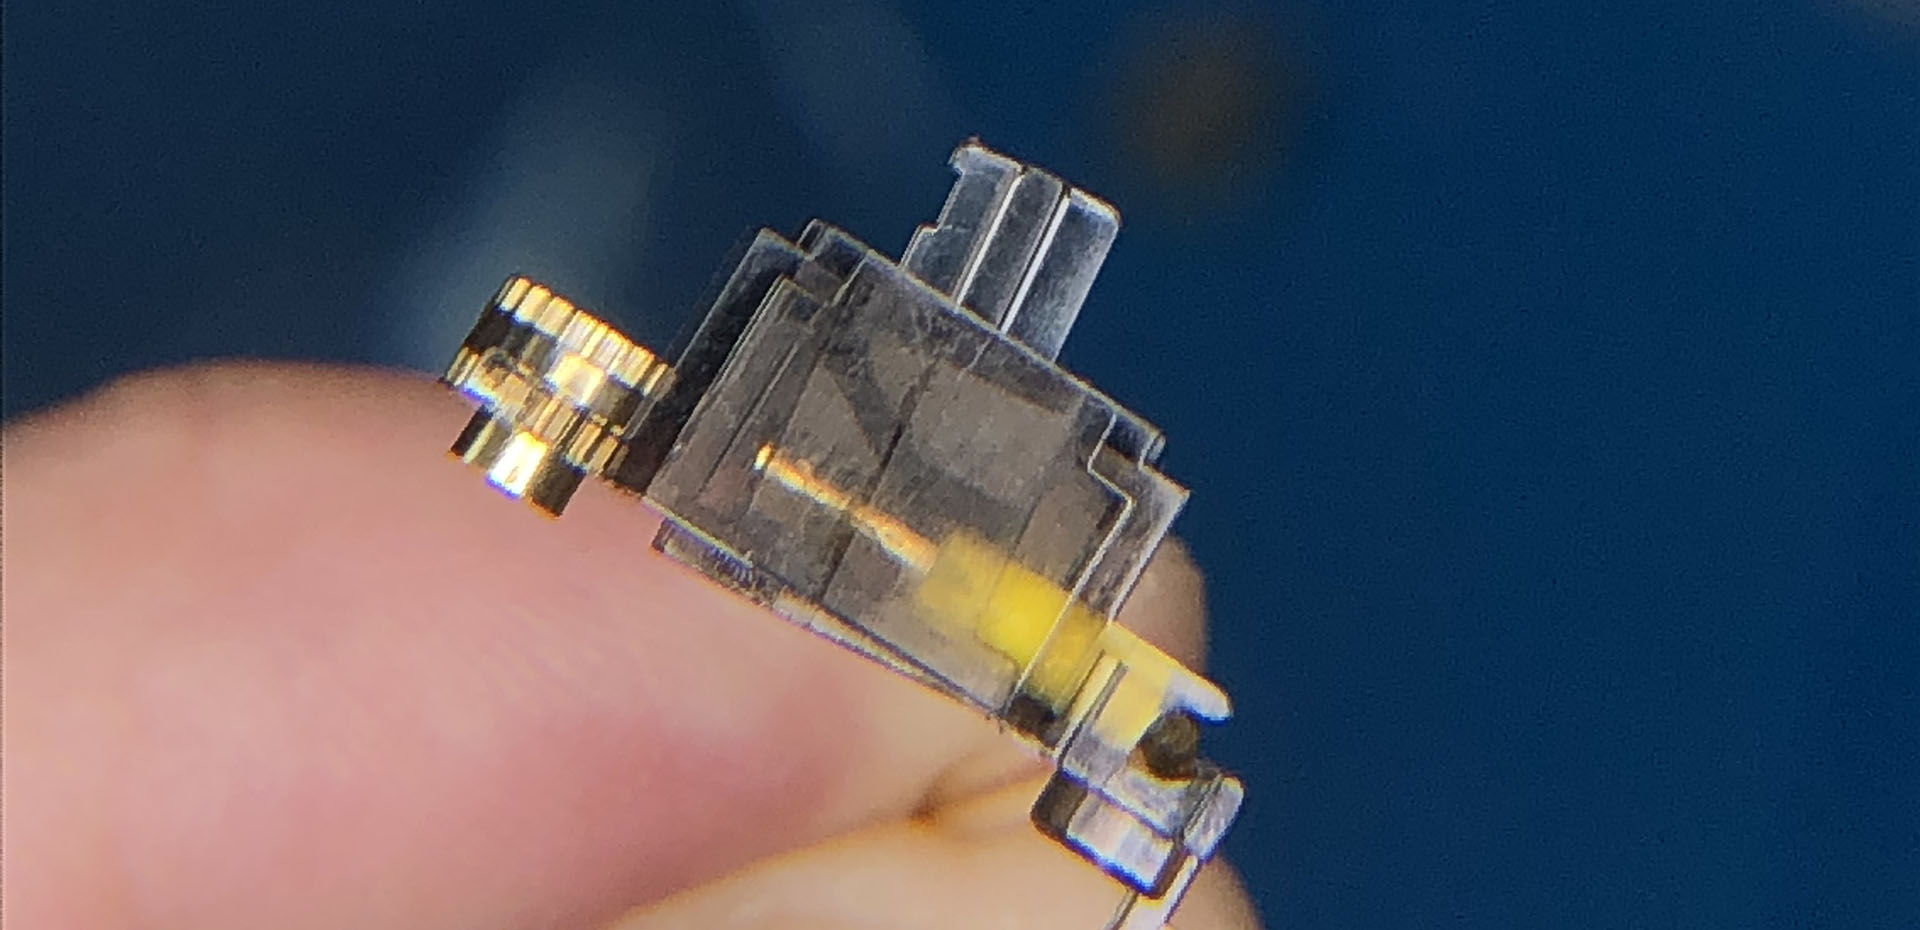
The one part of building that still gives me trouble is getting stabs to both sound and feel good on a silent build – I got these to an acceptable balance, and the owner loves them – but I know there’s more potential in there – so improve I must. • As a funny aside: in five years of messing around with keyboards, working on this one was only the second time ever, and the first time during a build that I had a stab wire pop out – and it was with these Durock V1s. I blame the interaction between these stab inserts and the sleeves. And maybe because I was rushing. Okay, it was mostly the rushing… patience generally wins in this hobby.

One thing I did notice about the Durocks that they had in common with the randos; they do seem to allow for more twist than I’d prefer. I do think it was the heat-shrink pushing on the inserts that actually caused the twisting, but there is a lot of North/South play when the inserts are at the top of their travel. I got rid of the sleeves on most if not all the stabilized keys, and that did alleviate the twist enough to stop the striking.
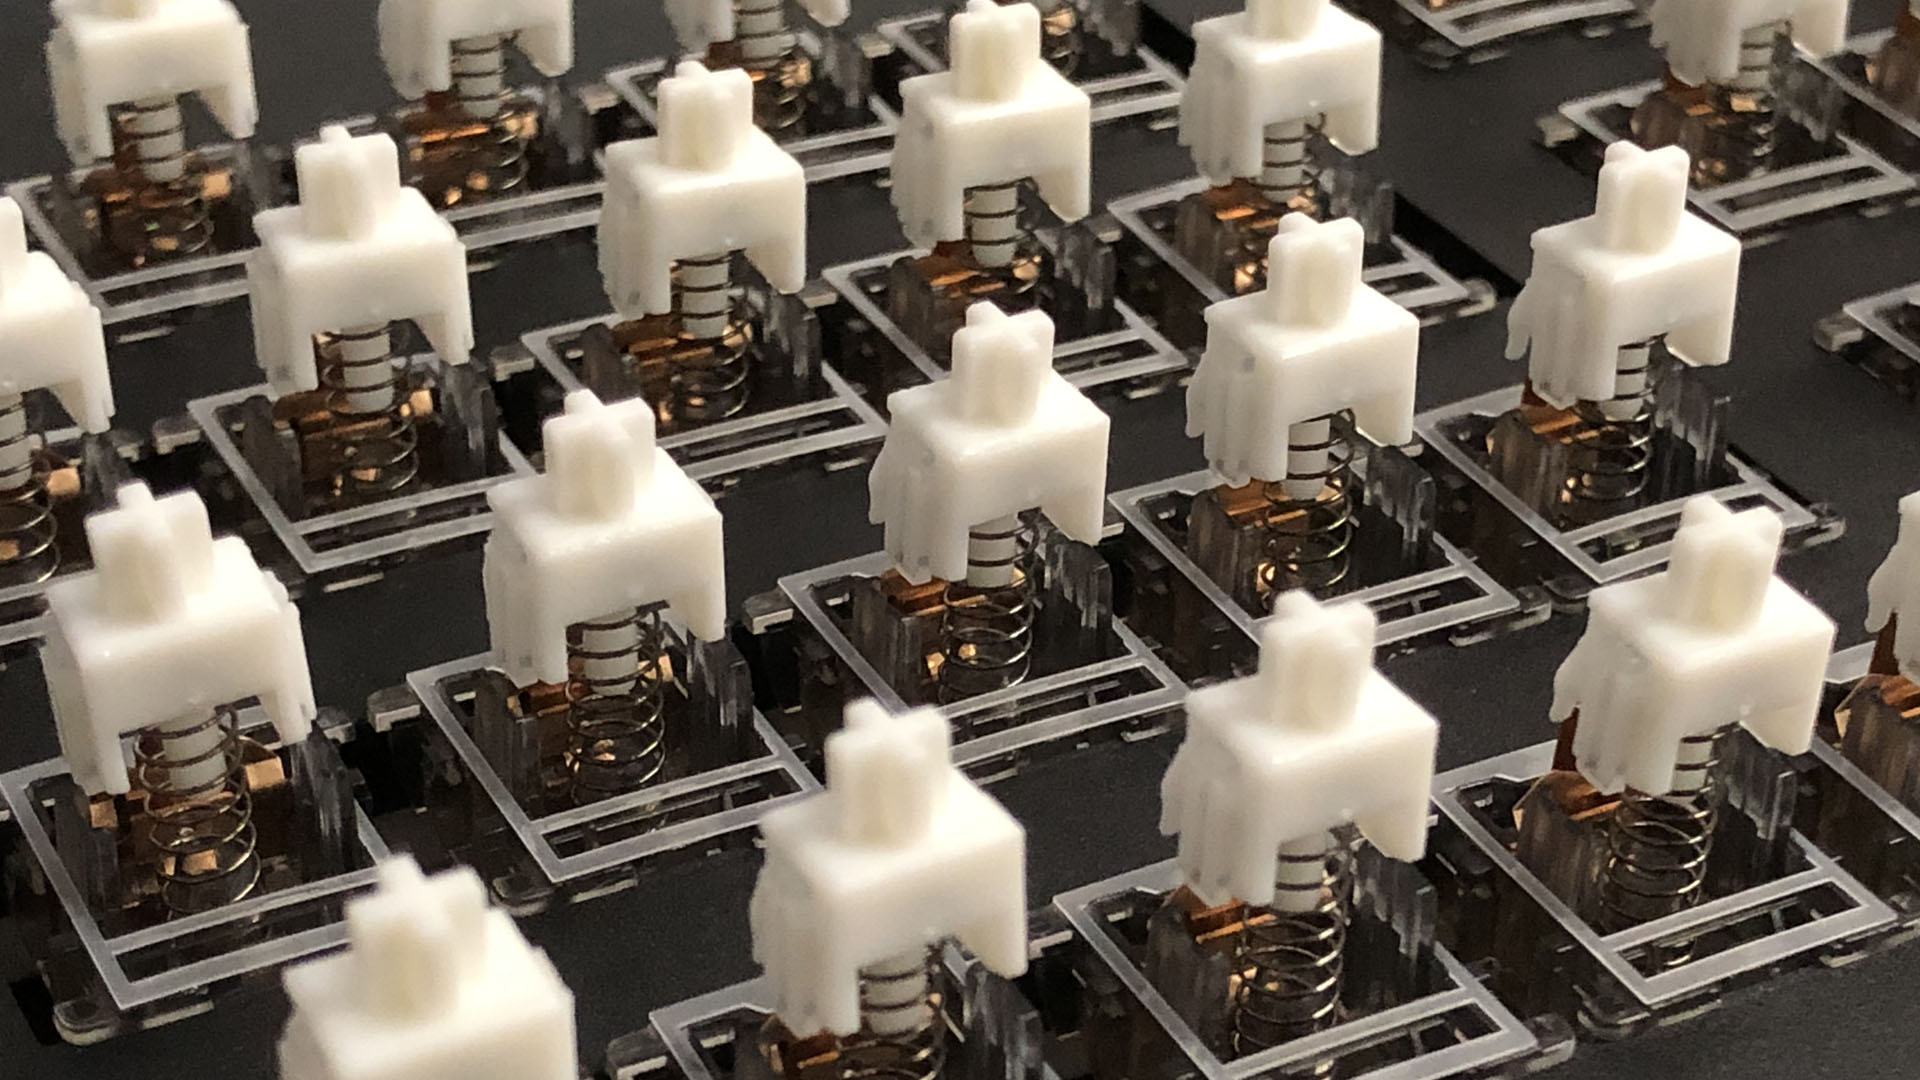
Lubing and filming; Krytox GPL 205g0 and Deskeys gaskets.

With switches sorted (and soaking up a good chunk of the budget), I went for a GH60 rev. C PCB, a basic plastic case from KBDFans, and a slightly mis-cut POM plate I had as an extra. When I’d converted the cut file to a different format, some of the holes for the PCB screws moved a bit – but POM is really soft. A little coaxing with some hand tools, and I could access the screws.

Something I learned that day: soft, slick plates are hard to work with when the only thing holding them in place are the clips on the switches! I’ll tell you right now – I fully built this keyboard no less than three times until I was satisfied with both the stabs and the plate. I got a method down, though – and one I would only use on a really soft plate like this, as opposed to what one might normally do when assembling a small tray-mount solder board.

Third attempt now – I started in one top corner, and worked my way down like a Space Invader – each time making sure to both hold the switch flush with the PCB and keep the plate supported in the right places so it wouldn’t fall off the switches.
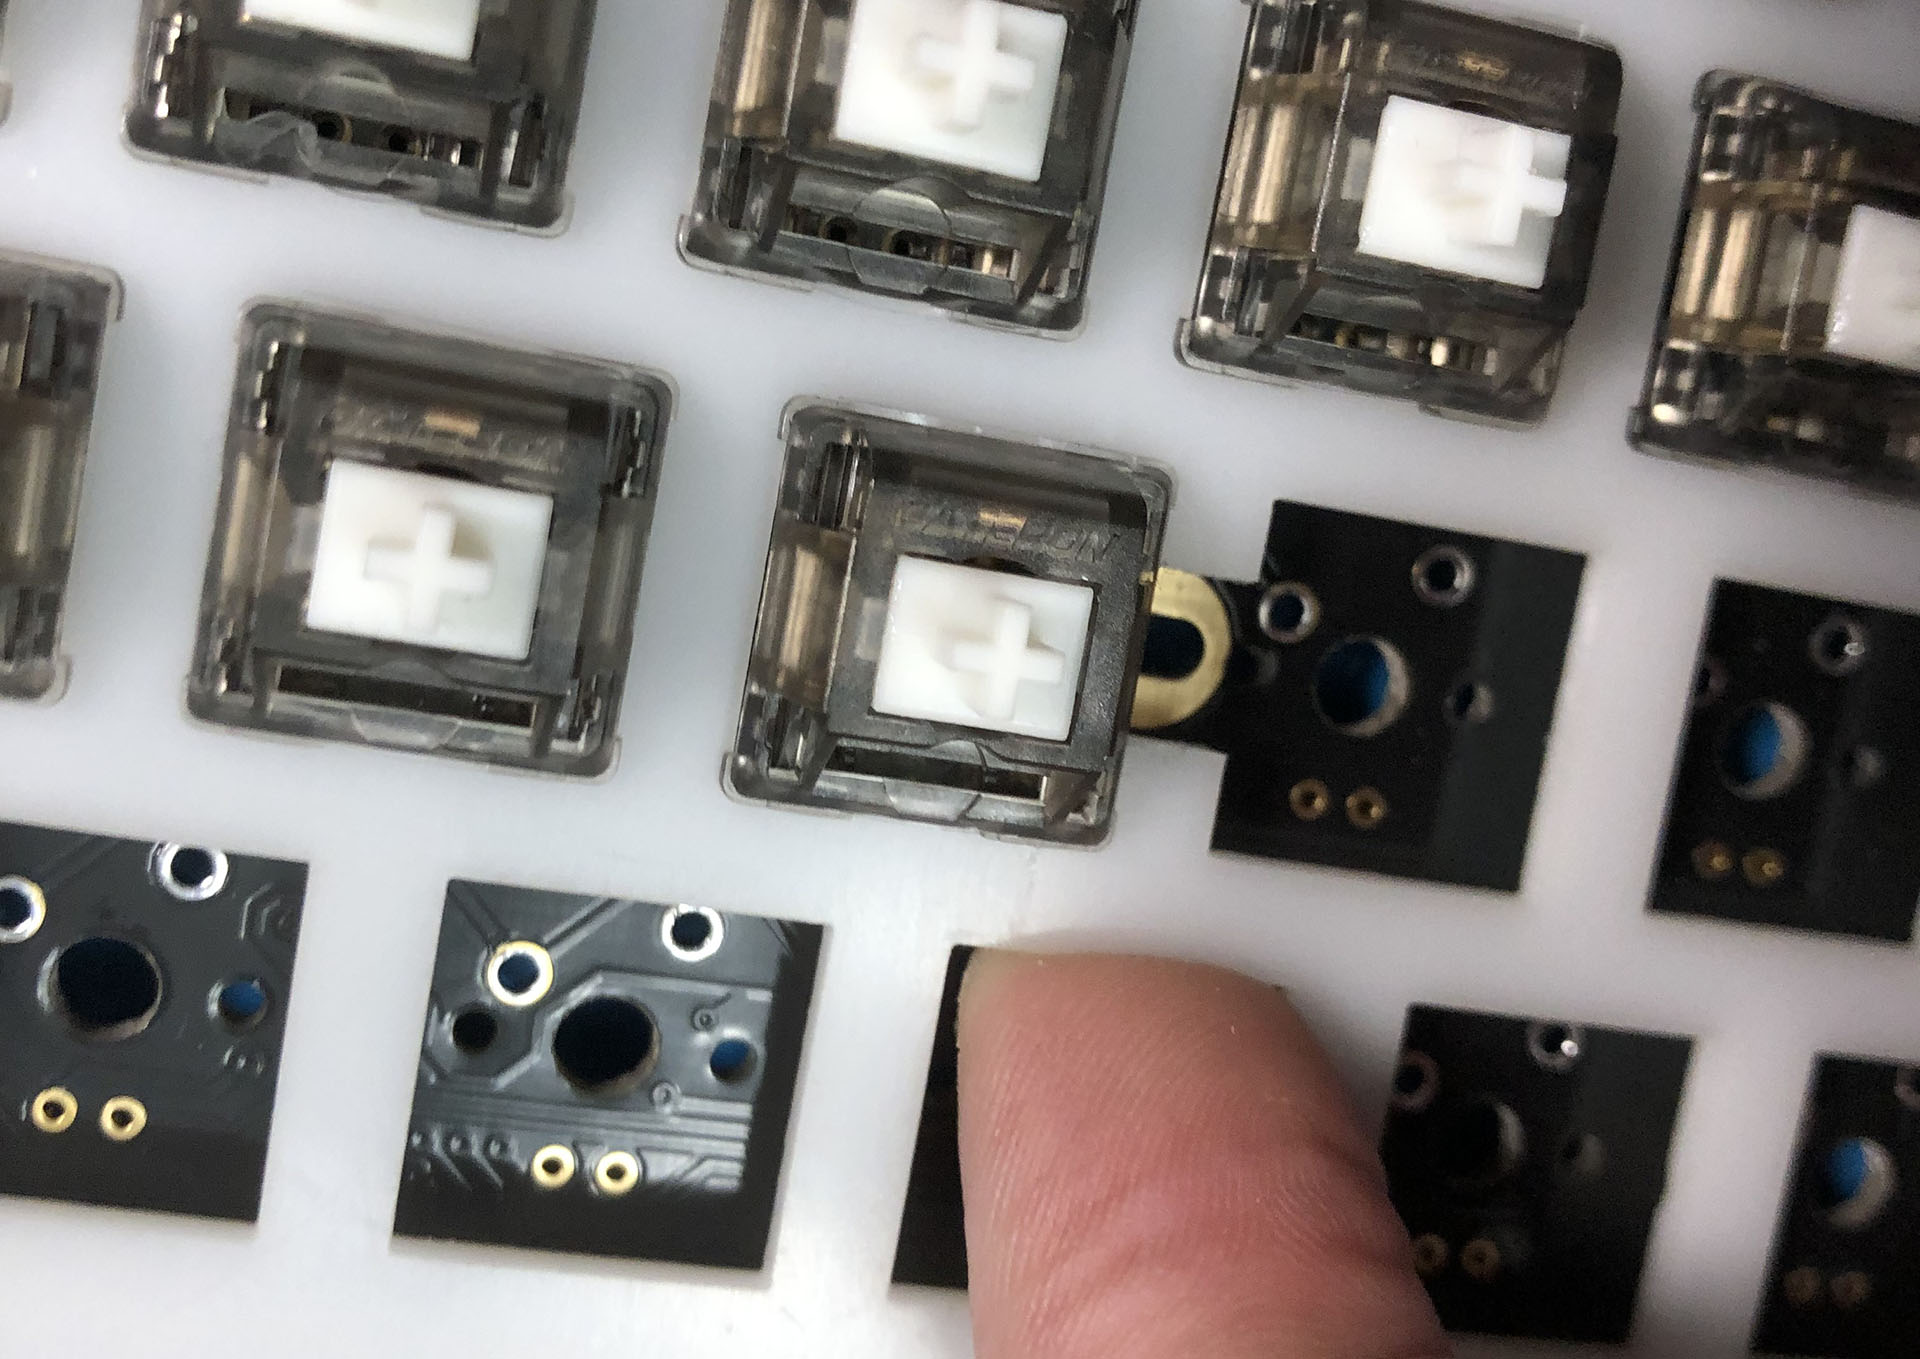
Don’t let it drop…

Oh, yeah – it did. A few times. I managed to pop it back into place with a couple toothpicks and a small hook tool. Once I finally had the “sandwich” together, I gently, awkwardly let it down into the tray and sighed a great sigh of relief when the plate stayed in place. In the two previous iterations, I’d used the burger-mount mod – that is, putting small o-rings on either side of the PCB mounting holes. It’s really quite tricky to install with stock screws, and extremely finicky when dialing-in the necessarily gentle tension on those screws. I ended up using plastic stab washers to help in a few places with slots instead of holes, which did make a difference.
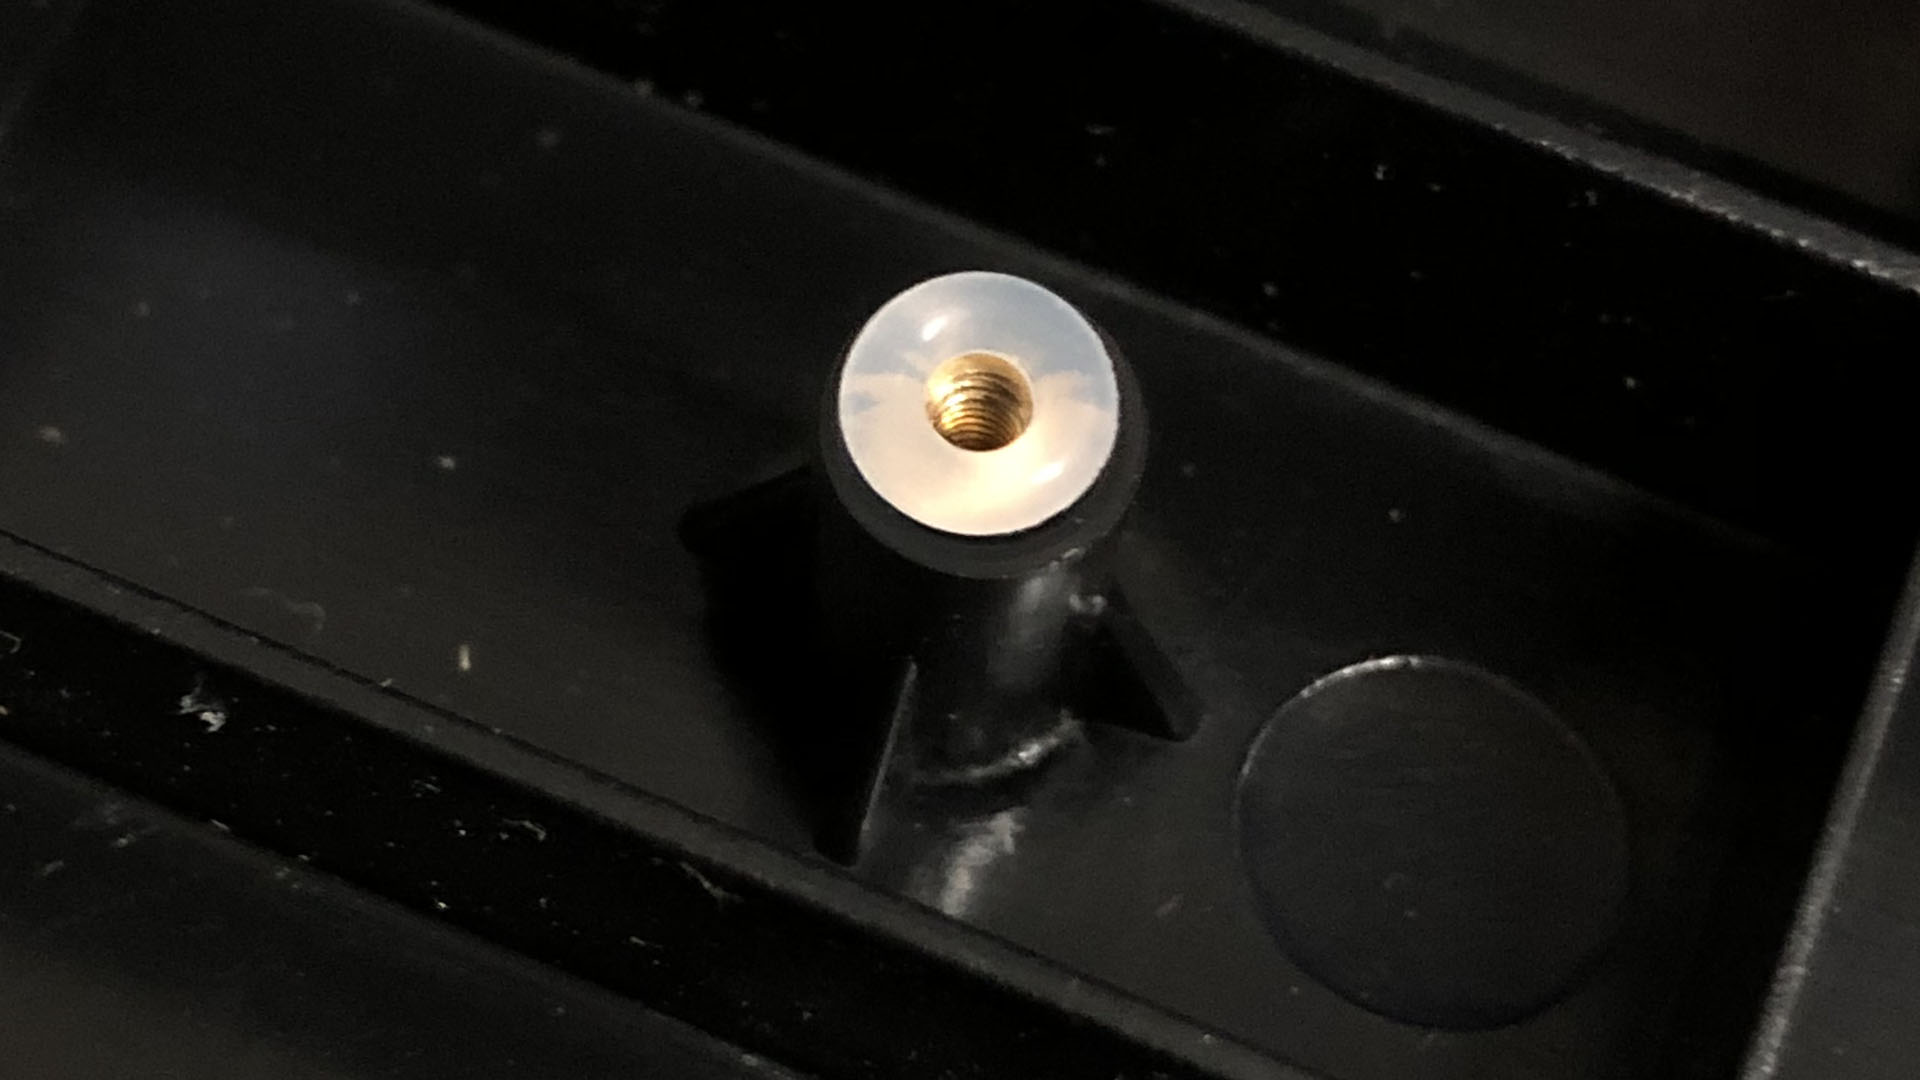
Squishy borgar – also known as 5mm x 2mm x 1.5mm silicone o-rings.

Speaking of making a difference, holy wow does this mod do something. I was expecting a change, but not so much of one – this cheap tray mount keyboard was now more suspended and bouncy than my plastic gasket mount poly-plate whatever thing. Granted – it’s finicky and likely high maintenance, and it doesn’t have the nuance of an edge-mount system – but it’s so bouncy! For this build… maybe too bouncy. The silent stems made by Outemu, including Gazzew’s, all have relatively soft, large feet compared to most others. Combined with these and a super soft plate… Definitely too bouncy – and likely too high-maintenance for someone that just wants a reliable keyboard – so the next assembly was a bit less brow-moistening sans o-rings.
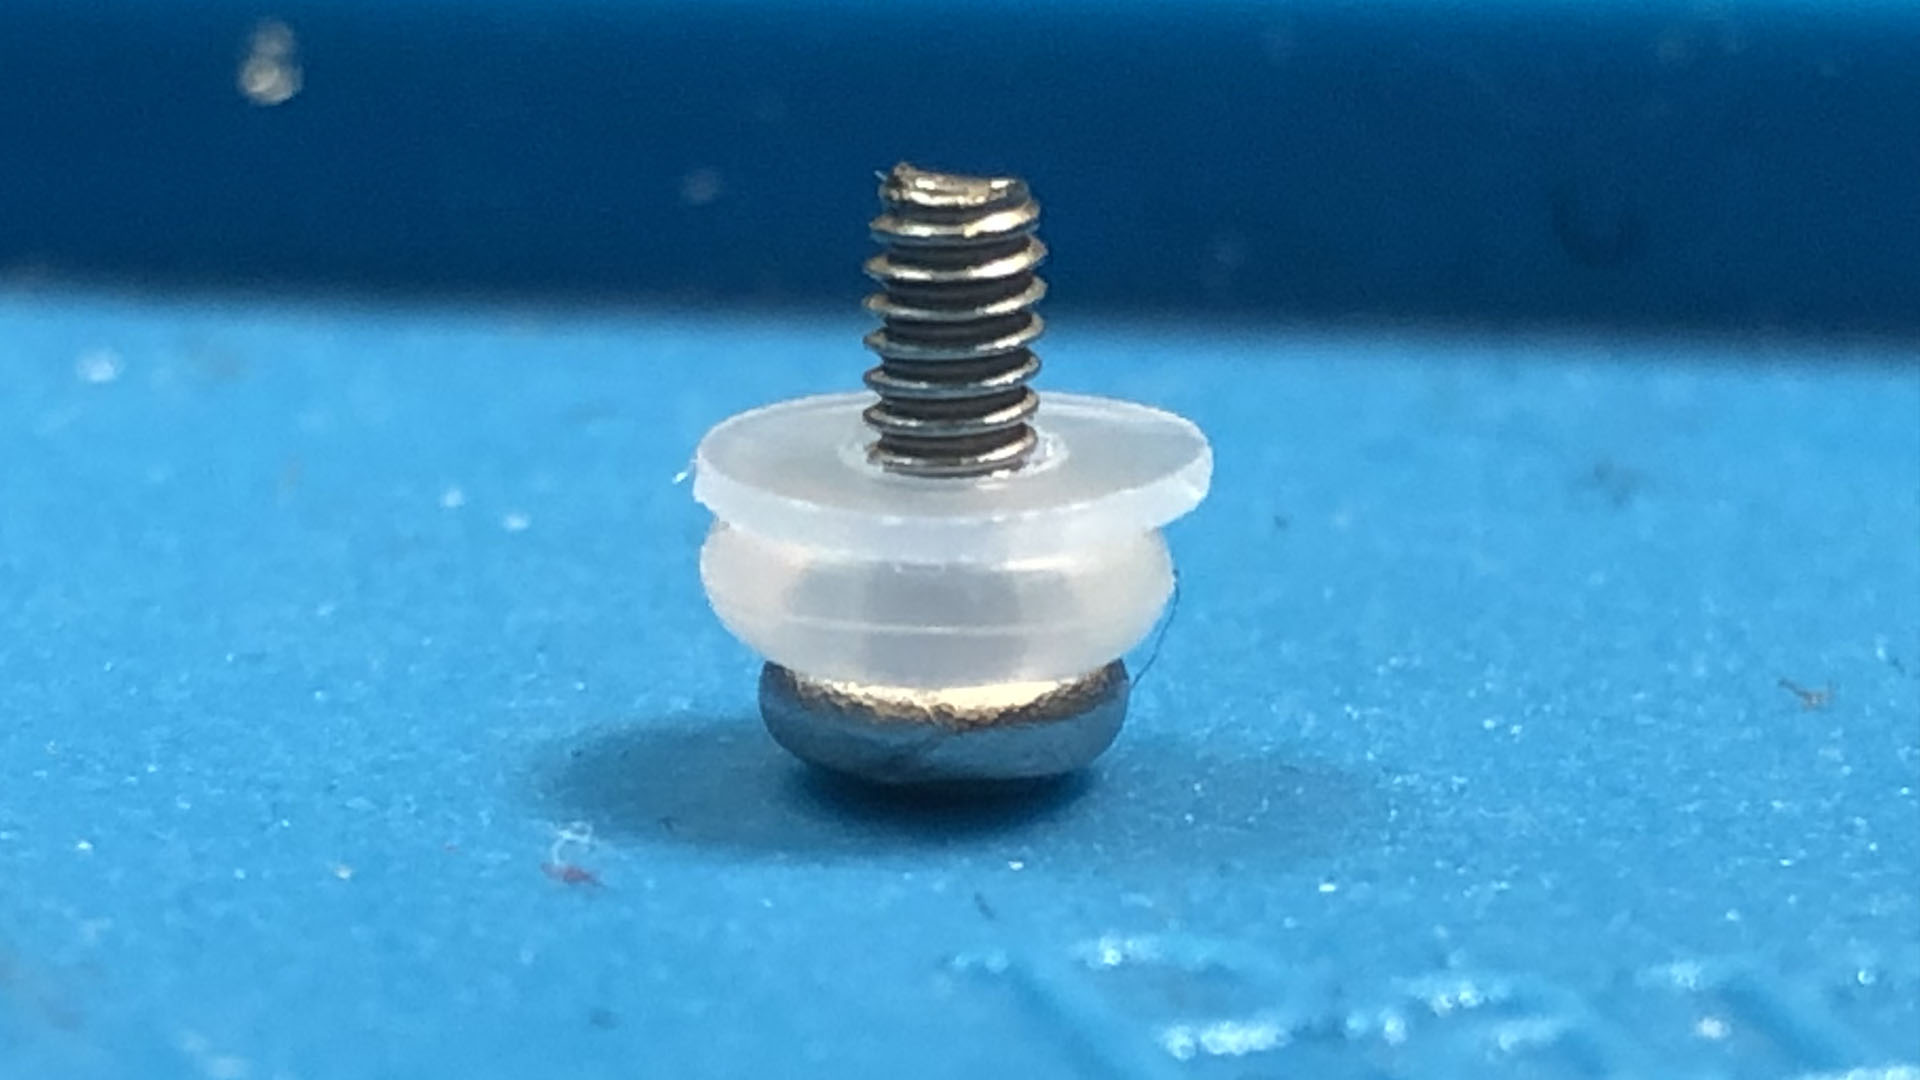
Seen here, a plate-screw with one o-ring and a plastic stab washer that I used for the slotted holes. It’s easy to see how much thread-space these take up before compression. If you want to try this legitimately transformative mod, do yourself a favor and grab yourself some longer screws ahead of time.

This is a fun time to mention that I stole two lead weights from a GMMK fullsize to weigh this board down a bit, since it used such a light plate and case. I put them in place with some double sided tape, and placed some cheap foam over them.
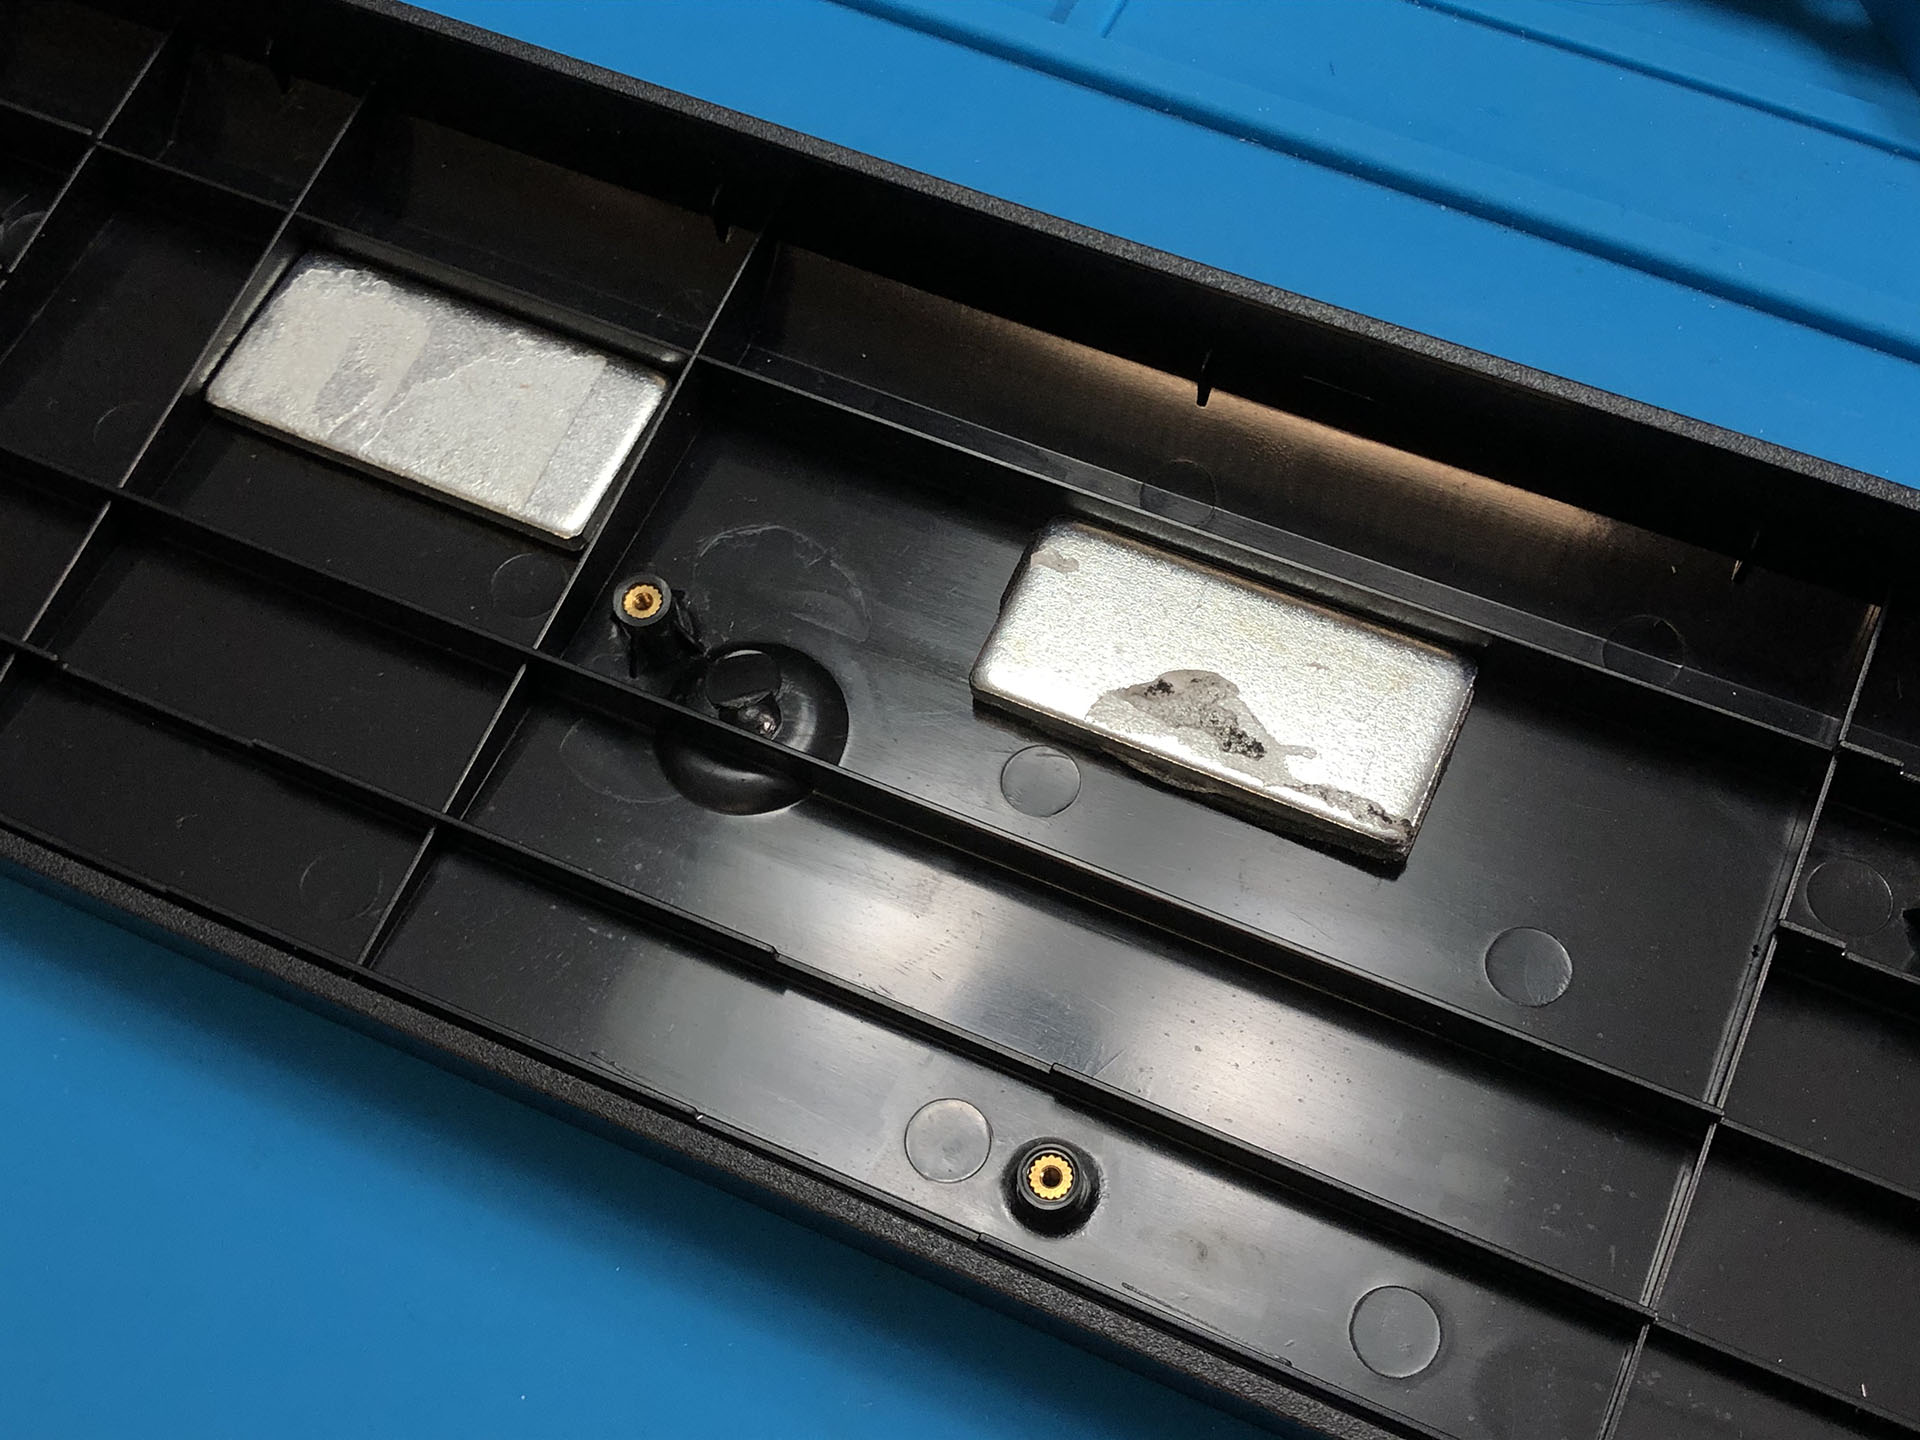
Not the prettiest guts – but functional. Such is ballin’ on a budget.

I did have a bit of an oops moment when I realized the GH60 uses USB mini, which is genuinely archaic at this point. I’m personally a fan of it, at least over micro, but I understand that most people aren’t, and there are good reasons for that besides just being old. The clipping mechanism is in the port instead of the cable, so when the clip wears out, you need to solder on a new port or get a new PCB – unlike pretty much any subsequent USB connector iteration. Ah well – the budget for the Ink housings came from the $20 I saved there, so it’s not all bad.

I threw in one of the USB mini cables I’ve been hoarding for years; they have nice minimal aluminum ends and a very flexible “braided” cable between. I mean really flexible. Like cooked spaghetti. Perfect for PS3 controllers! I wish I could find a USBC or micro cable like that. Anyway…

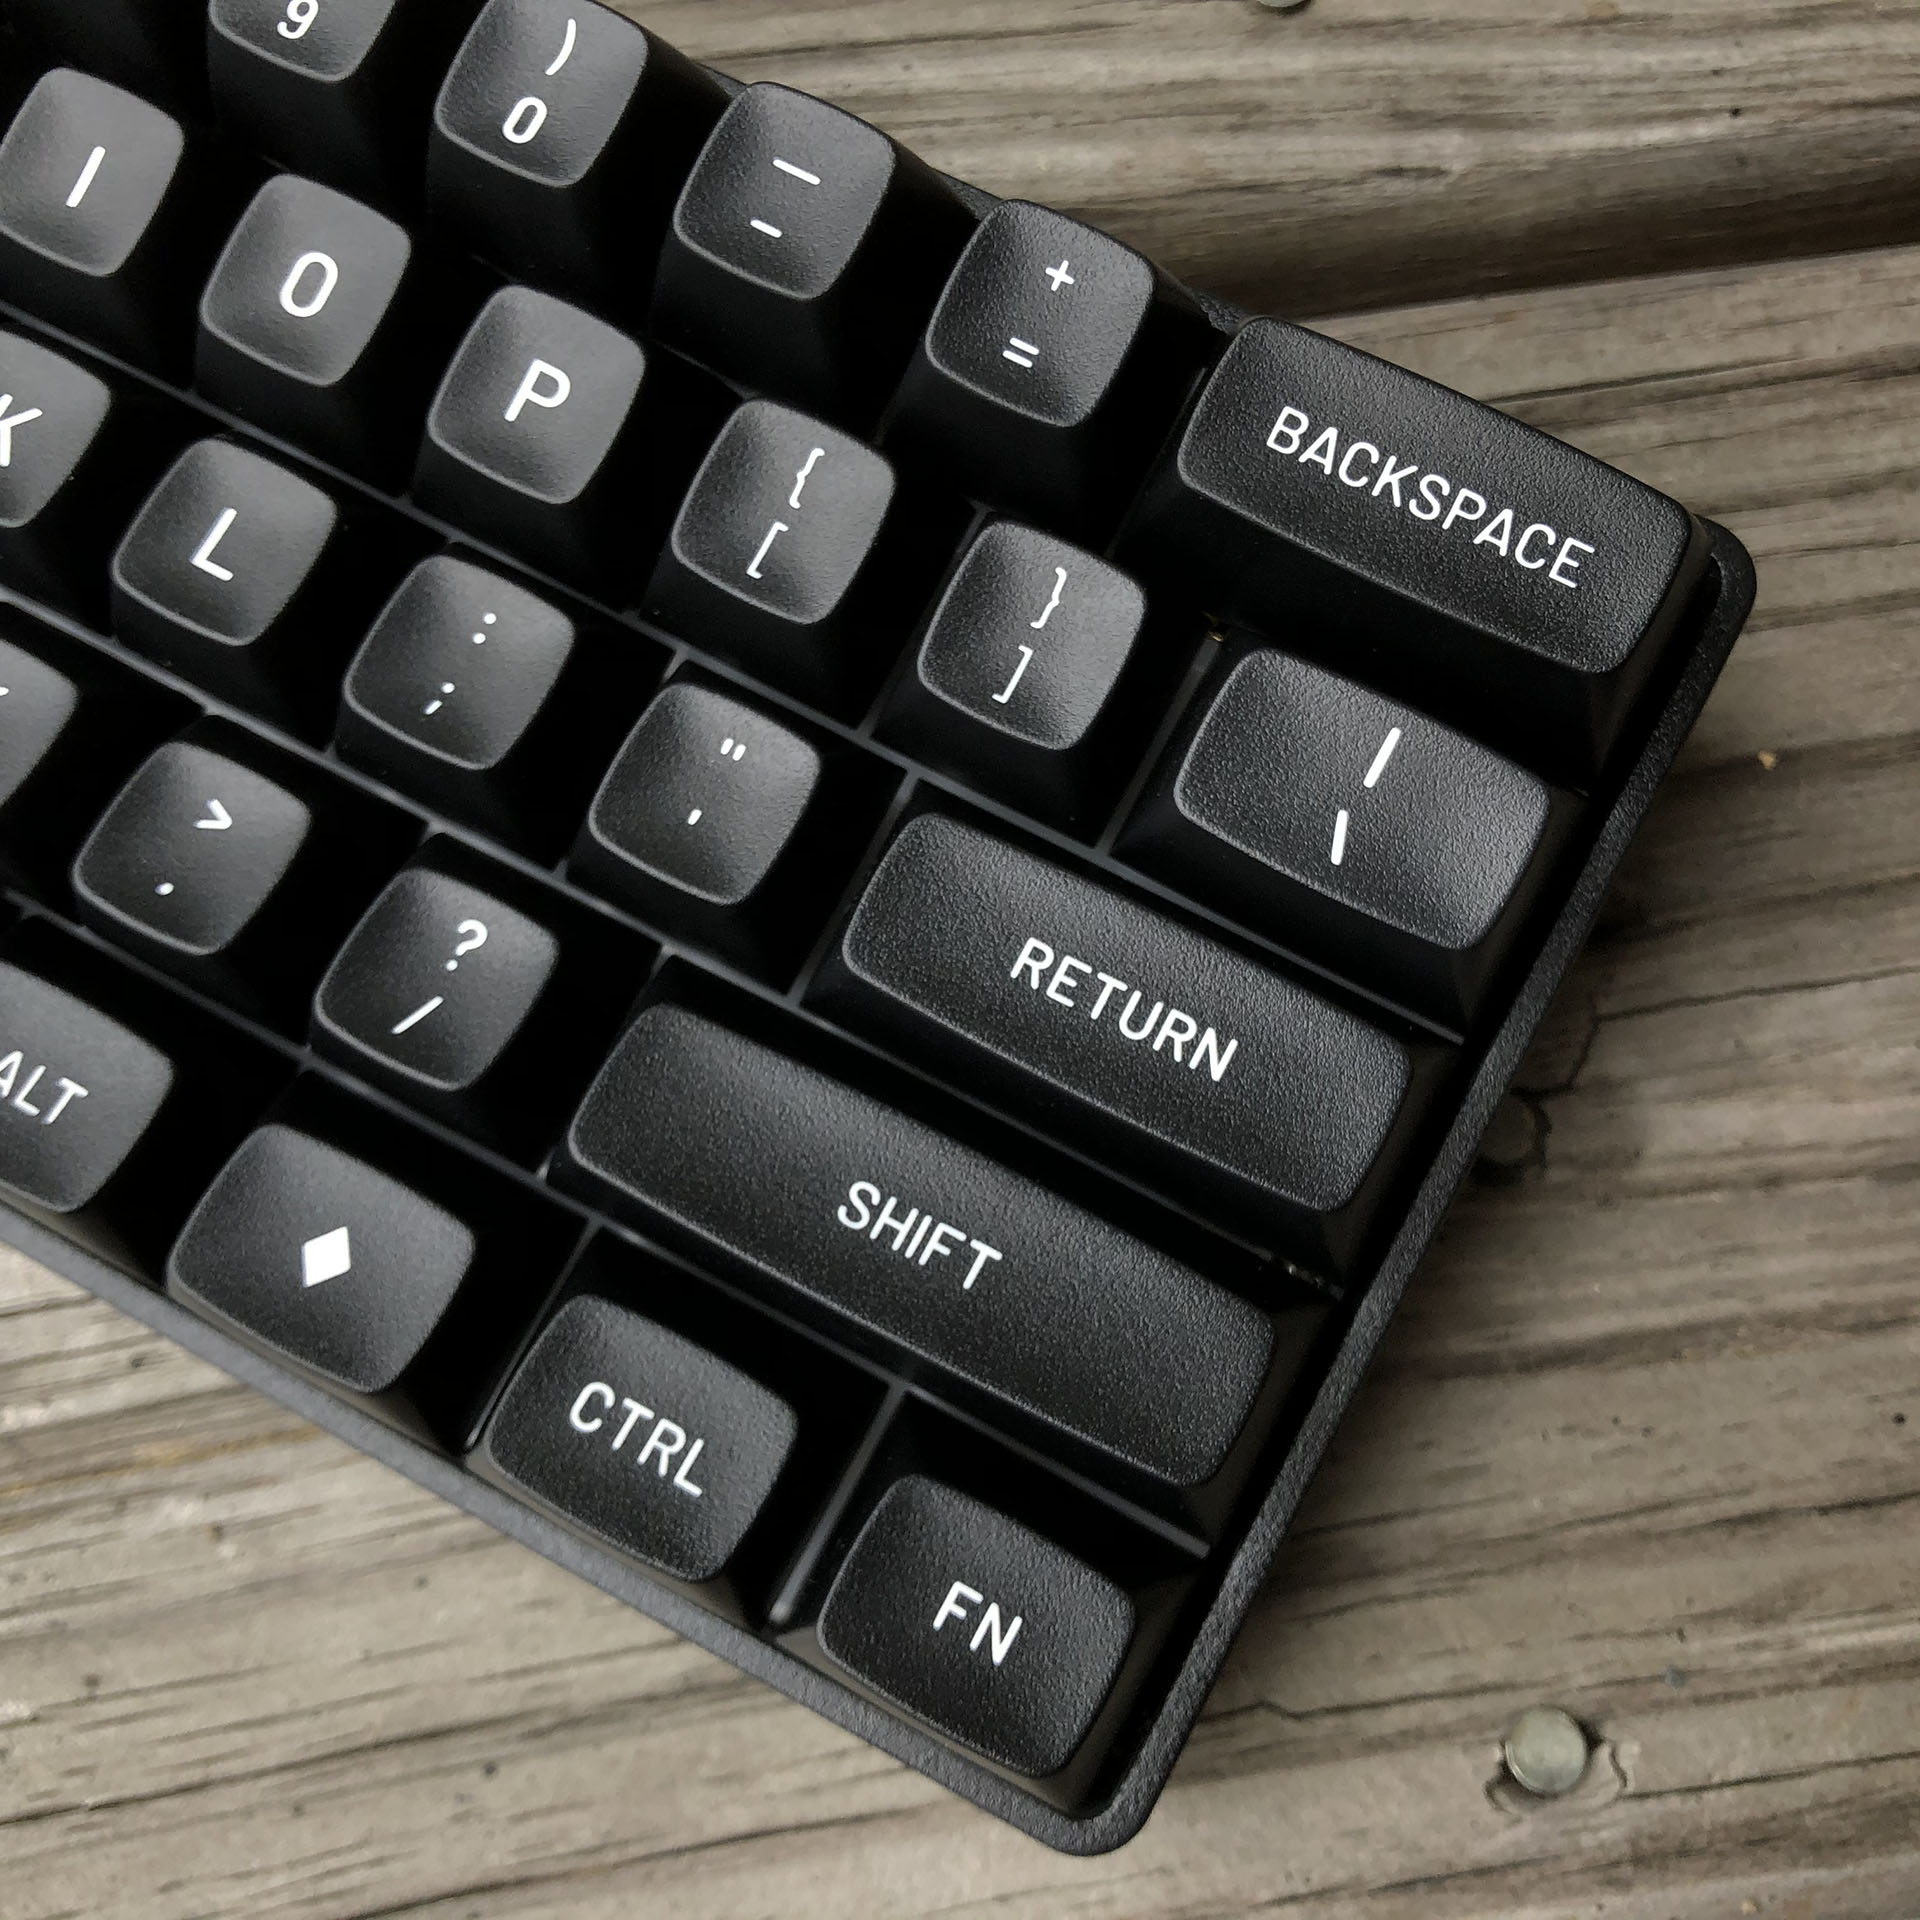
Glancing back to the budget for a moment – after everything else was set and balanced, I had enough left for a modest but nice to use keyset. When we talked about it, IT guy decided, aw heck it – let’s just go for some really nice keys. He’d been a fan of minimal black themes so far, so I showed him a handful of WOB sets in different profiles. After trying a some, he settled on MT3 for striking a good balance between being actually usable and having lots of retro flair. I agree; I’ve been daily-driving my MT3 WOB set since I got it months ago. This selection of course blew the budget by an almost comical 25%, but would you look at those DISHES?
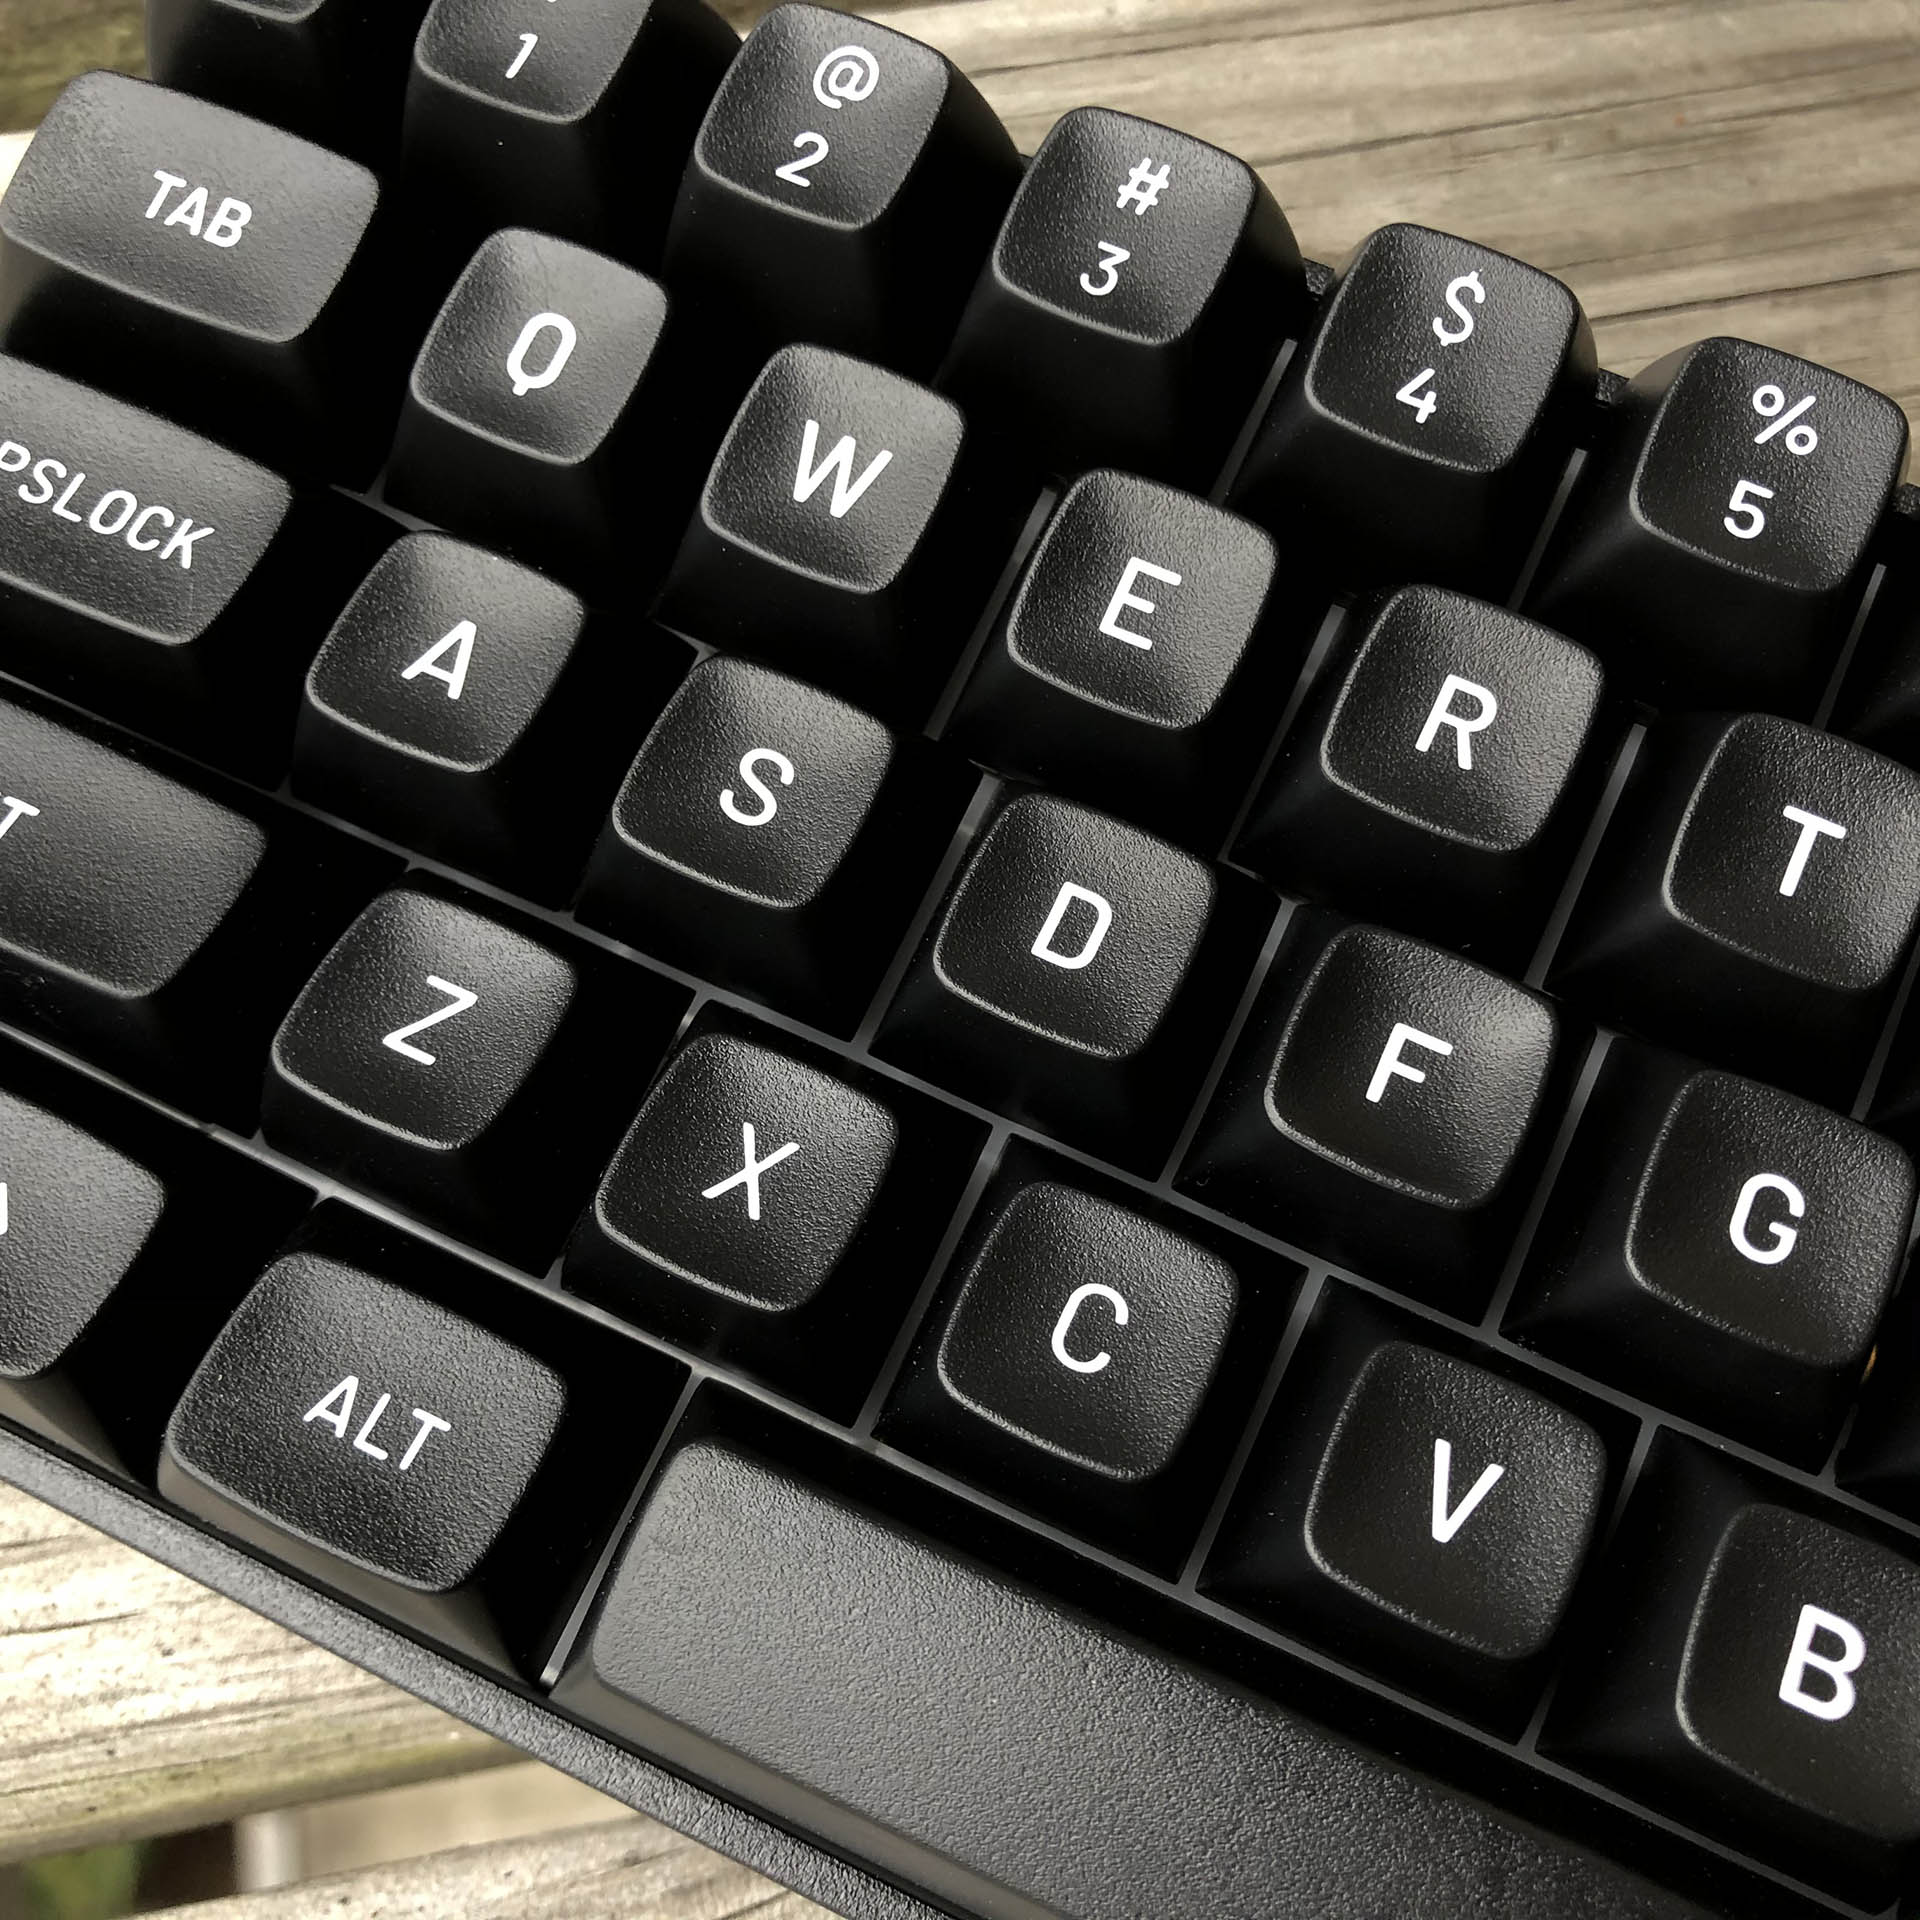
Looking past the dust I’m currently too tired to photoshop out of this image, one can see the delicious deep-dish texture of ABS MT3.

I topped-off the board with a logo sticker and some silicone bump-on feet since the included rubber pill-shaped ones didn’t fit in their assigned grooves on the case. Assembly complete (or so I thought), I handed the board over and went on with my work. The next day I asked how the keyboard was treating him, and he said, “I LOVE the switches, but with the tall keys I need more angle.” No problem, I said – and it really wasn’t – but I did make another silly goof and bought laptop-sized feet before picking up a selection of various bump-ons. He picked the largest ones, both for being the tallest, and for being the softest; made of sorbothane rather than silicone. He put those in the back and ditched the small front feet altogether.

I don’t have a good sound test, or one that includes the smooshy sorb feet, but I took one with my phone sitting on my desk at work. First, some other silent switches in the same environment for comparison, Silent Box Browns:

And here’s our build with the Black Ink U4s:
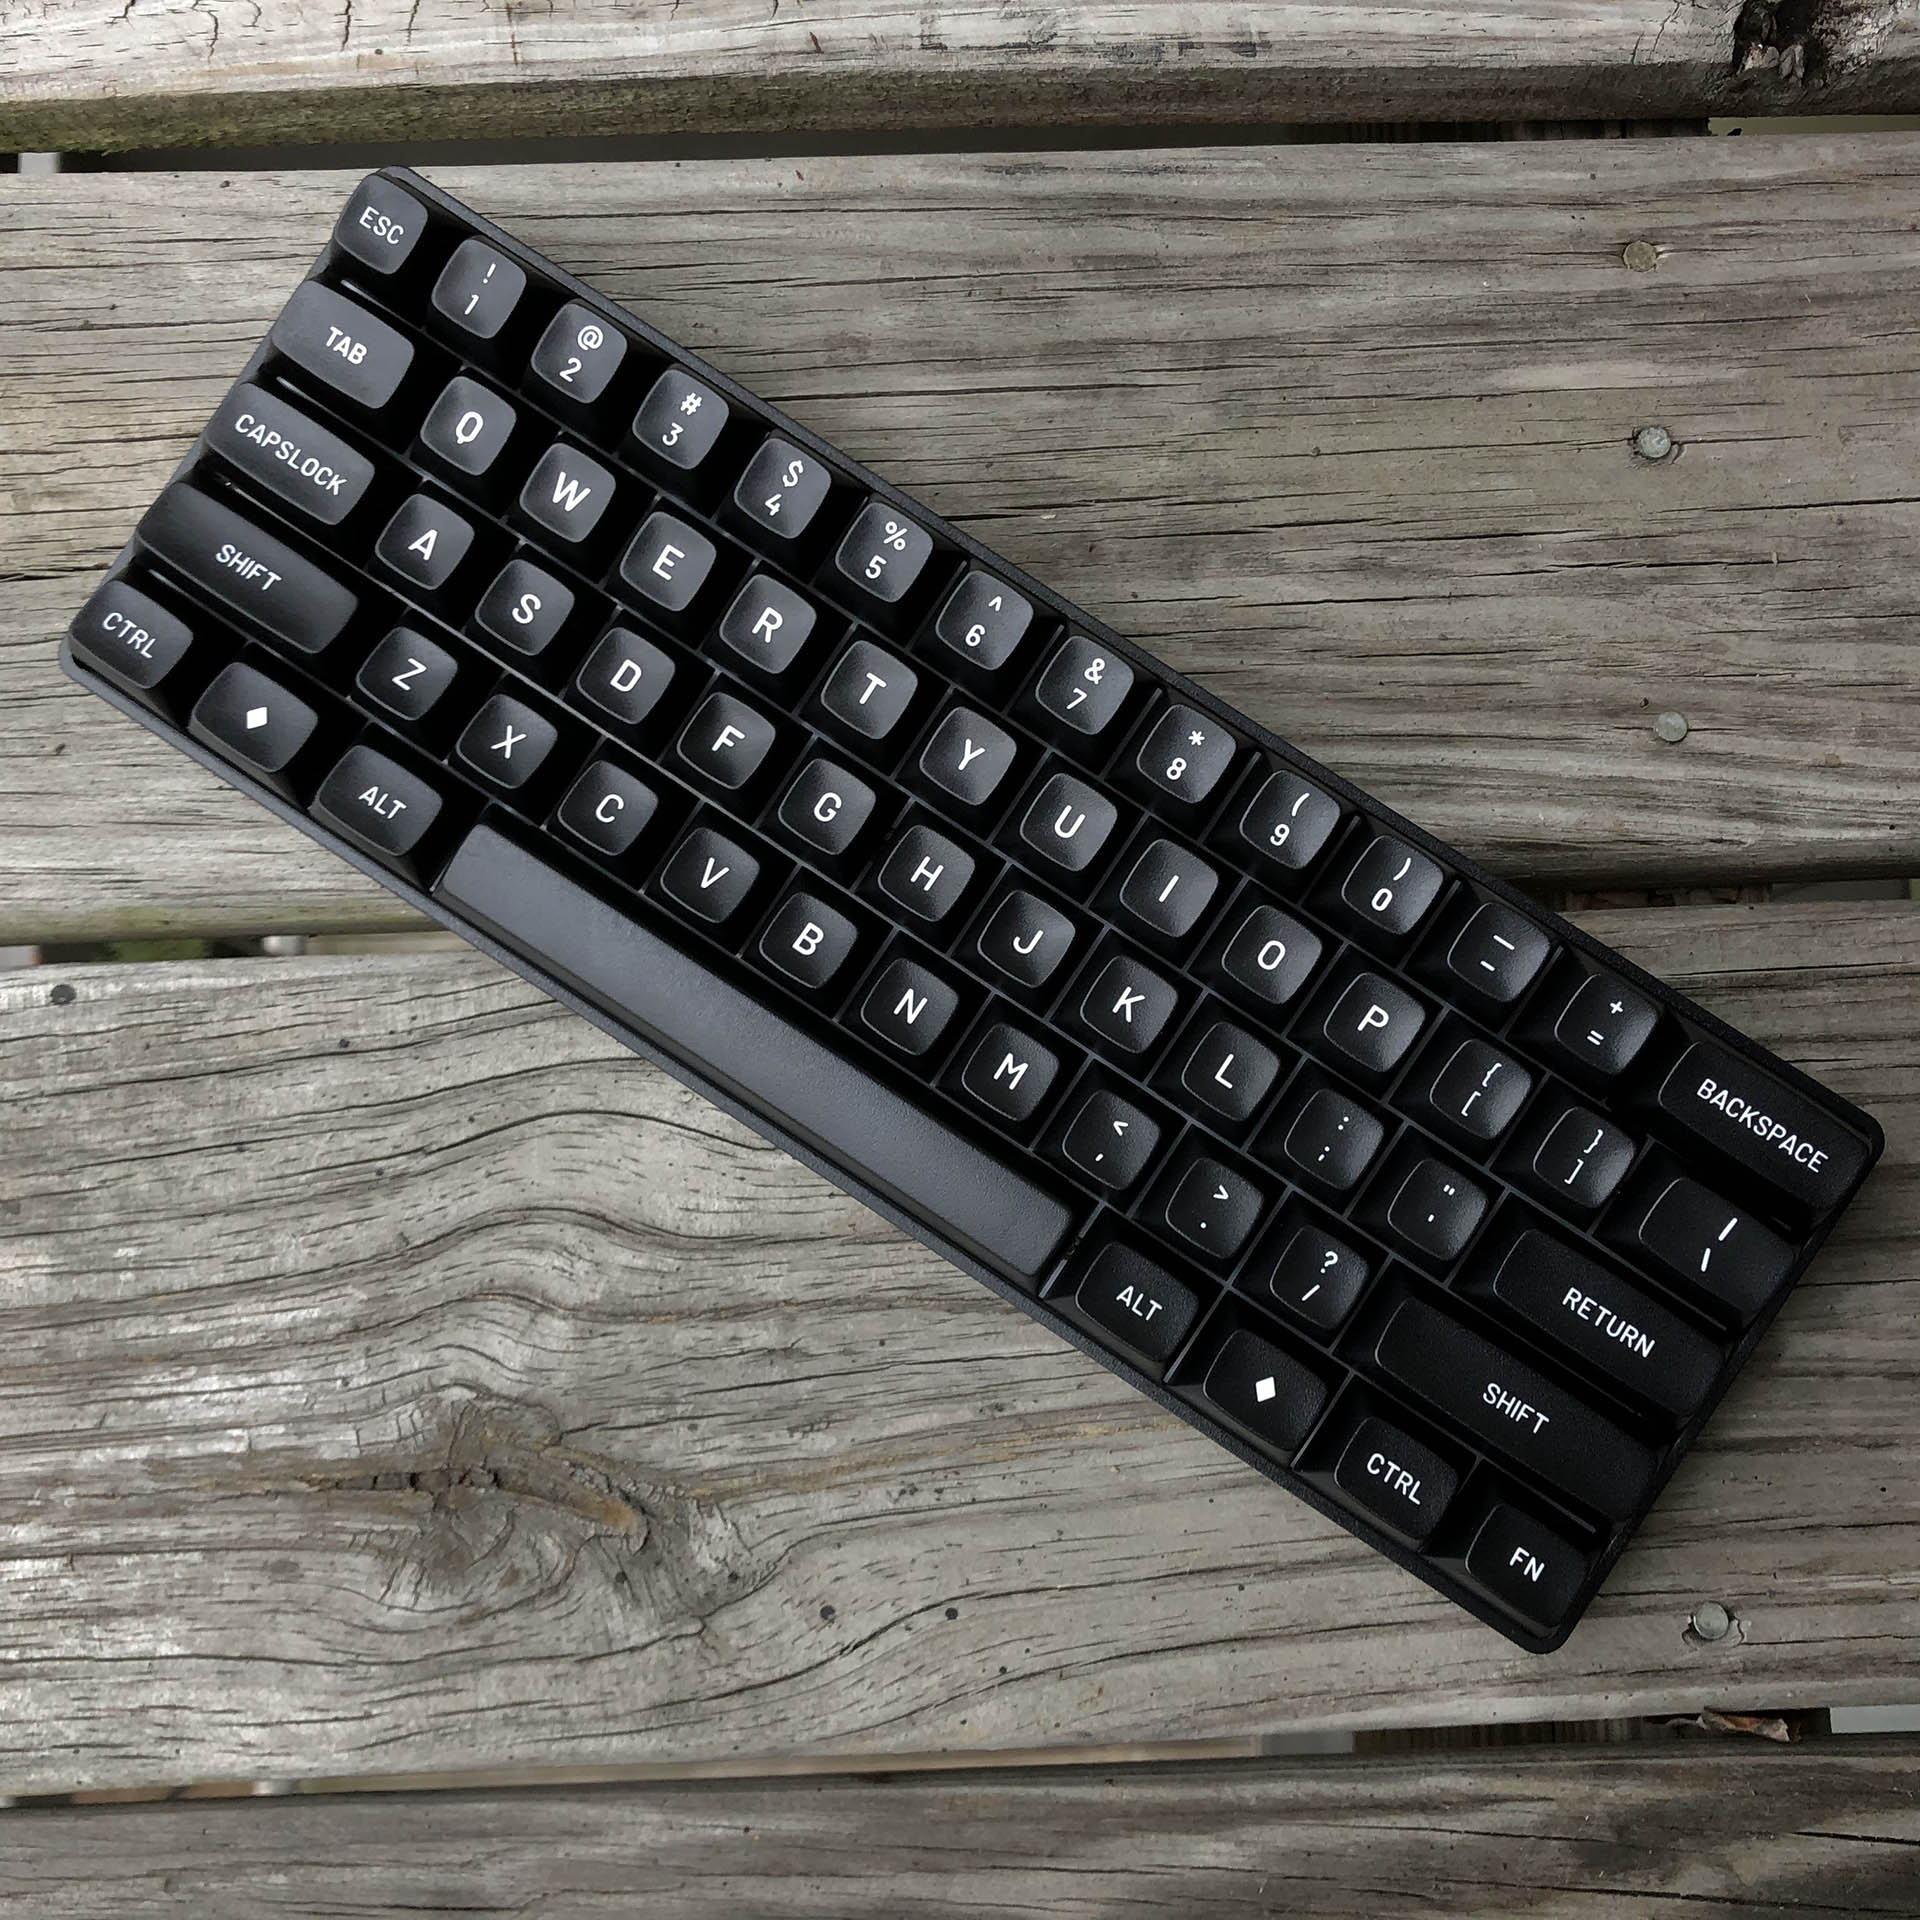
 

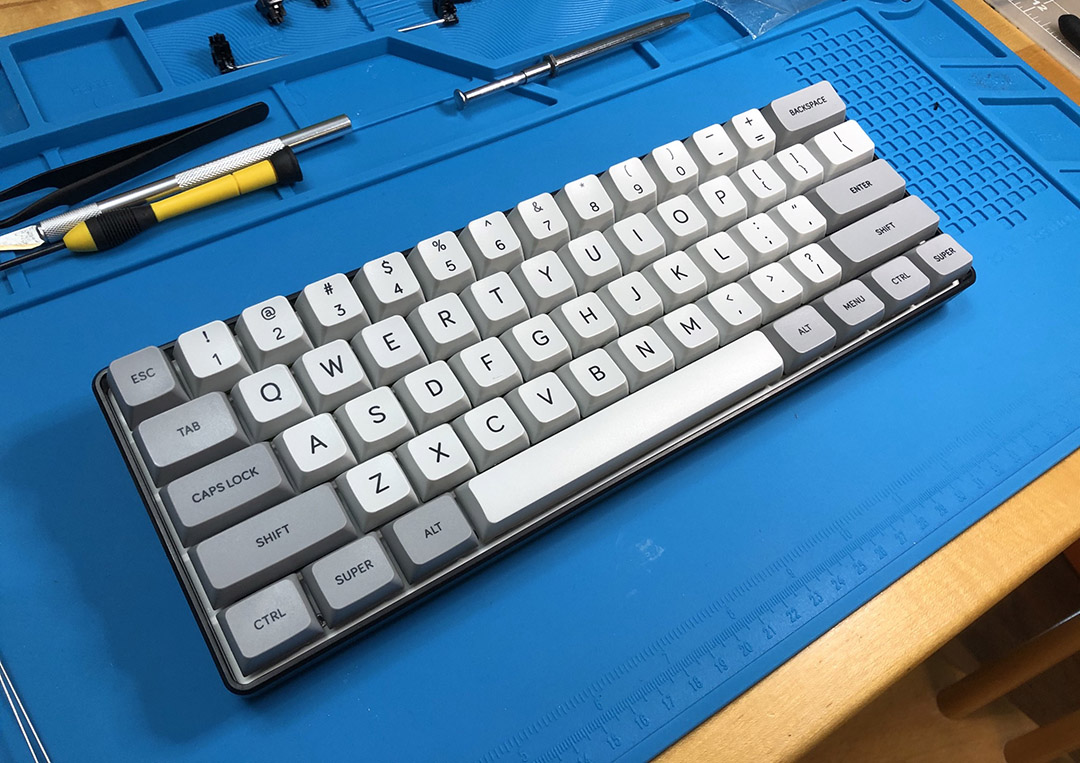
I love the sharp, clean look of a simple white-on-black build.

And with that – the board was finally complete, the customer satisfied – and I could allow some satisfaction for myself, as well.

Originally posted January 2021

  • Client: Blue-collar retiree
  • Budget: N/A (gift)
  • Core goal: get this man a better keeb, STAT
  • Form-factor: TKL

If Bass Pro Shops sold a keyboard, it might look something like this. Deer, meet headlights.

My interests being what they are, I’m always looking for places a new keyboard could settle-in. After my sis and her husband both helped me move and recover from surgery, I felt like the least I could do was hook them up with a good keeb. After the fruitful if uninteresting search for a pink, clicky keyboard for my sister, I had a bit more opportunity to play around when it came to her husband.

He has an old early 2000’s desktop machine he uses for email and light browsing – it even still has the 4:3 CRT monitor. I bet most of you know what else it has – a beige, rattly mushbox of an OEM keyboard. Now there’s an experience I can improve with plenty of wiggle-room.

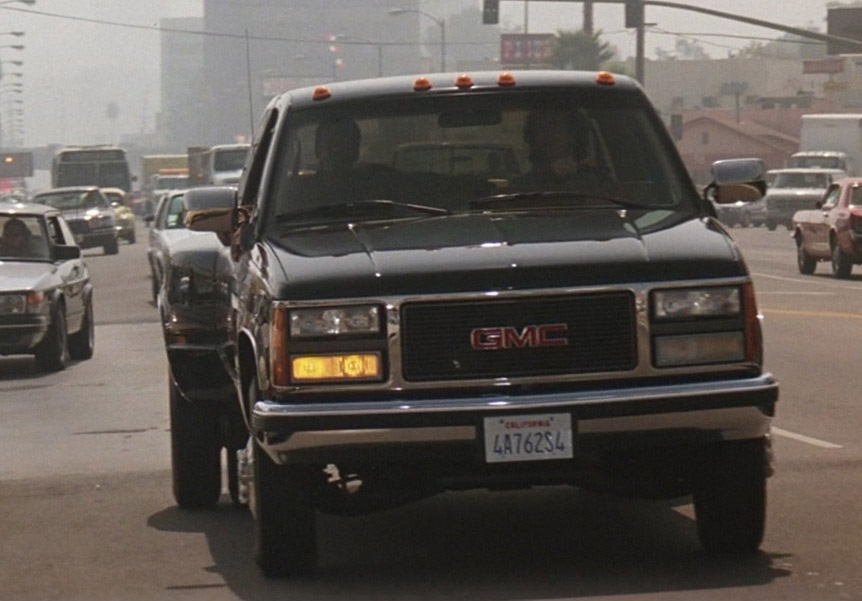
Our “customer” today is an outdoorsy country fellow who enjoys the simple life. Having retired not too long ago, he spends a little more time at home, mostly working on his truck – a very clean late 80’s / early 90’s GMC dually pickup in metallic cool green. I think I have just the perfect spare case for this fellow.

Not his truck, but you get the idea. (Image from Lethal Weapon, 1987)

Every keeb client is different; some like to be really involved and choose the parts themselves with technical advisement from the builder, and some just throw out some general criteria and let you go nuts. Since this one was a surprise, it was a mixture of freedom and reservation; while no specific requirements were in the way, I also wanted to make sure the final product was accessible to someone who had no interest in learning a new peripheral.

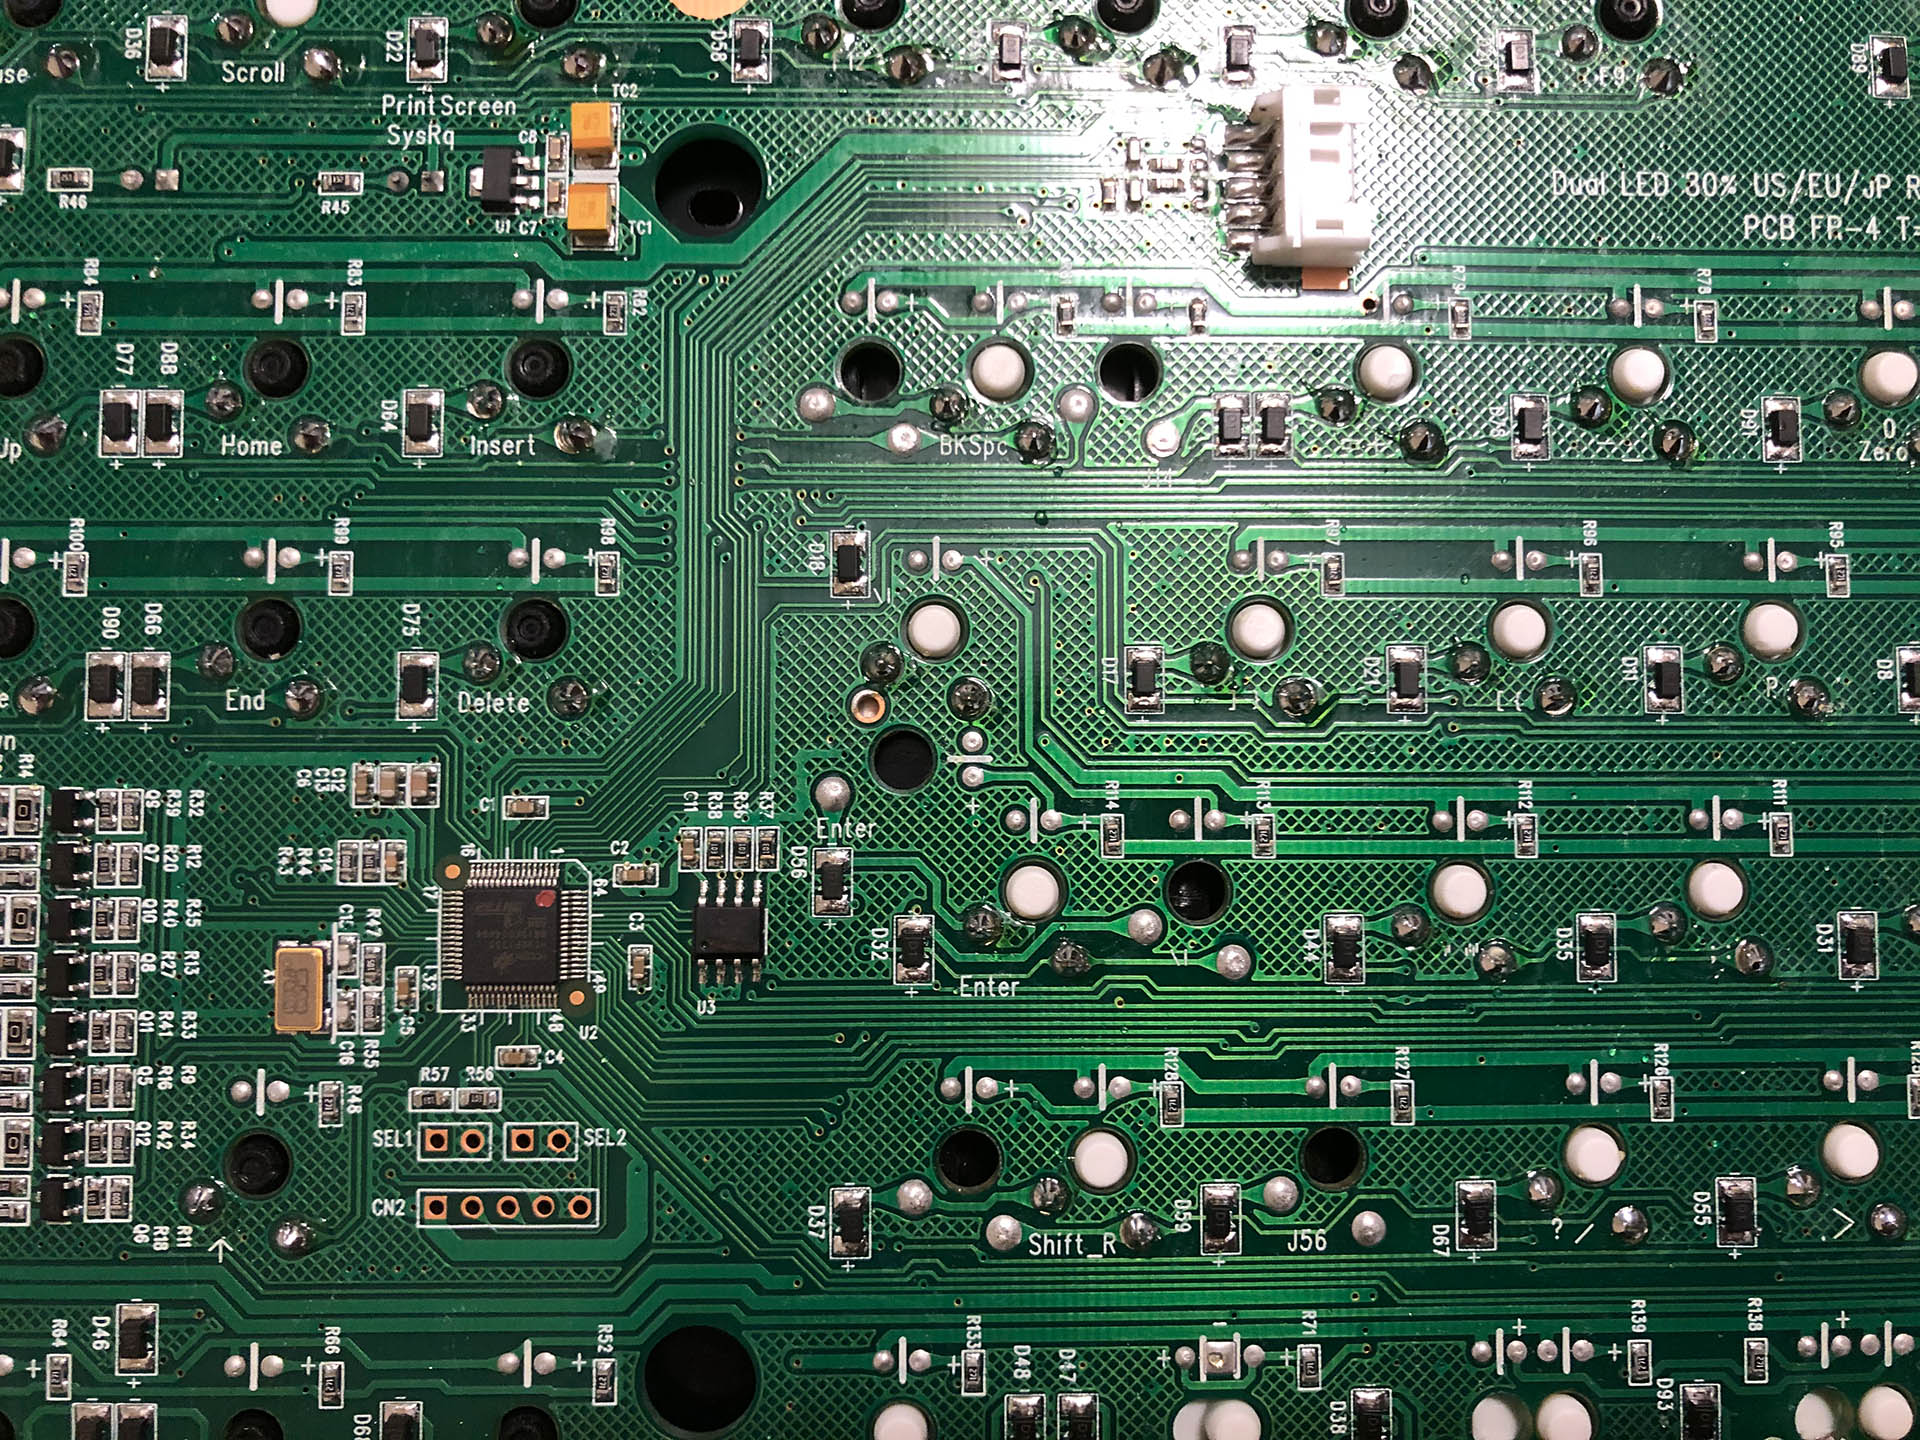
A close-ish look at the PCB we’ll be using for today’s build.

Hearing from my sis that he didn’t use the numpad much, TKL was an easy choice for two reasons. One, it’s familiar and thus accessible – satisfying the limitation. Two, I have lots of spare TKL parts – taking advantage of the wiggle room. Perfect!

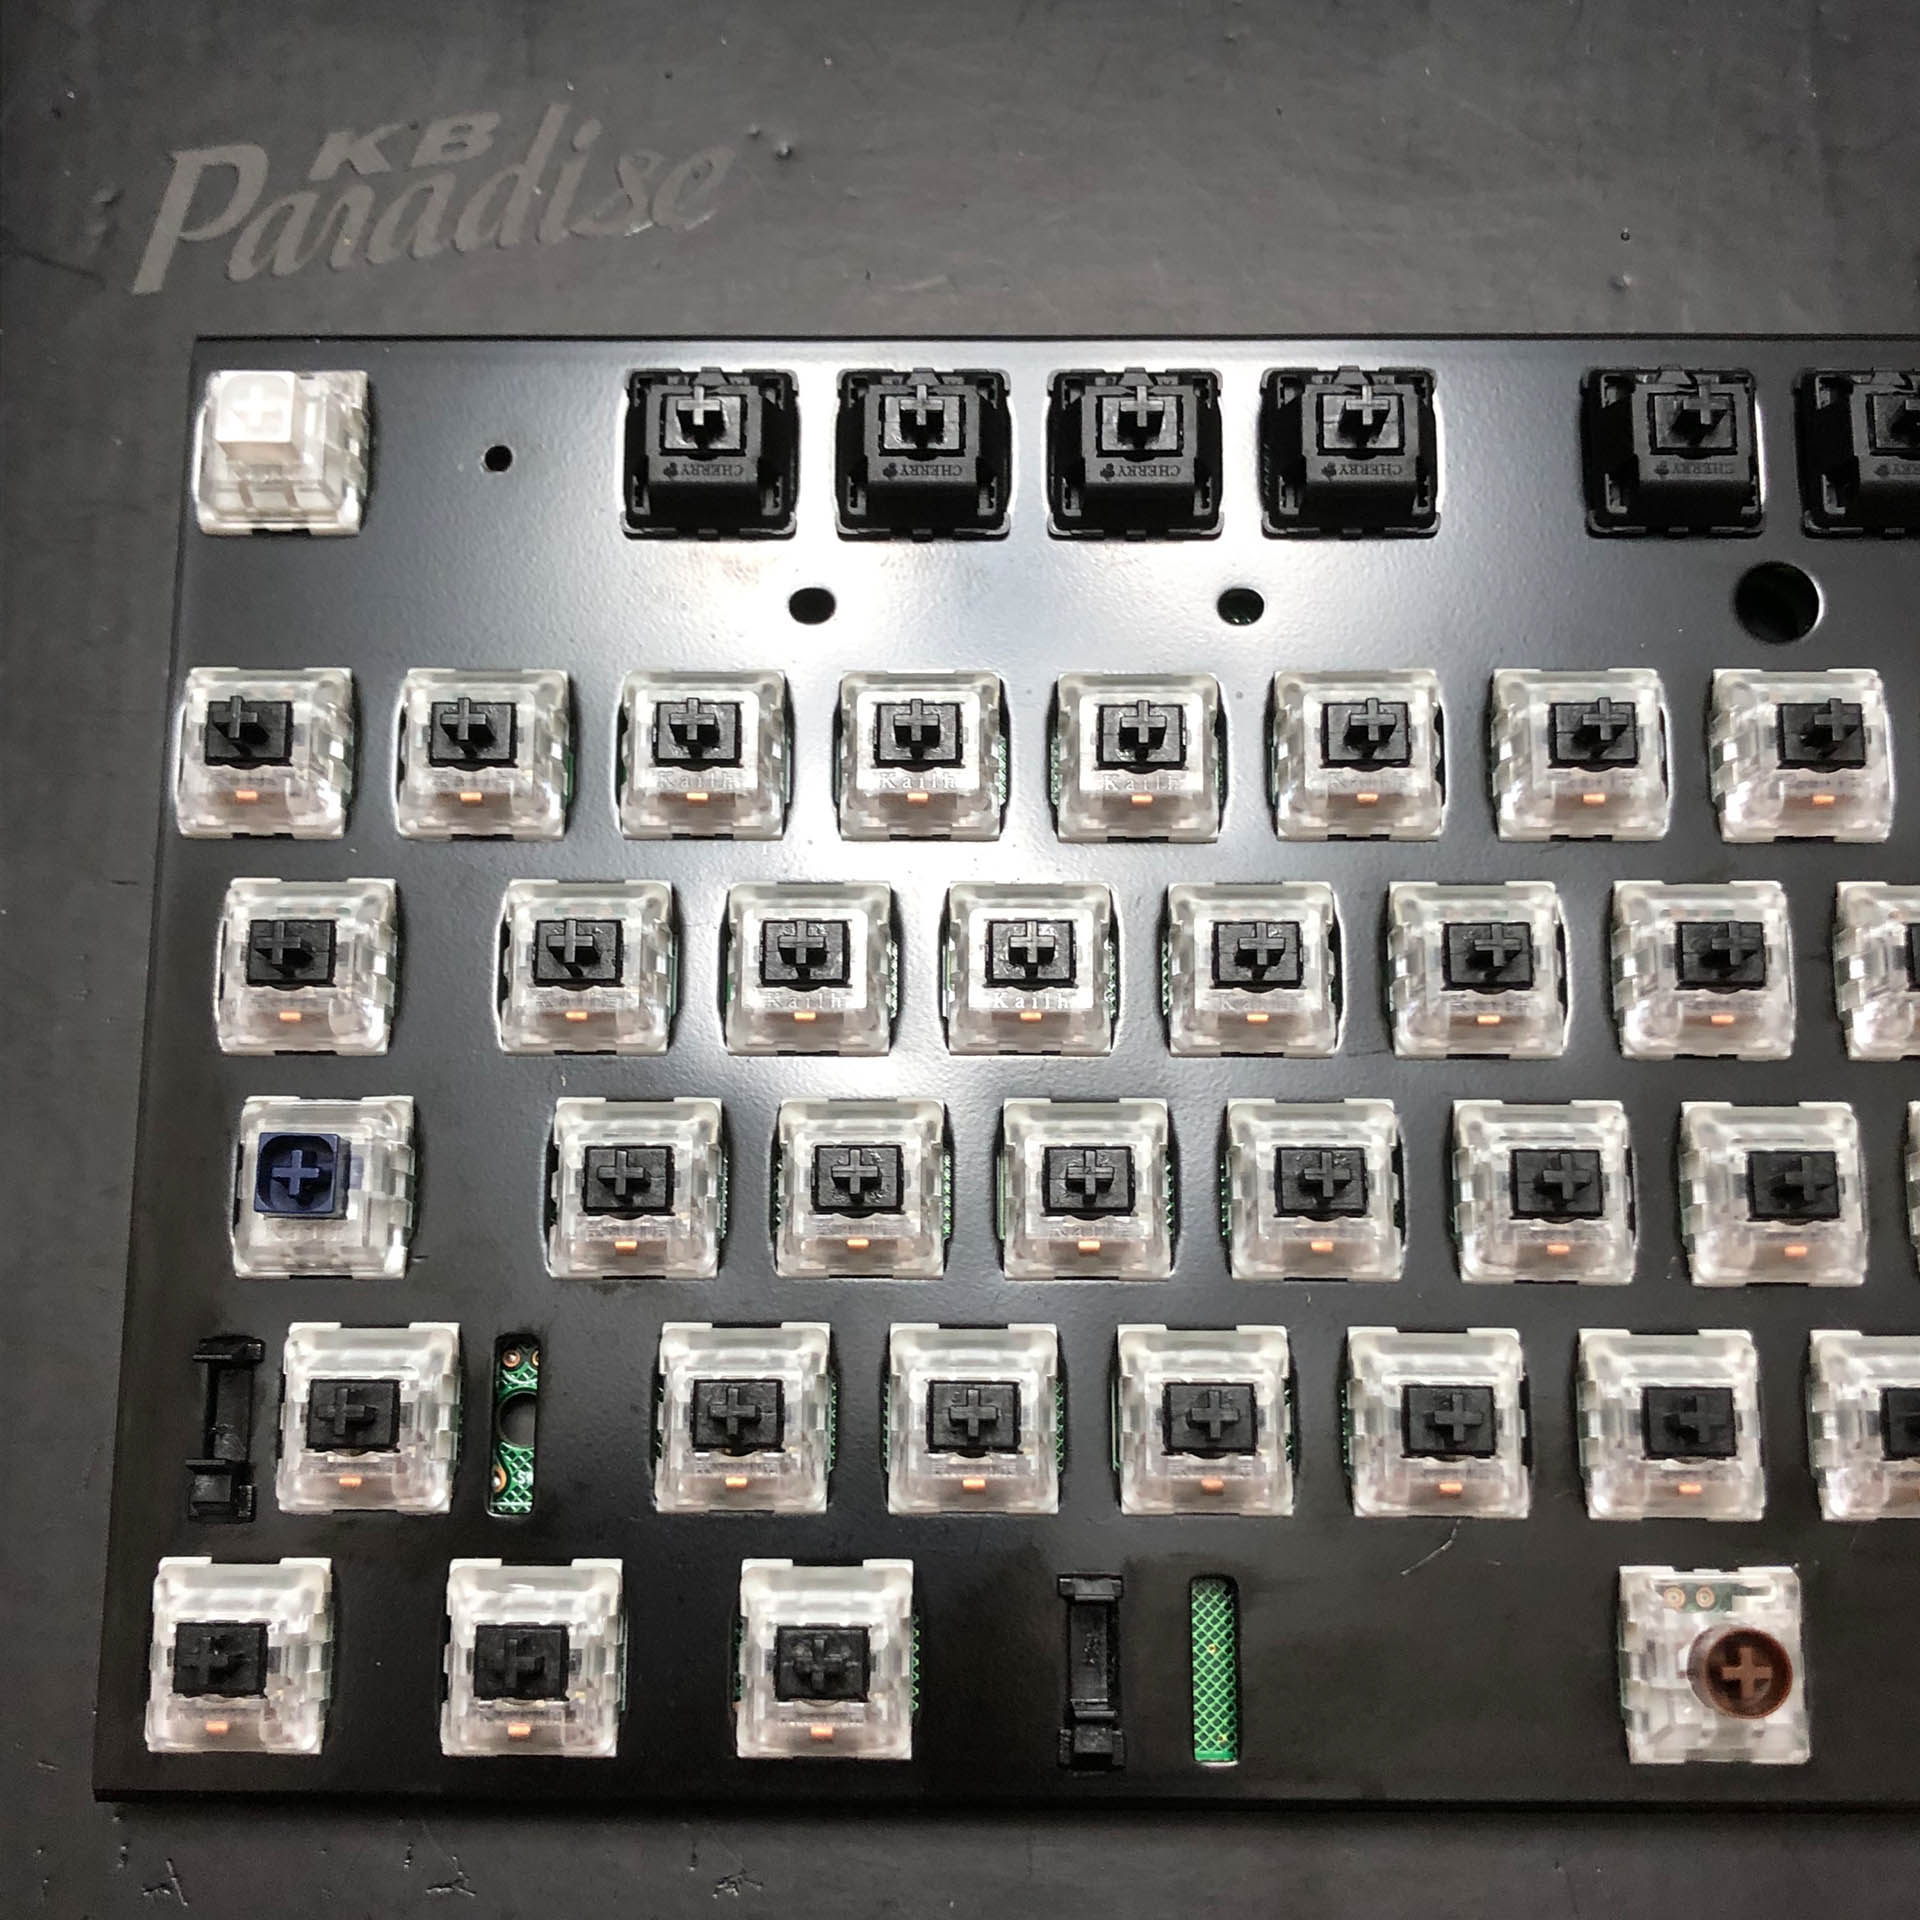
I have three or four Costar-type chassis laying in the closet in various states of assembly. The plate, PCB, and bottom shell I used for this build come from a KBParadise V80; think a Filco or CoolerMaster, with lesser build quality but an absurdly-wide selection of switch options. When I was in the market for a silent keyboard around three years ago, it was the most available keyboard I could get with Cherry Silent Blacks that wasn’t cartoonishly overpriced.

Since the point here is to upgrade the typing experience from a cheap dome board, it was time to pull out the FR-301 and go brrrrrrrr about 175 times. Oh, I kid, I kid – sort of. I knew I wanted the stems for frankenswitching, and I knew the housings were good for other things too, so I had plenty of reasons to harvest these. But what will go in their place?

Something straightforward, no-nonsense, and readily available: Unholy Pandas.*

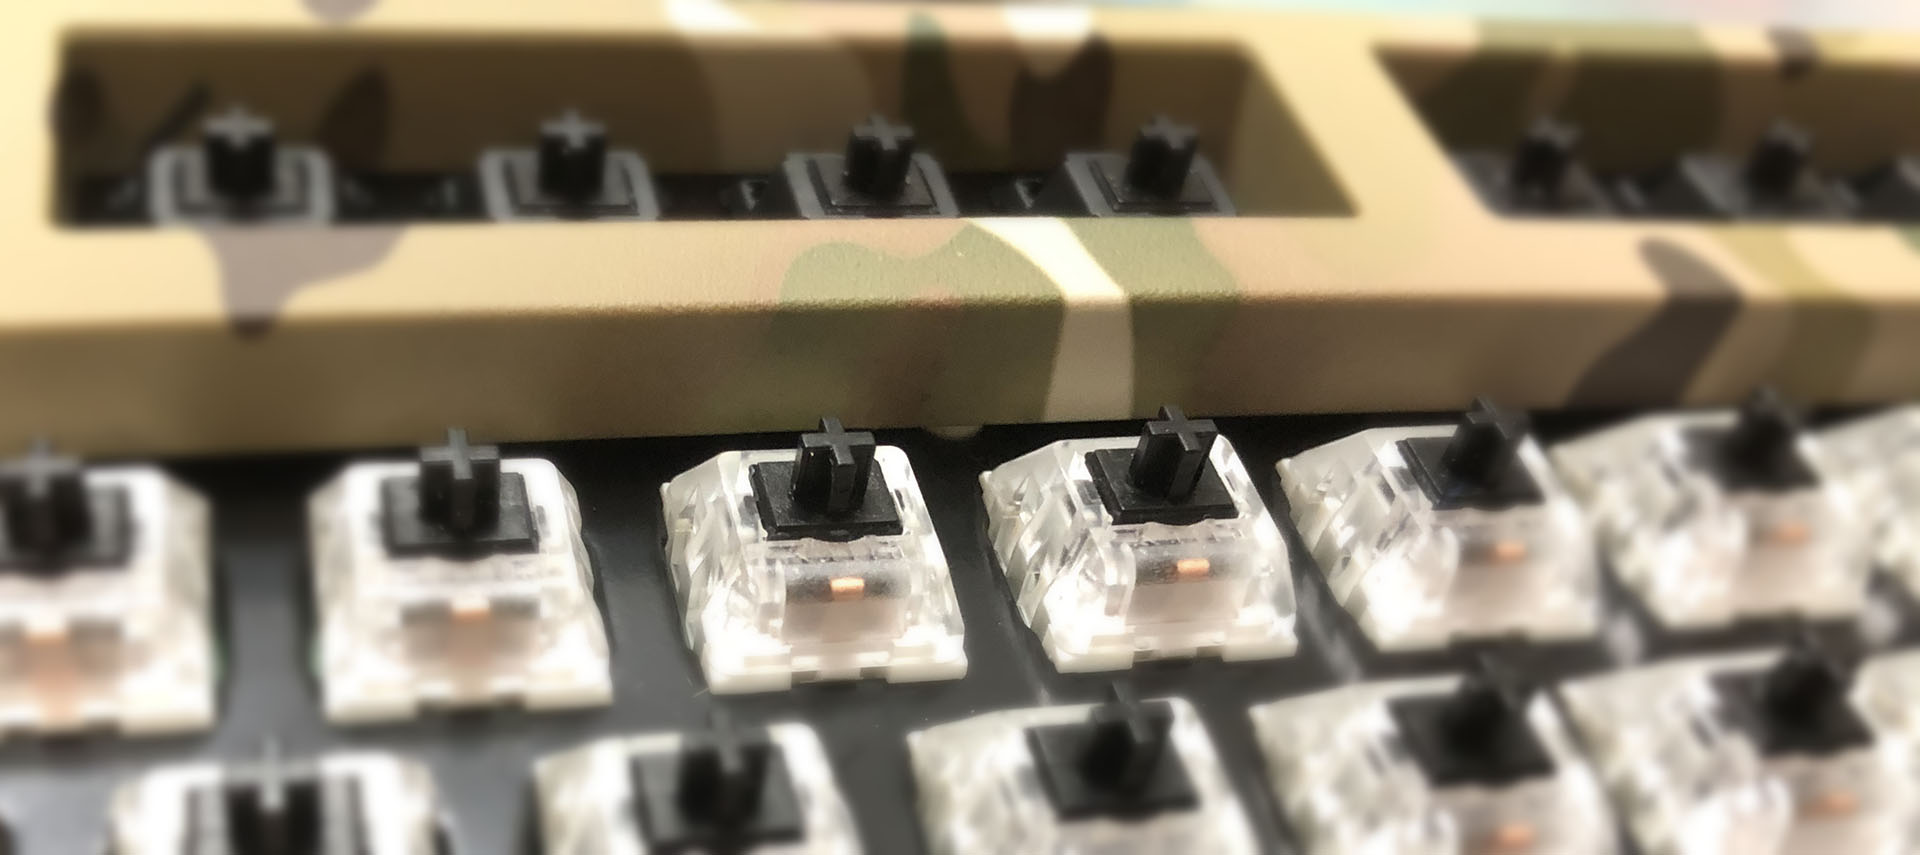
What’s an “unholy panda”? Here, the clear ones with the black stems. Generally, the leftovers from assembling Holy Pandas; a Halo housing with a Panda stem – which itself is a bog-standard linear, in this case from BSUN.

While you aren’t likely to find anyone in the custom community seeking these out, they’re actually quite passable linears, fully capable of both sounding and feeling good. Personally, I prefer using Halo True springs in them, which provide a “fast” progressive curve. Starting light and quickly getting heavy, they can offer a very bouncy experience – but they can also be tiring if you jump straight to them from a typical dome sheet – so I don’t think that’s the right spring for our casual enjoyer of keys.

Again reaching for something both approachable and readily available, I went with 60g BSUN Panda springs. While these often get used in Holy Pandas, I tend to use something else for those – so I have a ton of these left-over. Being used for linears in the first place, they do a great job filling that role here. For lube, I bagged the springs with 106 and brushed the stems and housings with 205g0. Paired with the thin single-layer ABS caps that shipped with the V80, I think these switches ended up sounding quite nice.


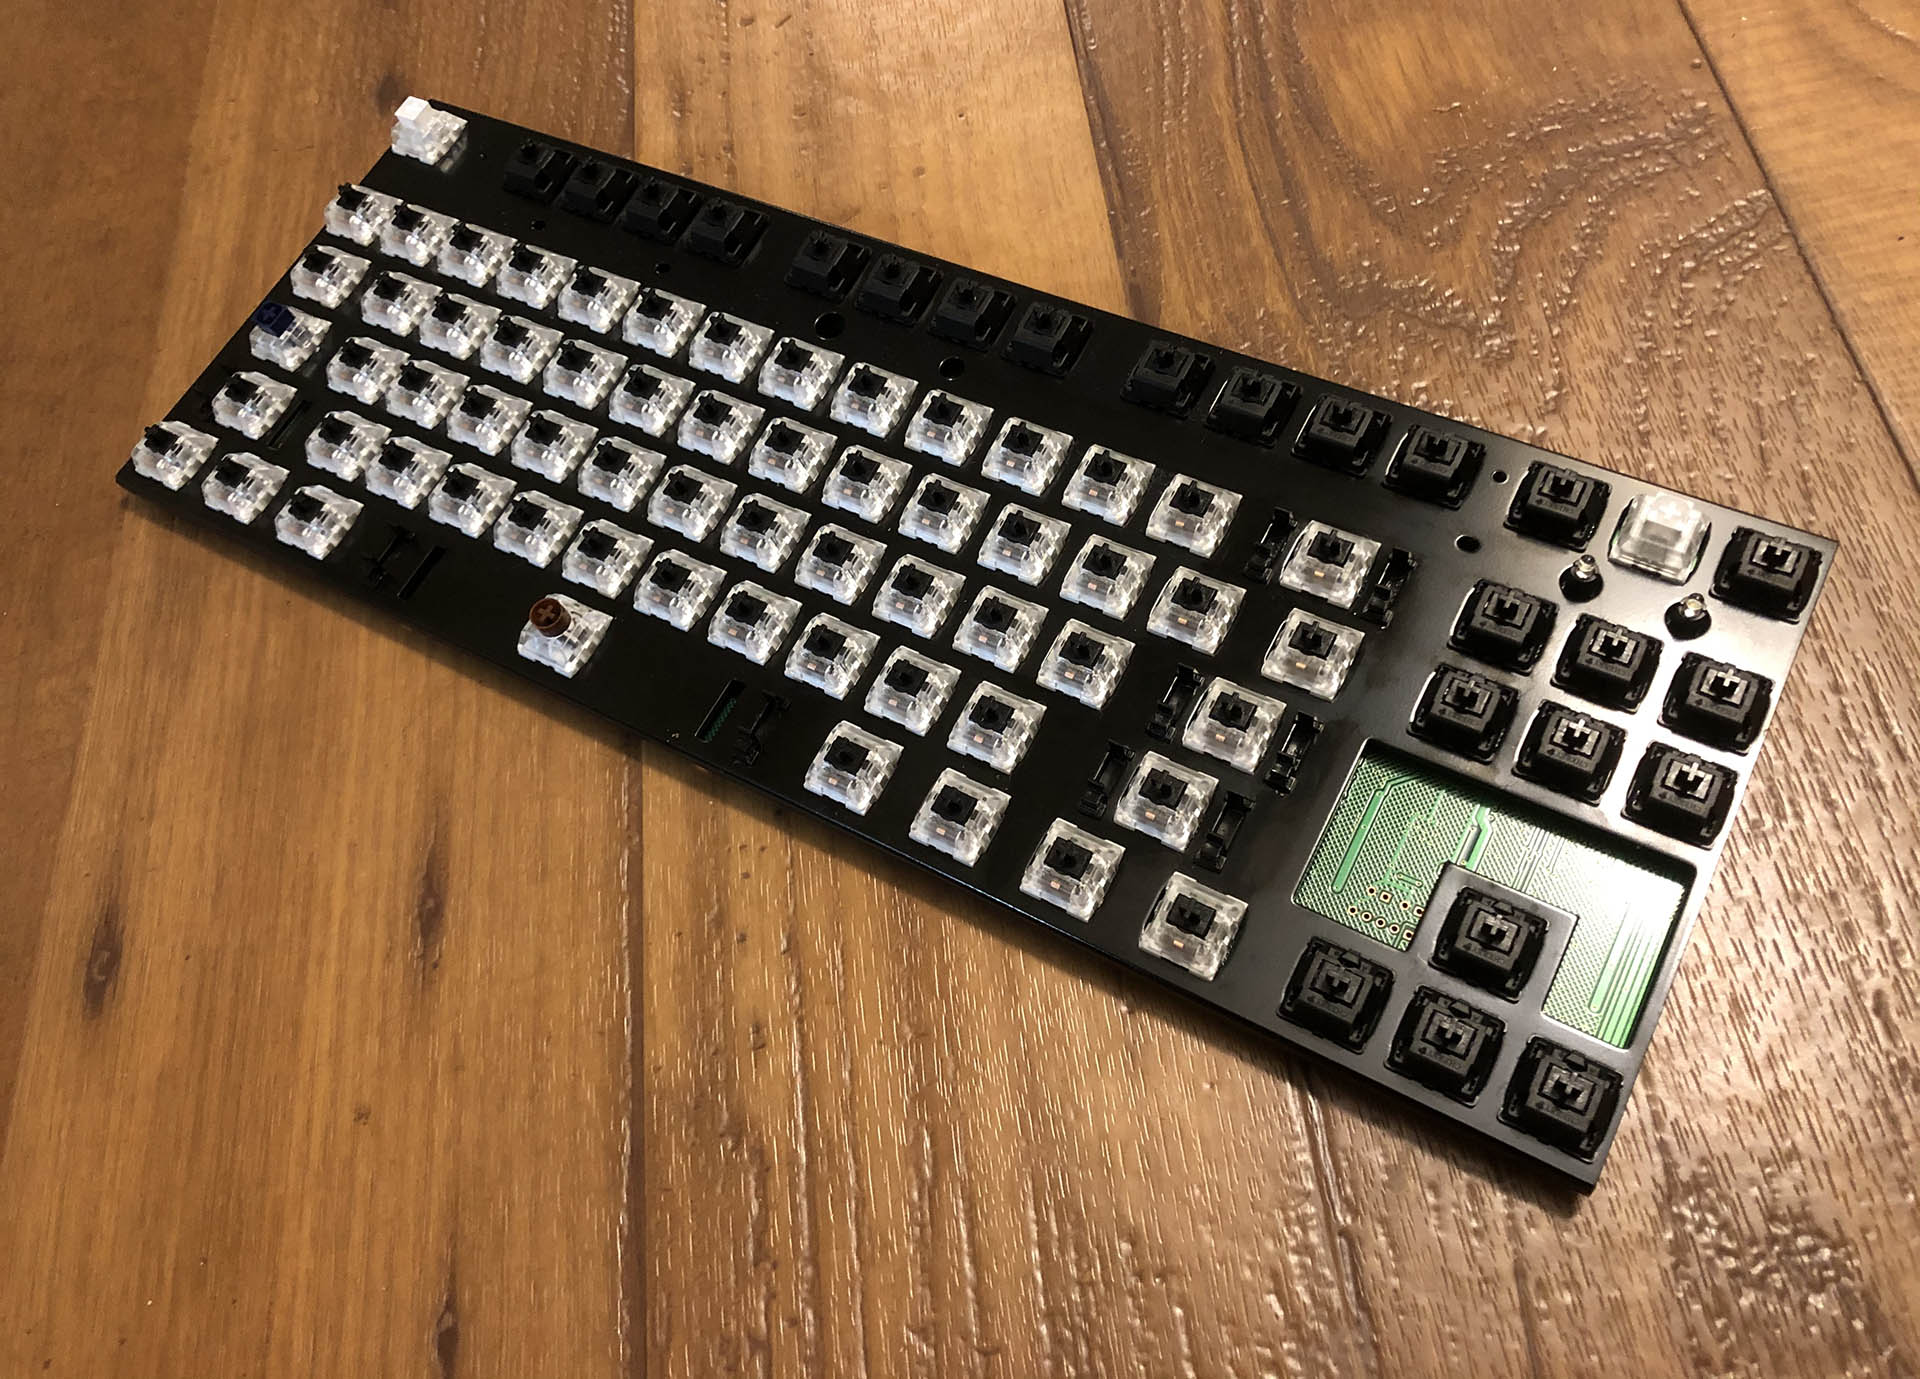
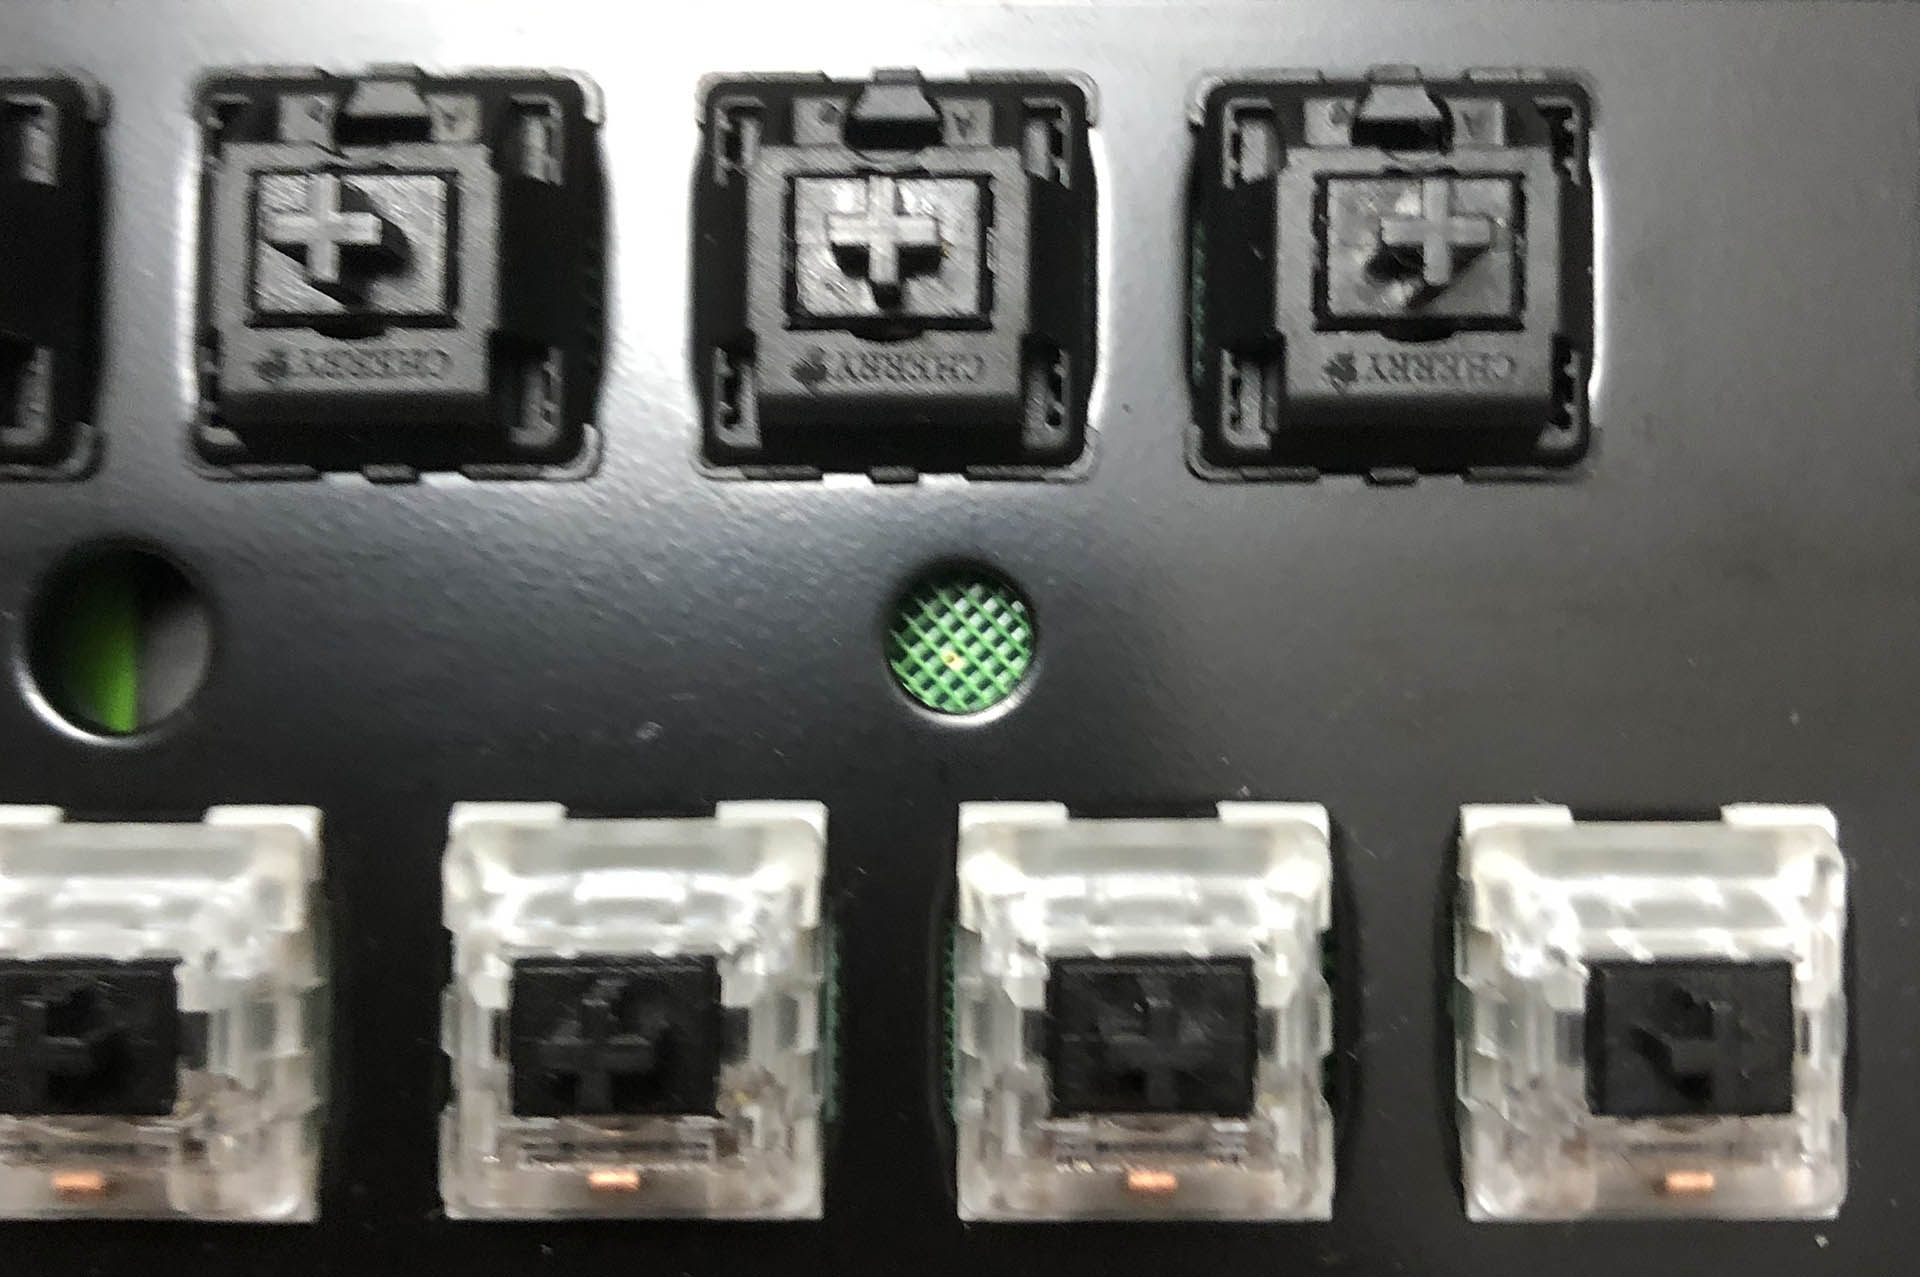
*About that asterisk up there. I used Unholy Pandas for all the alphas and mods, but I did this build during a rare, small window of time where I didn’t have Halo housings out the wazoo – so the F-row and navigation cluster got some of the harvested Cherry housings instead. More or less, those sound like Cherry Blacks – no complaints there.

The fully-assembled “sandwich” – now complete with previously missing stabilizer inserts.

Since I already had a mixture going on, I figured, why not be a little creative? Modern keyboards don’t use actual locking switches for things like caps or scroll lock, but I bet our rugged man of the world here has used more keyboards like that than not – so I decided to emulate the experience by giving click-bar switches to the locking keys. I thew one on the ESC, too – just for a little satisfying emphasis in use. While the thin caps make linears sound a bit like pleasant rain on a fiberglass roof, I wouldn’t say the same about the space bar – so I used a Silent Box Brown to dampen it down to a level more comparable with its neighbors. (I also find Kailh’s Silent Box dampening pads quite pleasant to bottom-out on, so perfect for an otherwise noisy space bar.)

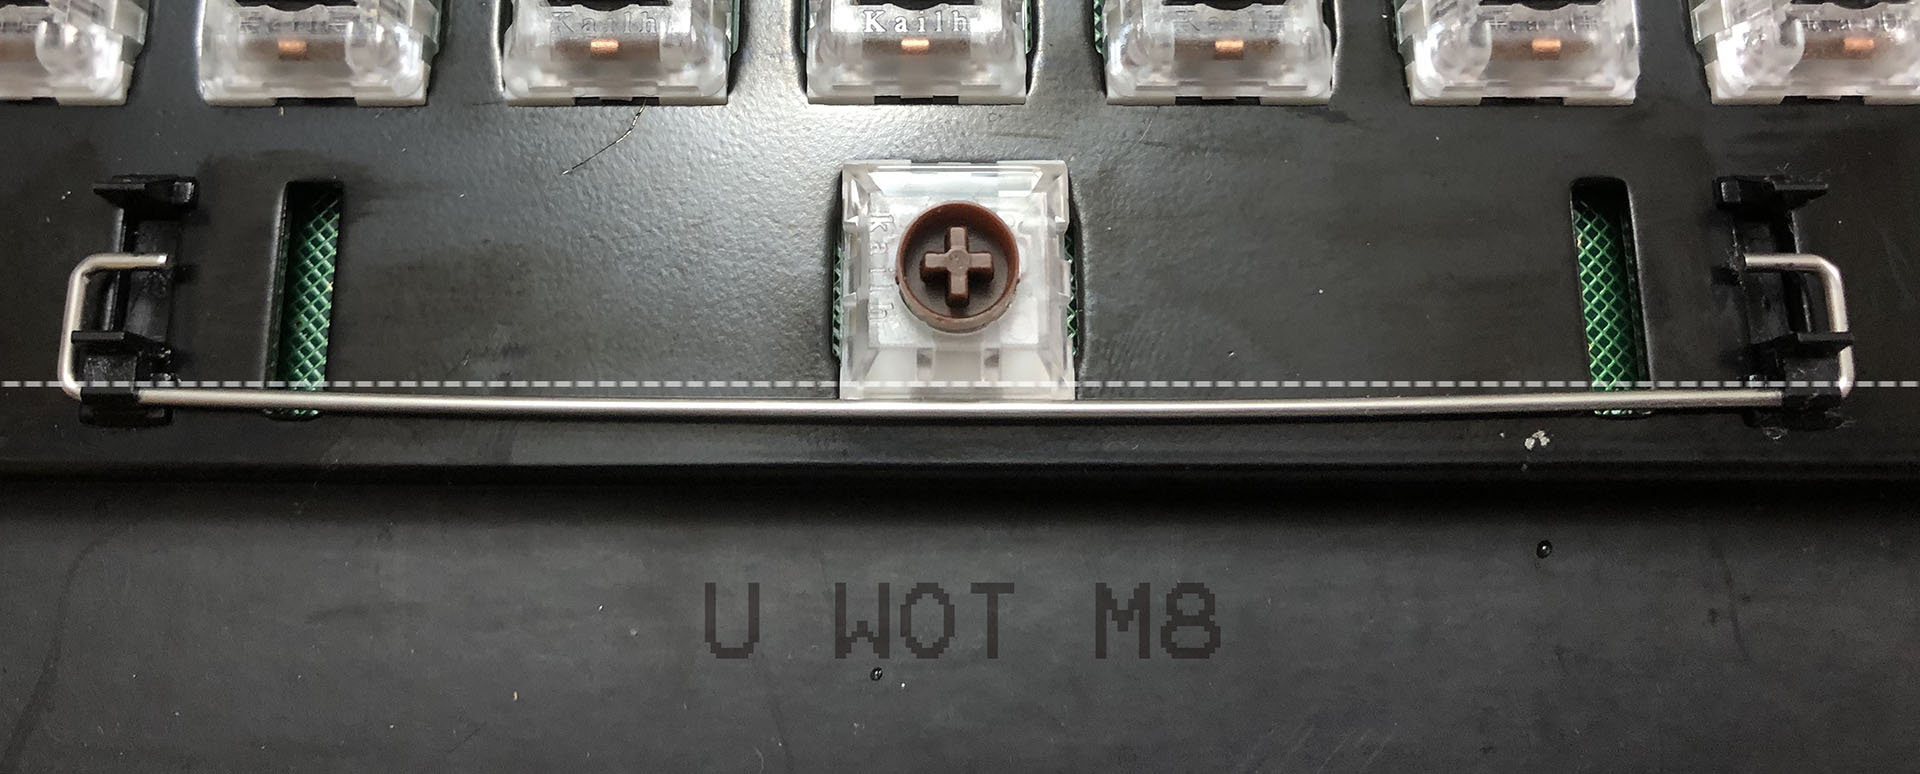
This is how the KBParadise V80 ships; with the wrong kind of stab wire, bent against the switch. Mmm, extra friction… Technically speaking it functions, but come on!

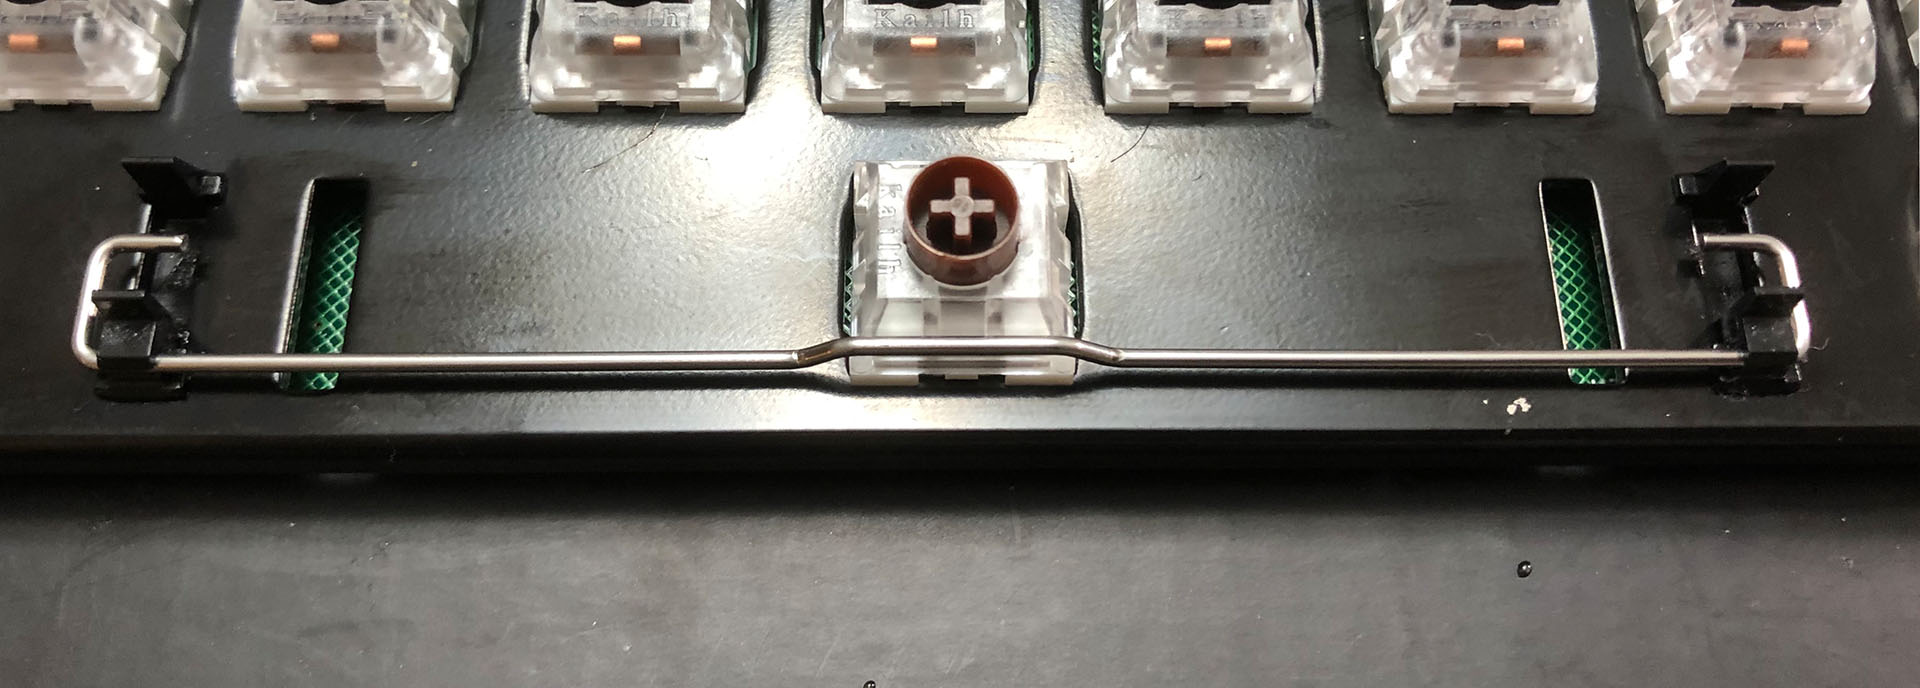
Keyswitch quirks all covered, a brief mention about the stabilizers; they’re Costar. While I’m sure at least a few of you unconsciously furrowed your brow just now, they can be a great choice for builds that won’t see much in the way of key or switch swapping. Like any other type, they aren’t all created equal – and the ones left on this board when I started this project were on the cheap side. I ordered a few fresh ones complete with the actual right kind of wire for the spacebar (lol wtf, KBP) and had an easy enough time installing them. A little grease (and maybe some cloth tape shims) in the right spots, and (good) Costar-style stabs can be pretty easy to make quiet with their smaller part count and general lack of plastic-on-plastic contact. (That’s right – these stabs only need ONE kind of lube. LUXURIOUS!)

Ah, much better. I’m honestly not sure if this wire would have worked with the previously installed North-facing Cherry housings, but it does just fine with the “ambidextrous” Silent Box housing.

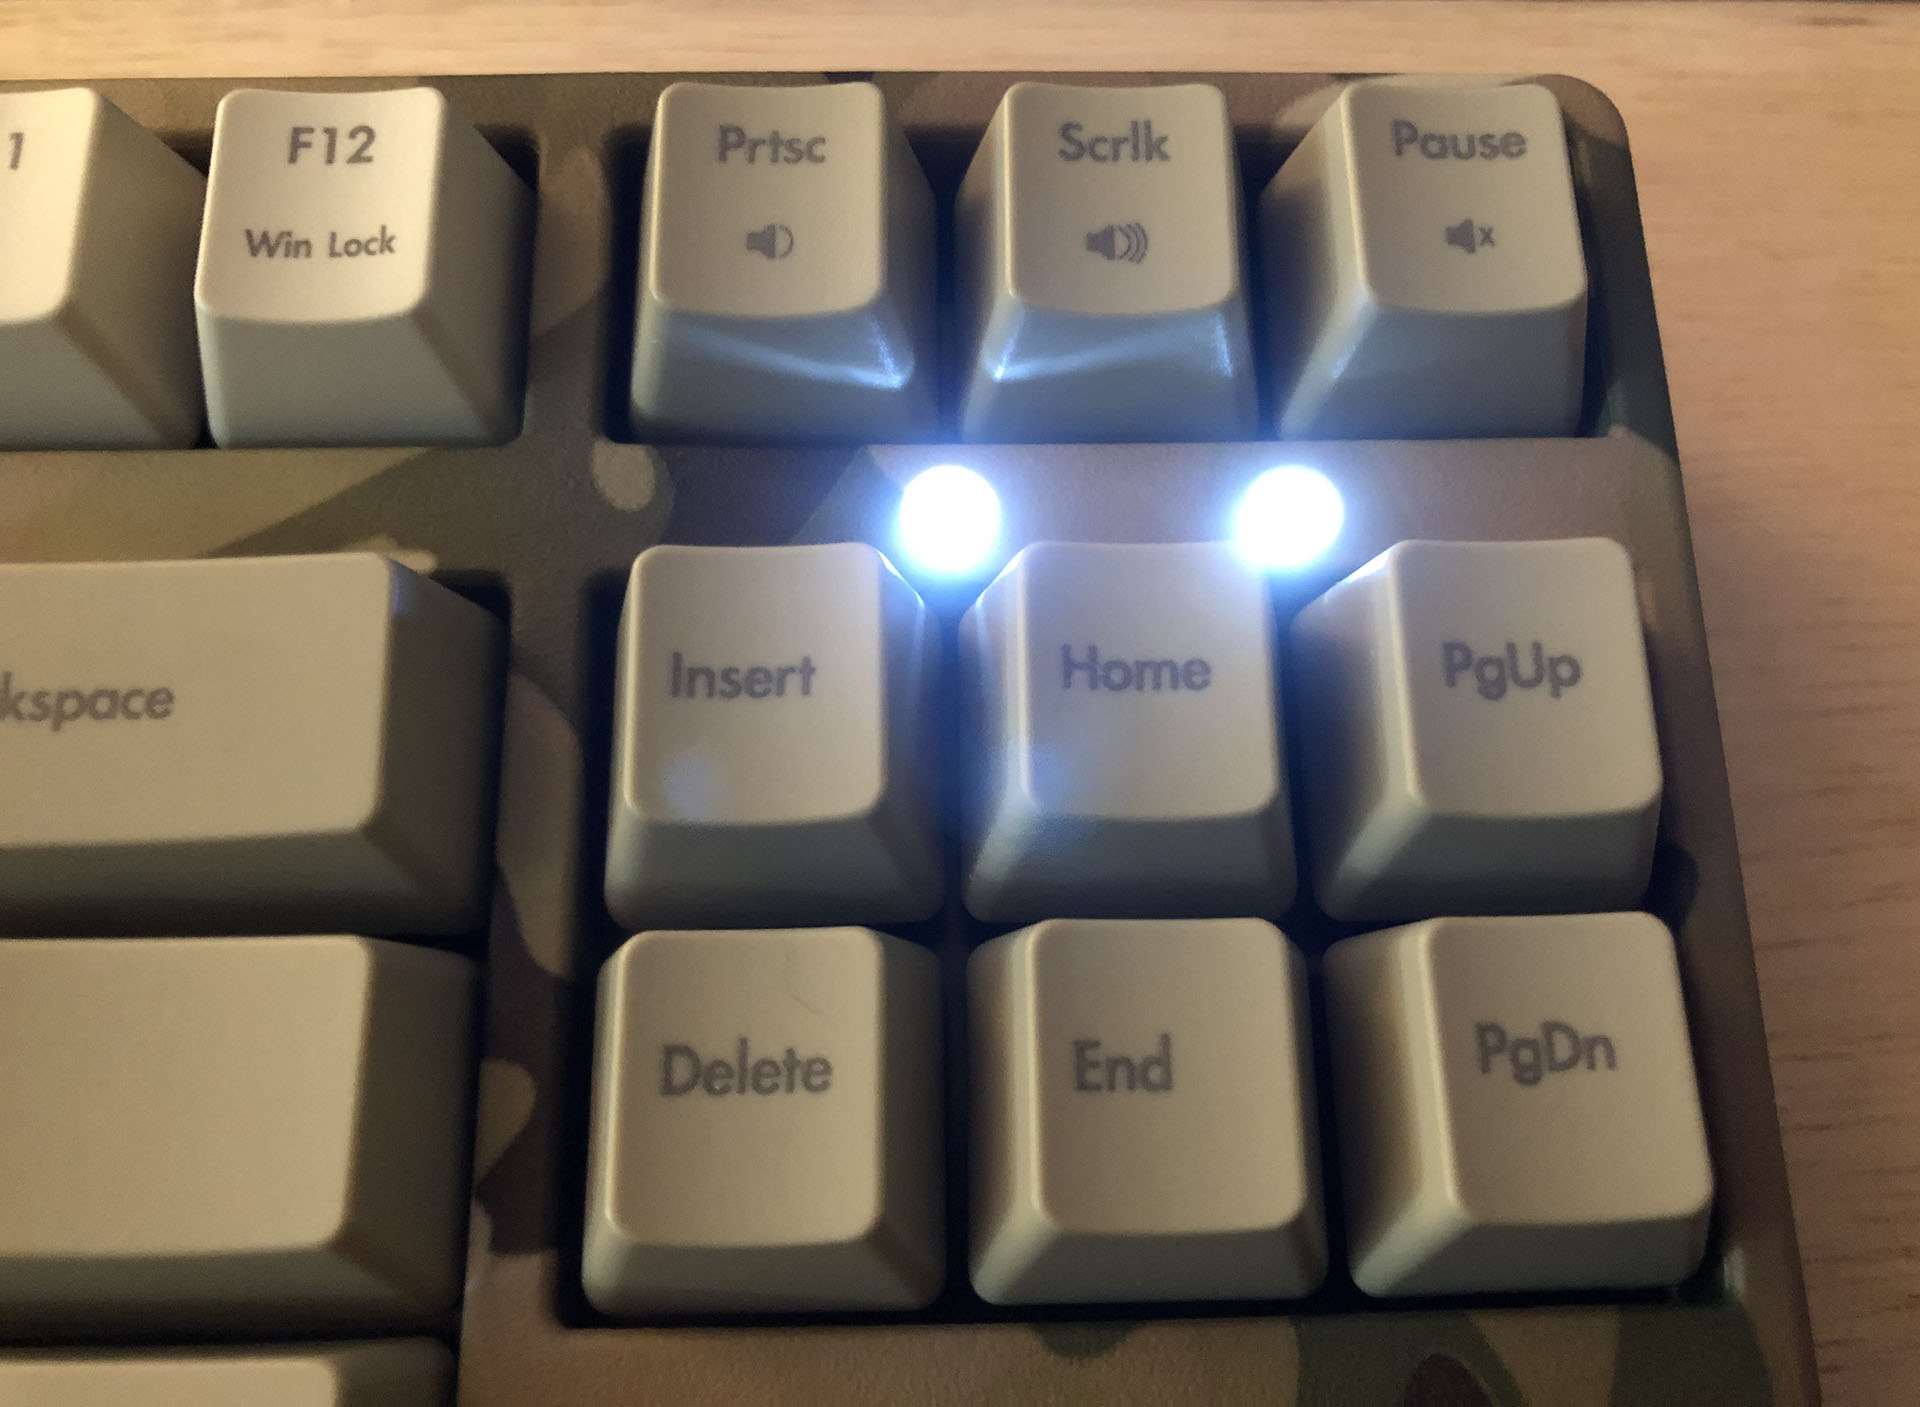
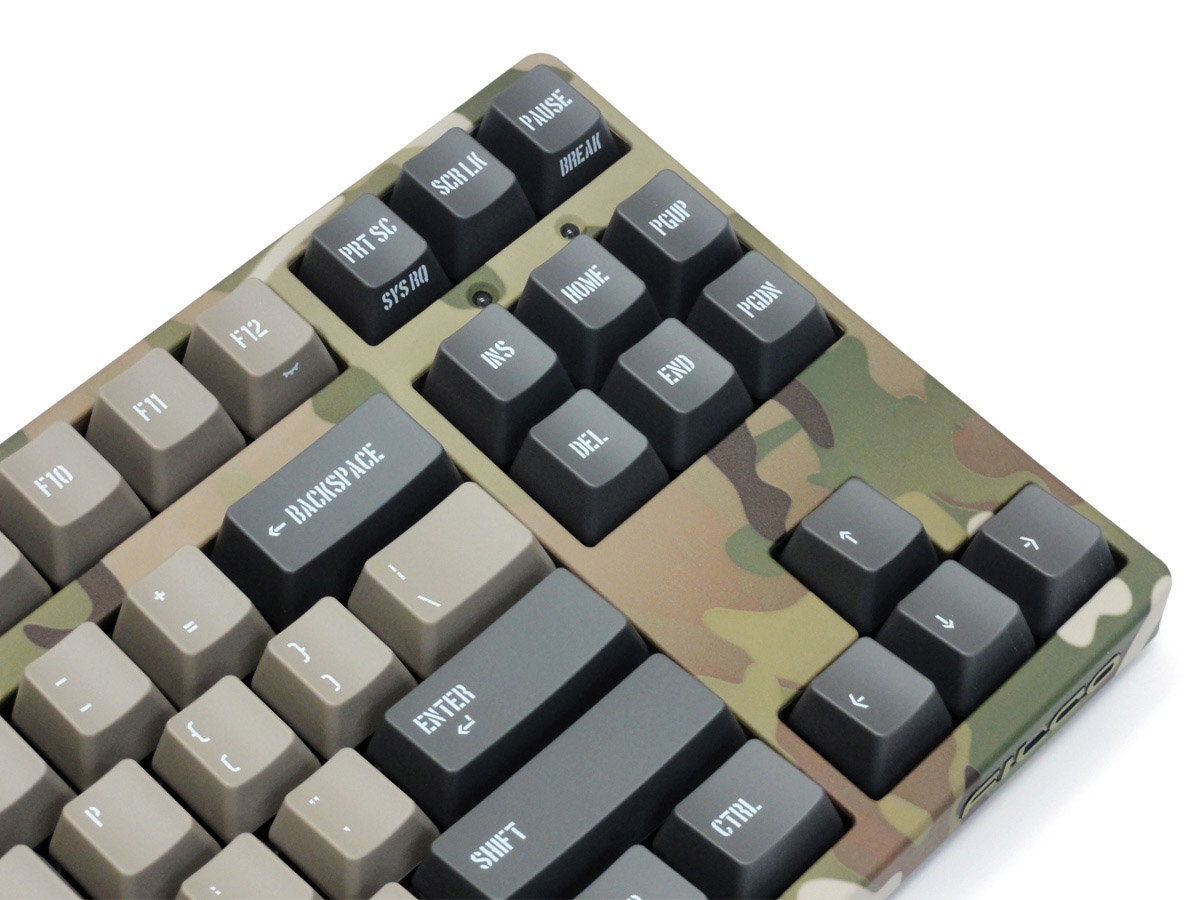
I mentioned before having the perfect case for this build – that being the top shell of a Filco Majestouch 2 Camouflage R (or MJ2R for short). I originally bought that board because I wanted a Filco that had media controls, and back then, I wasn’t comfortable installing something like a replacement controller. I’d quickly put the Camo’s plate and PCB into a different case, and placed the Camo shell in a box where it stayed for years.

Installing the case on a similar but distinct keyboard wasn’t exactly plug-and-play, but thanks to both keebs being derived from a similar template, it was easier than you might think. Physically, it takes three mods to install a Filco top shell onto a KBParadise bottom half;

1.) Remove a standoff here…

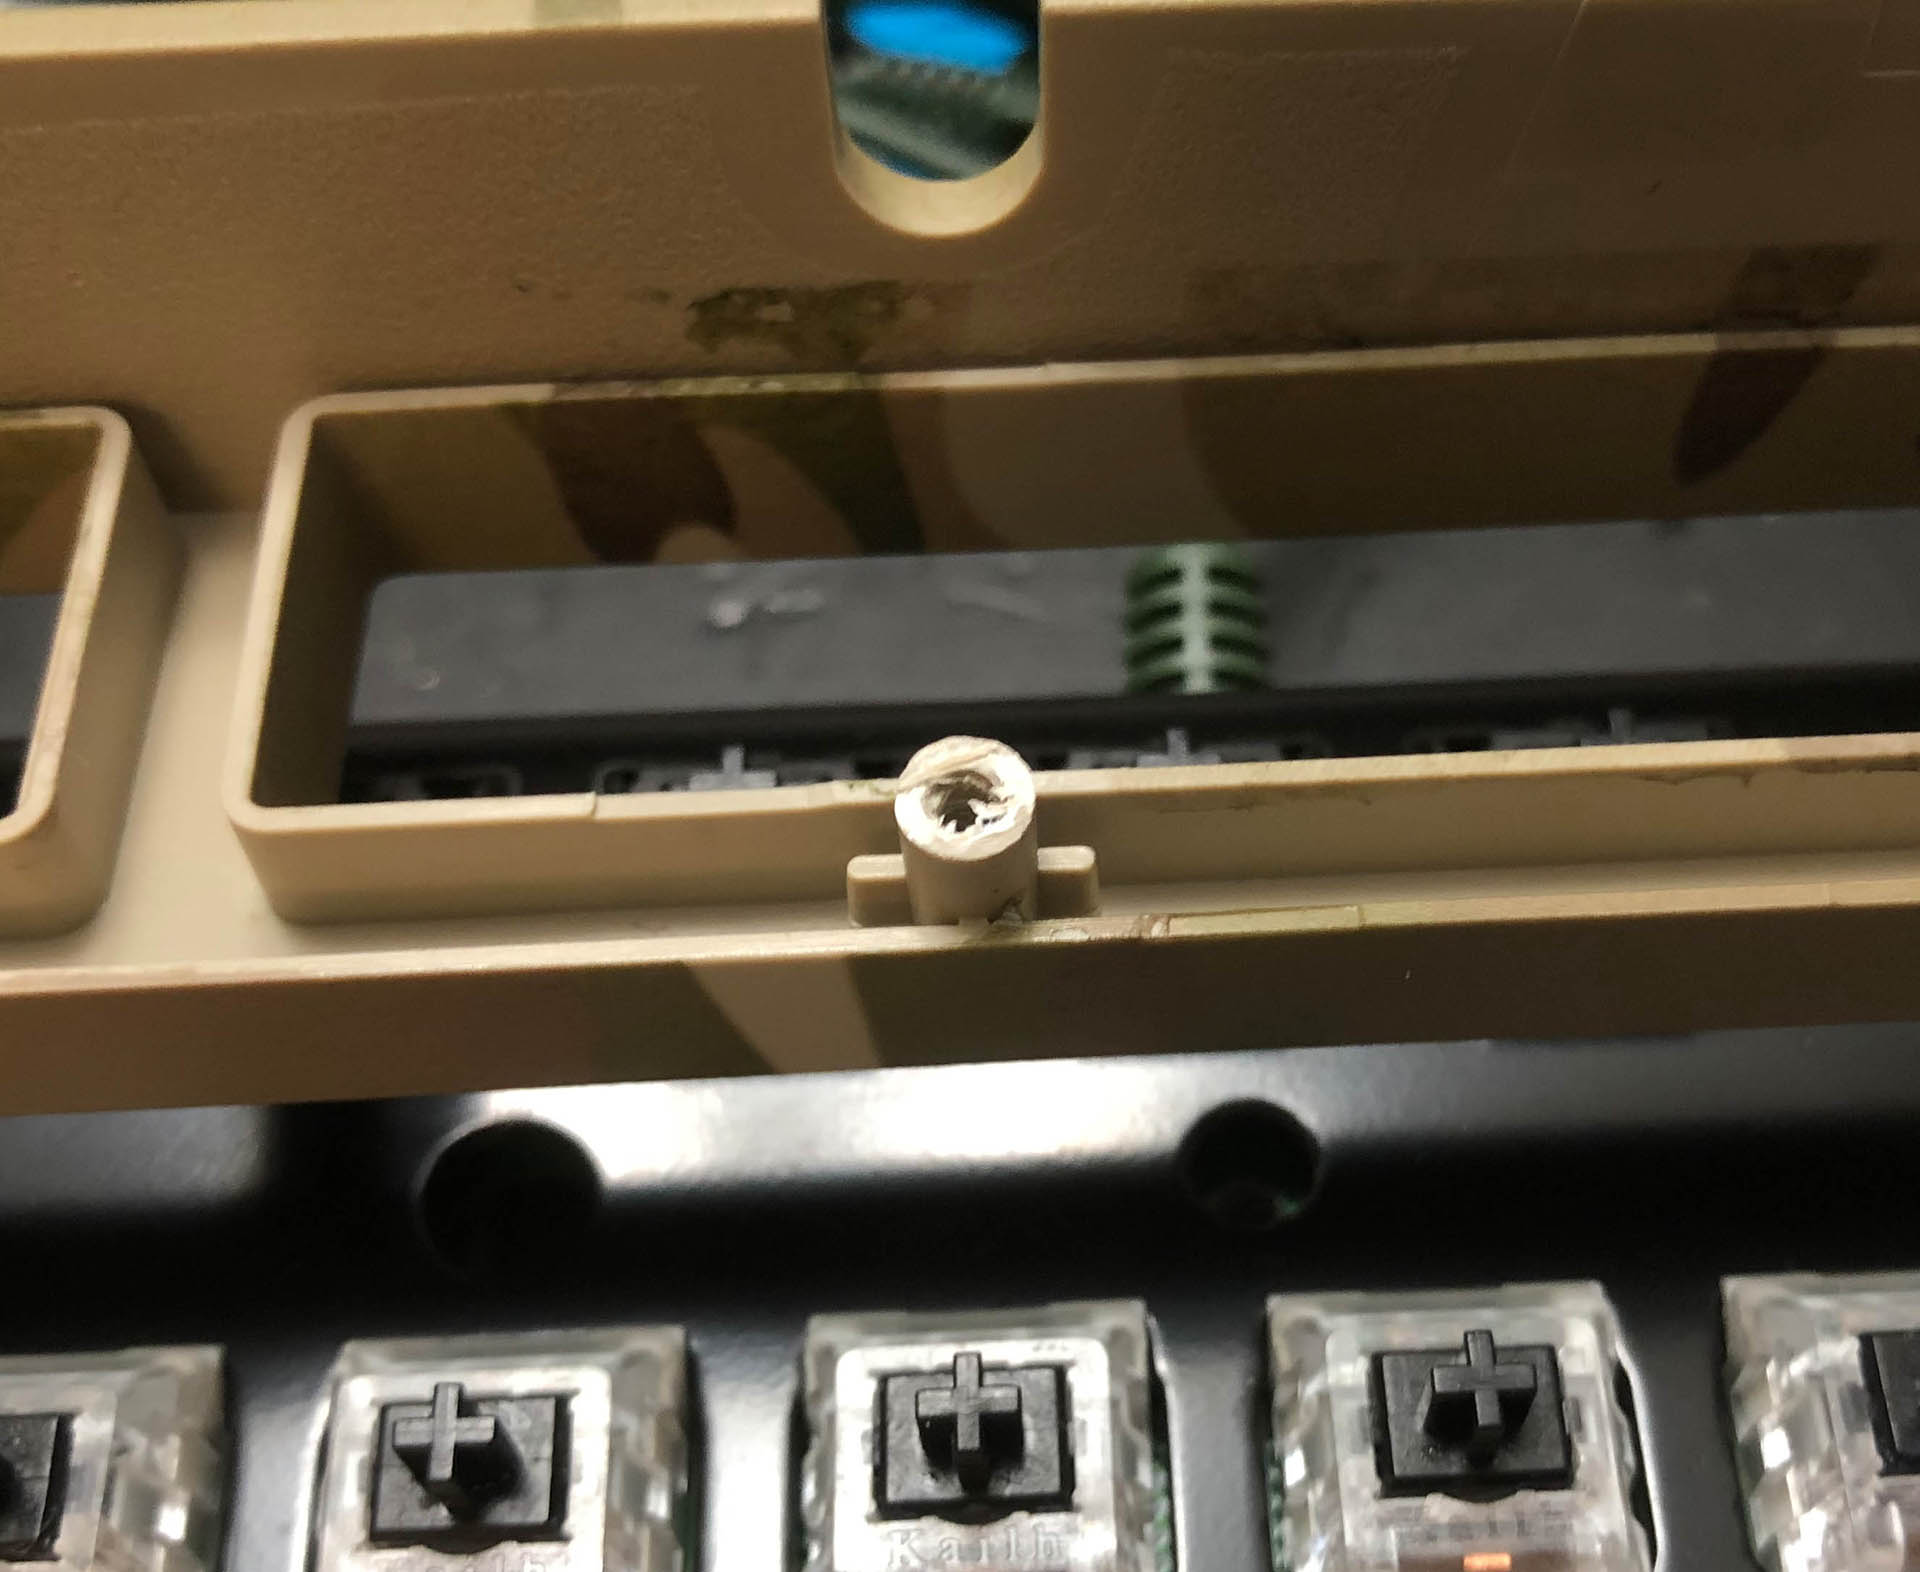
2.) Trim this one down a bit…

… because if you don’t, this happens.

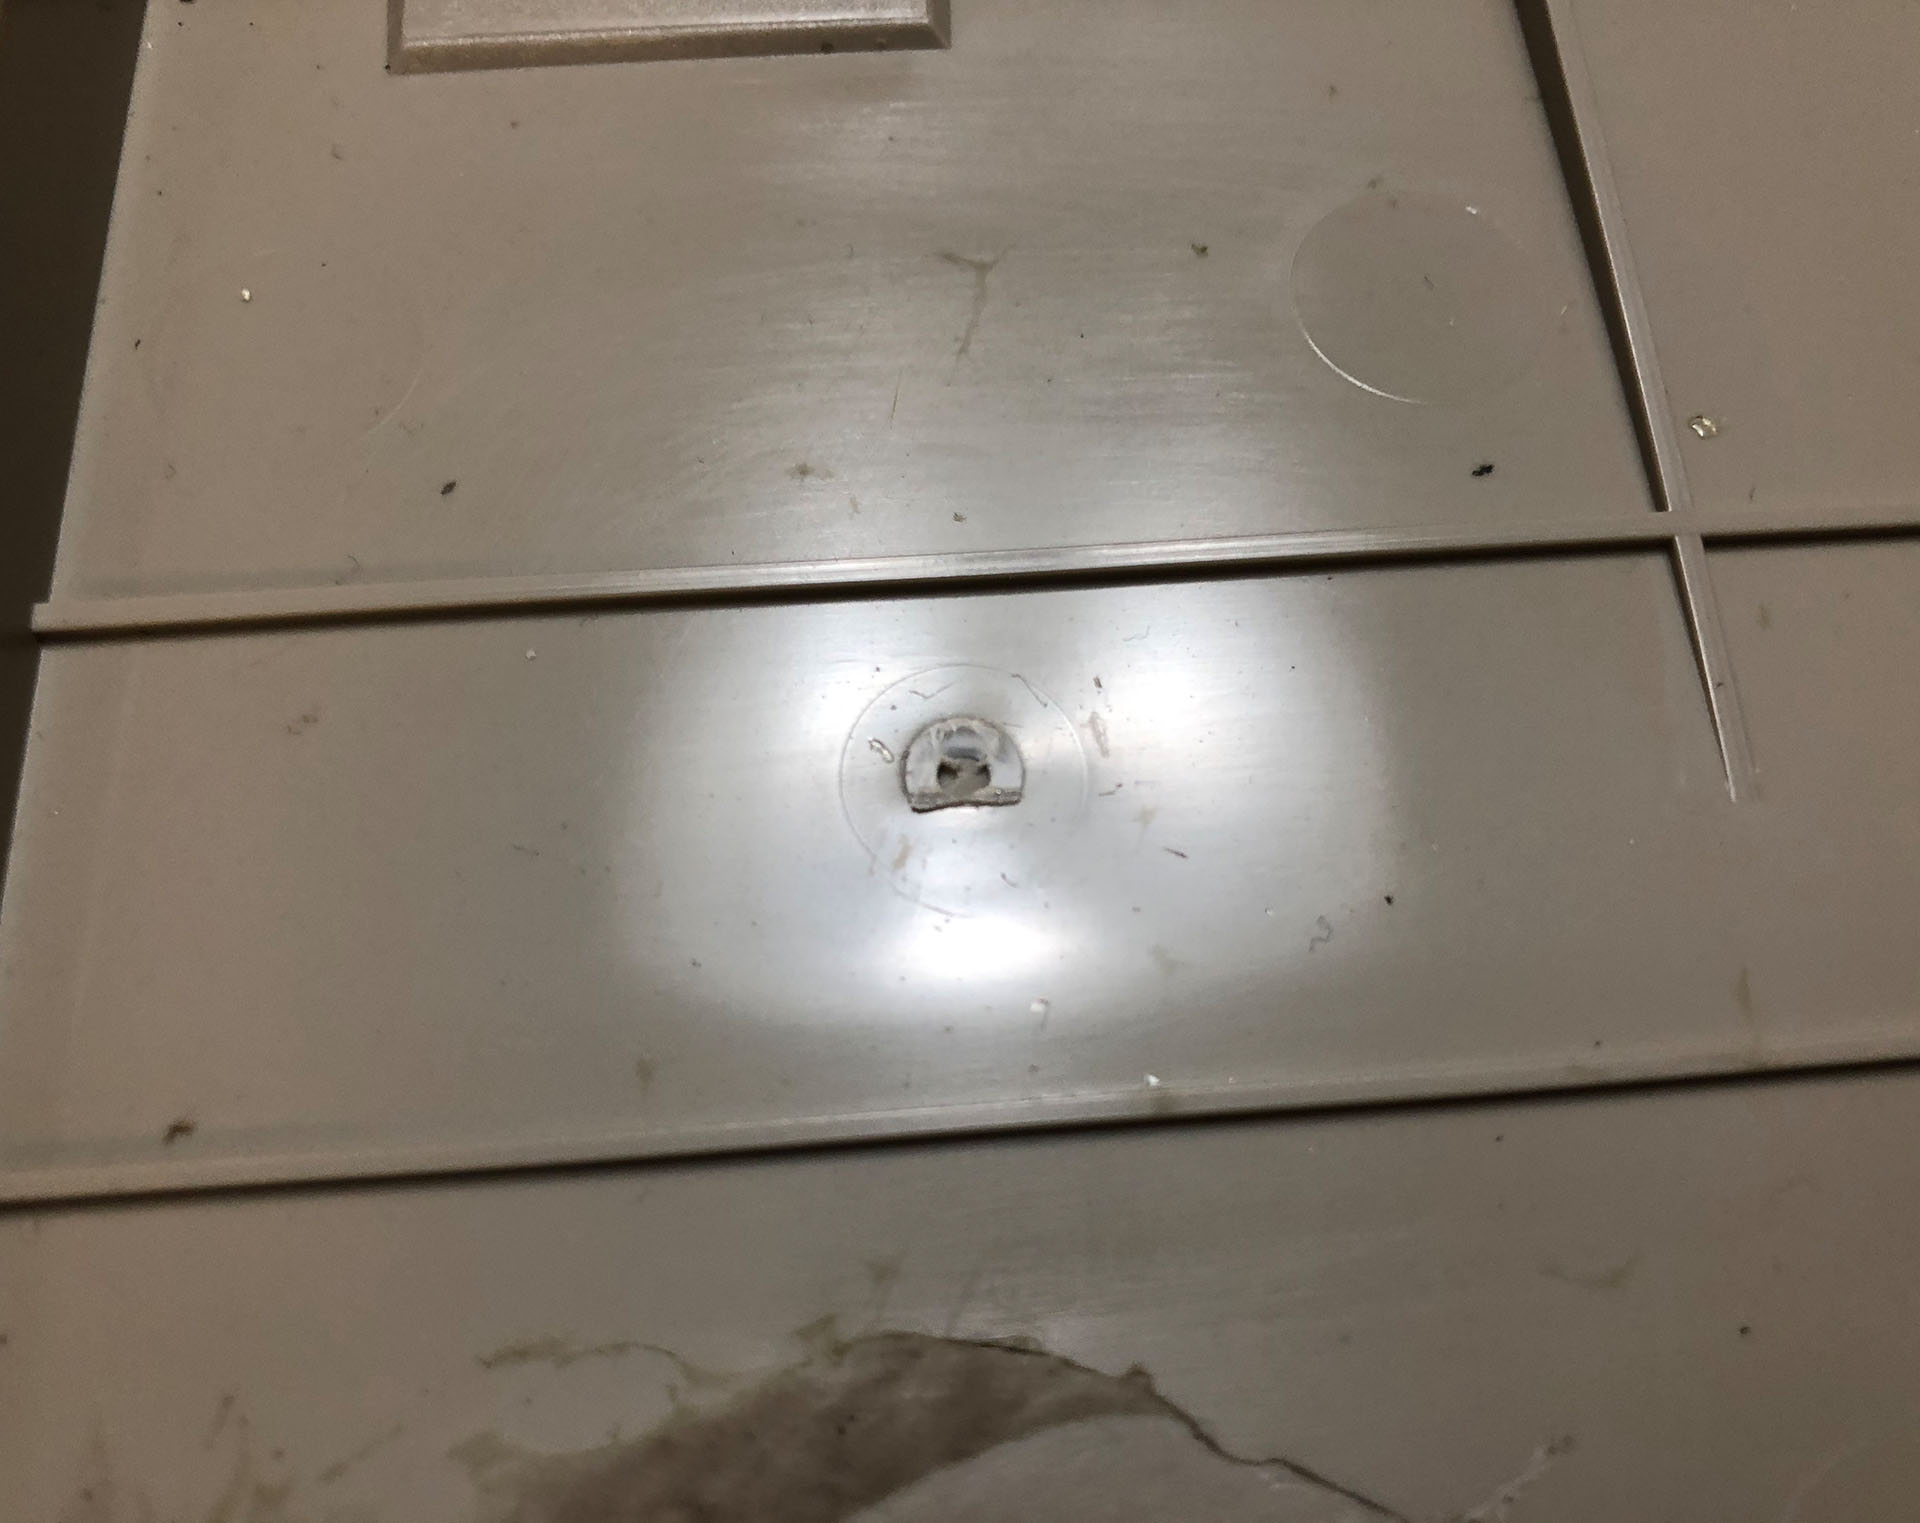
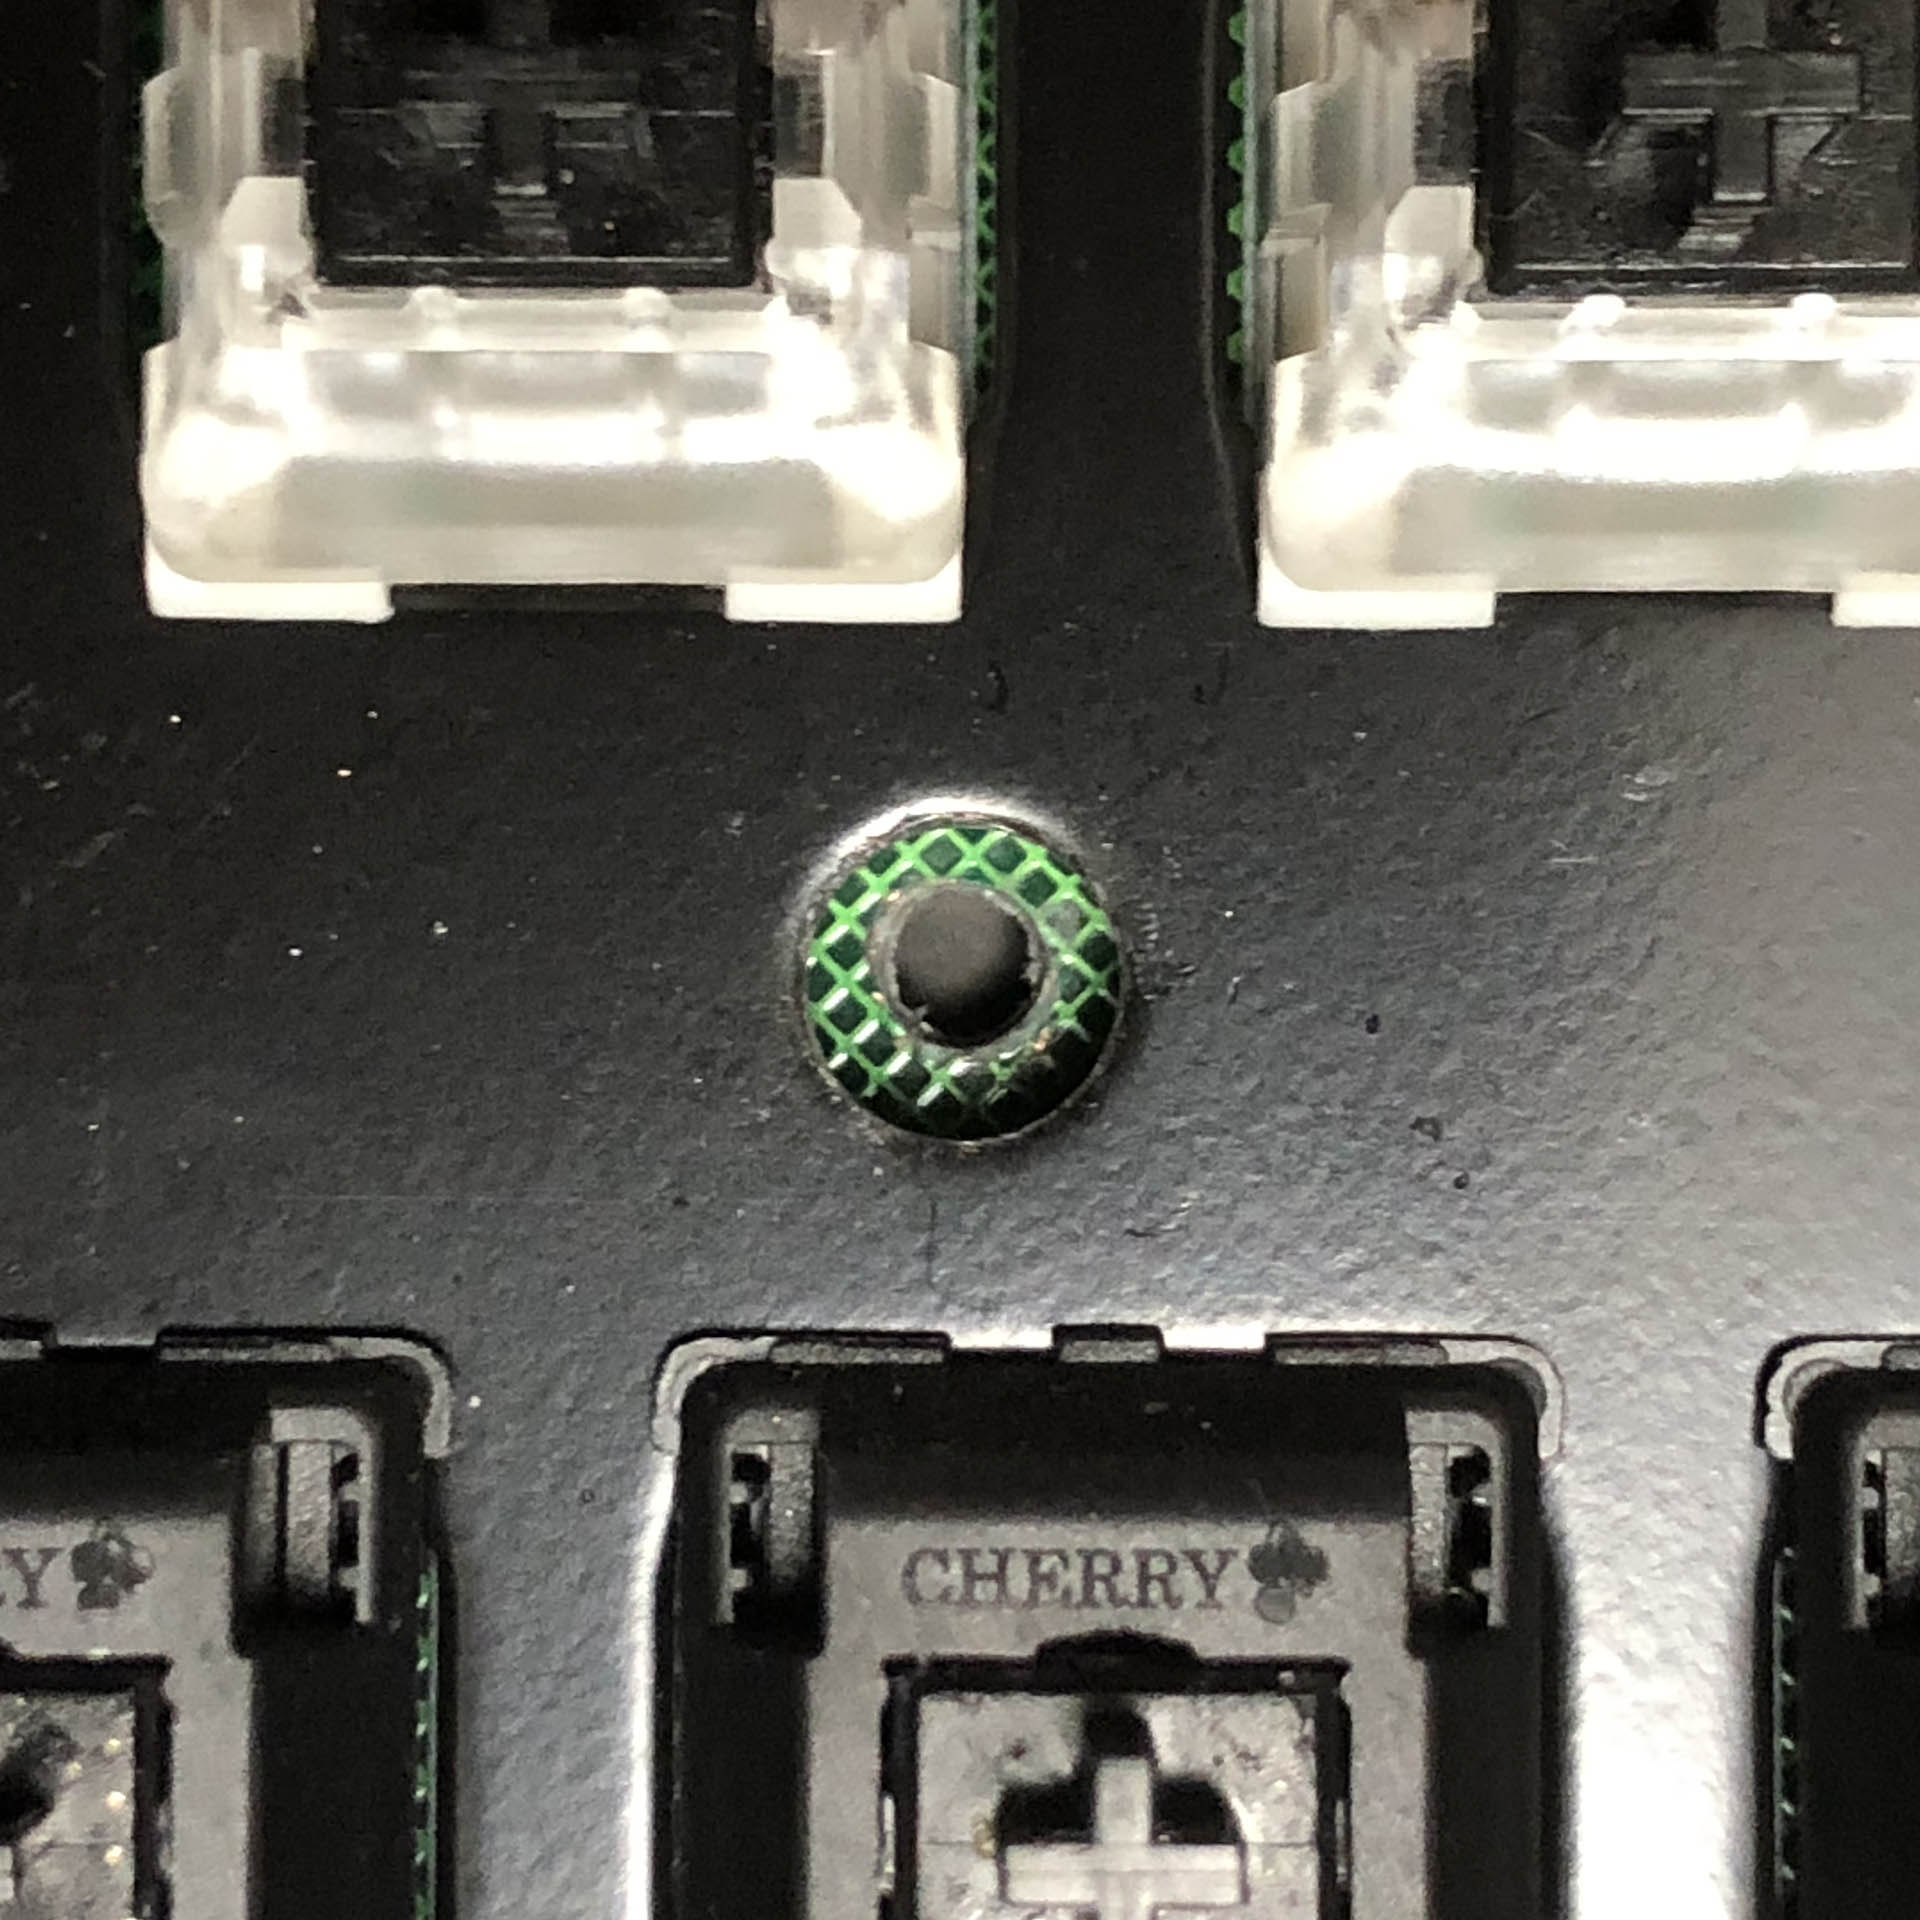
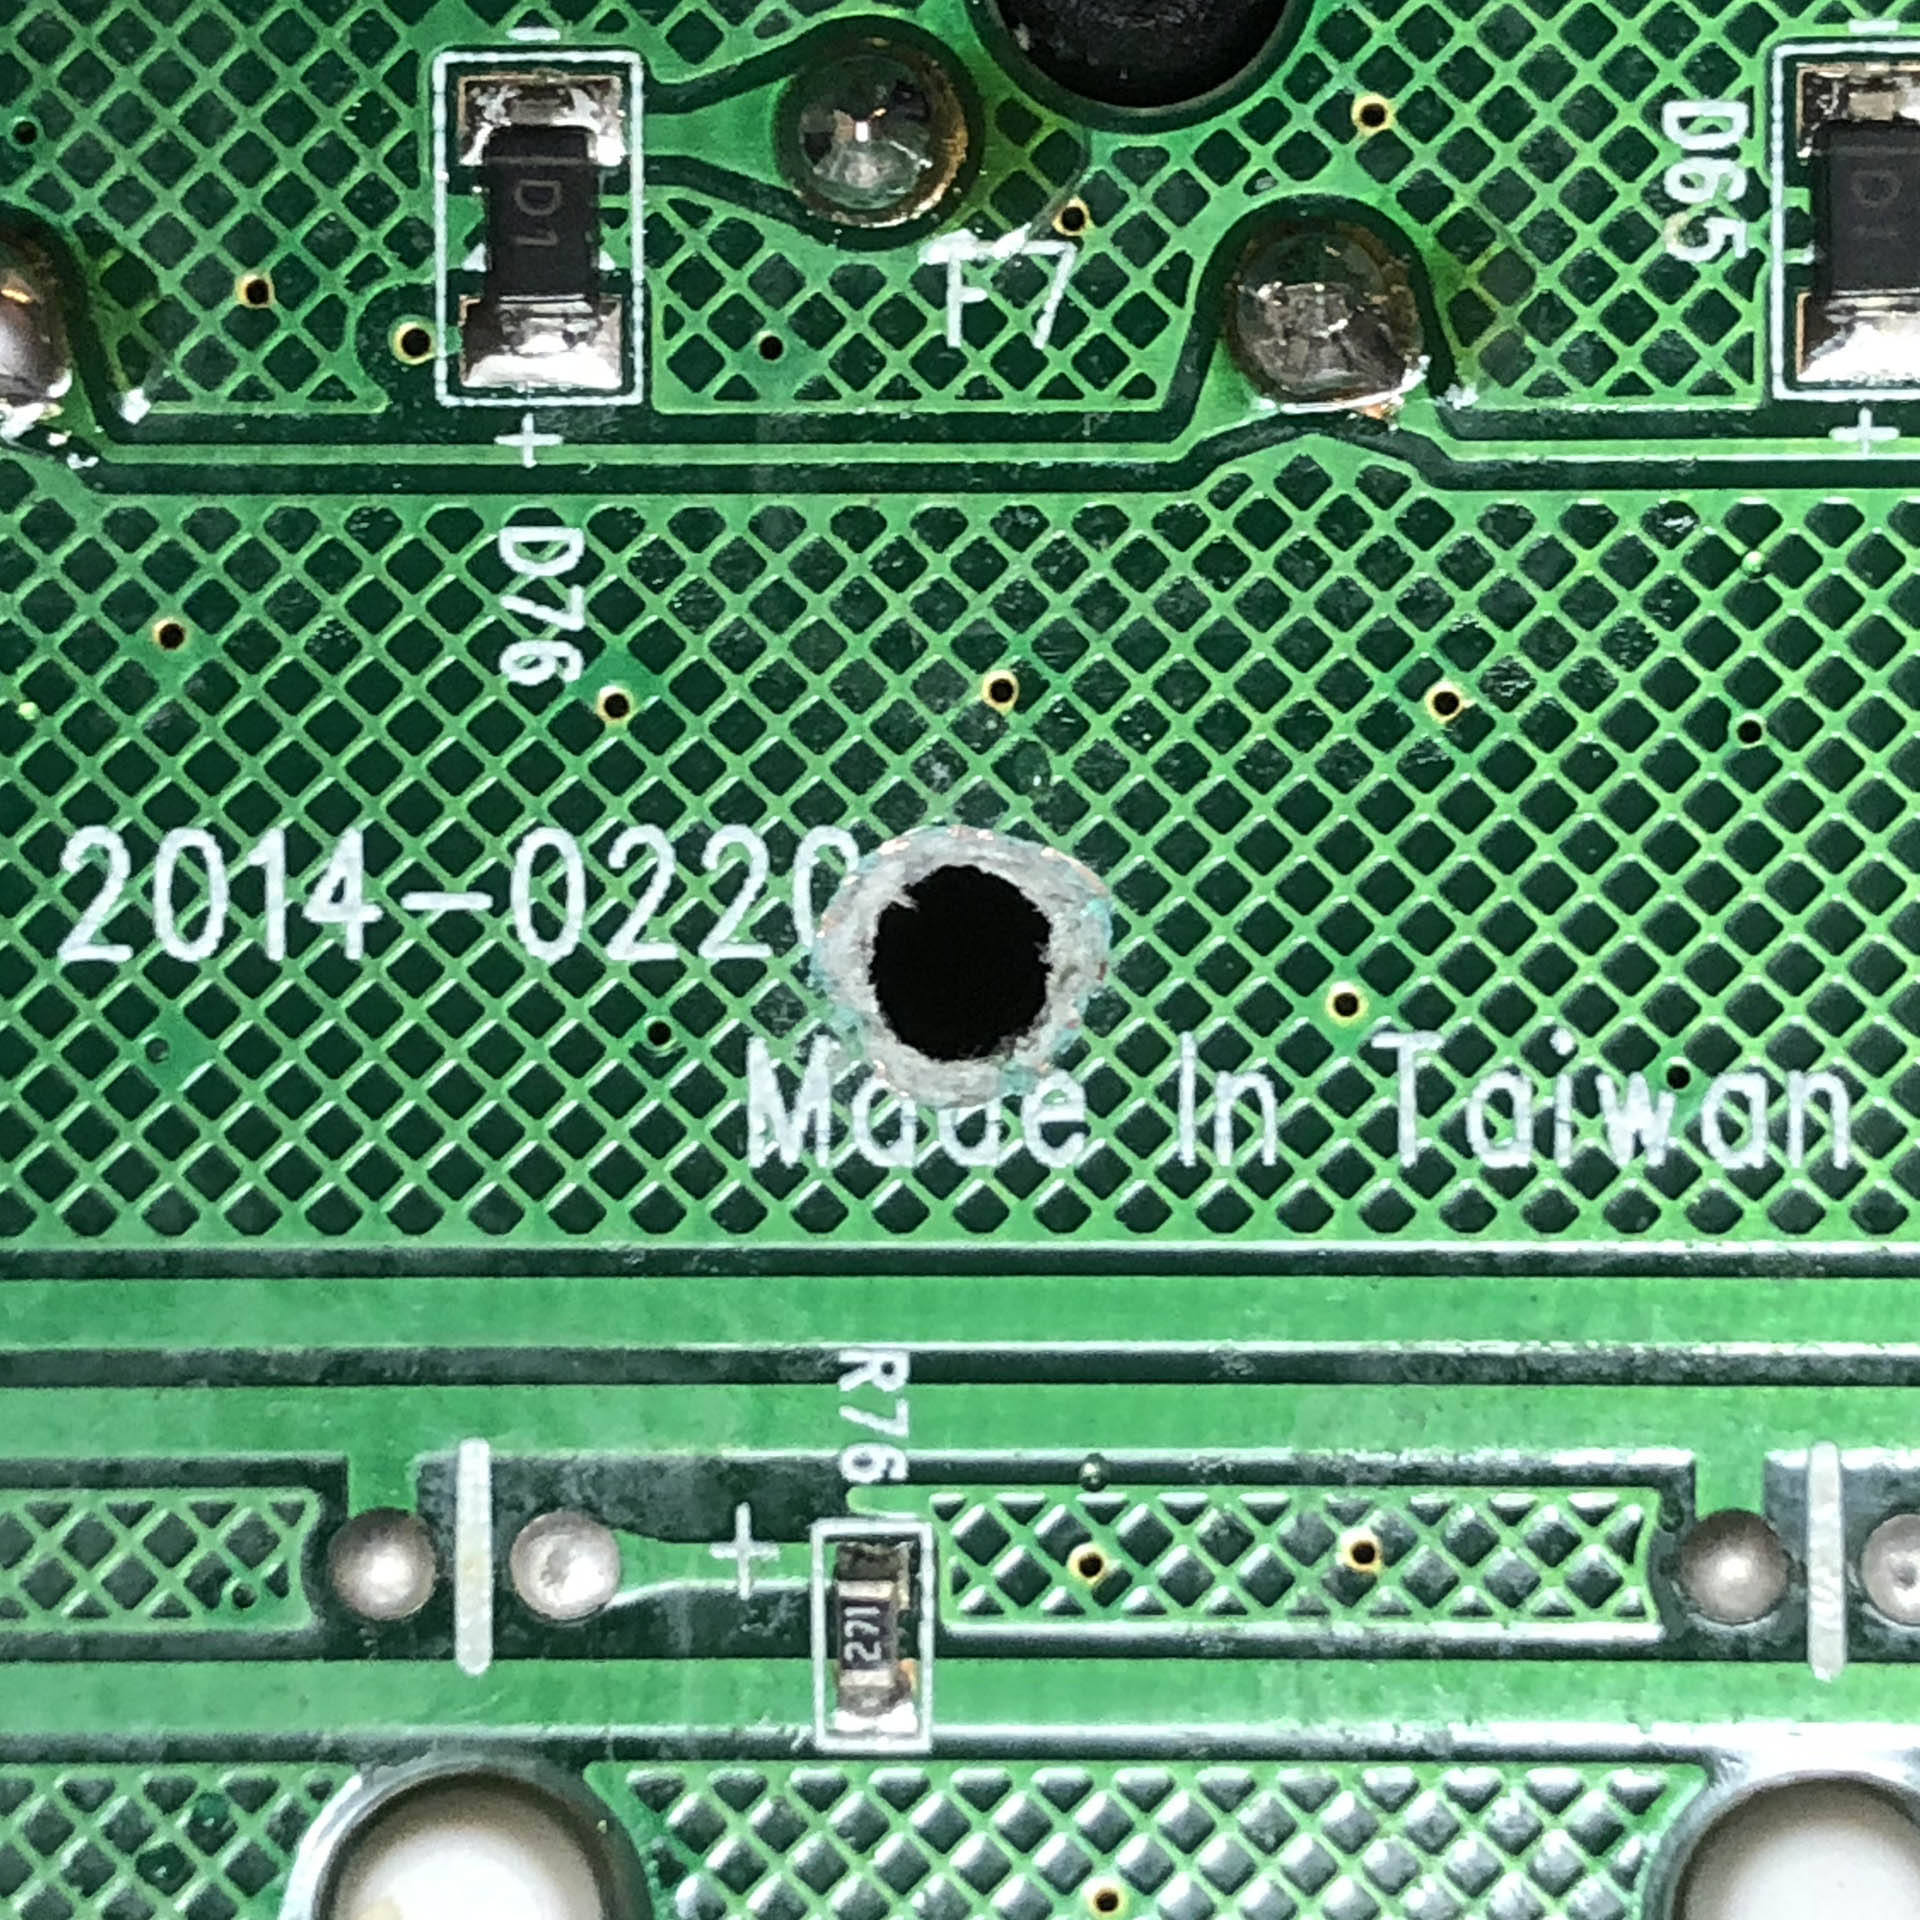
3.) Drill a hole in the PCB here; this is where you’ll be anchoring the case to the rest of the build, supplementing the front and back clips and friction-fit.

Having the plate attached makes this a bit easier, since it makes the hole placement pretty obvious.

A look at the hole from the other side; no traces were harmed in the modding of this keyboard.

And that’s it! I used a fairly similar procedure to install a Turtle Beach Impact 500 into a YMDK full aluminum enclosure intended for a Filco MJ2.

The Camo’s stock keycaps – Eeeeewwww

I also used the green rubberized cable that originally came with the Camo, because why not – and the stock V80 “Retro” keys I mentioned earlier fit quite well with the color scheme. They’re a two-tone sandy beige, and I actually like them with the camo print a bit better than the white-on-light-olive keys with dark-olive mods it was originally paired with. They had a pretty cheezy weathered stencil font, and also had sub-legends that didn’t match the PCB I was using, so going with the V80 keys was an easy choice.

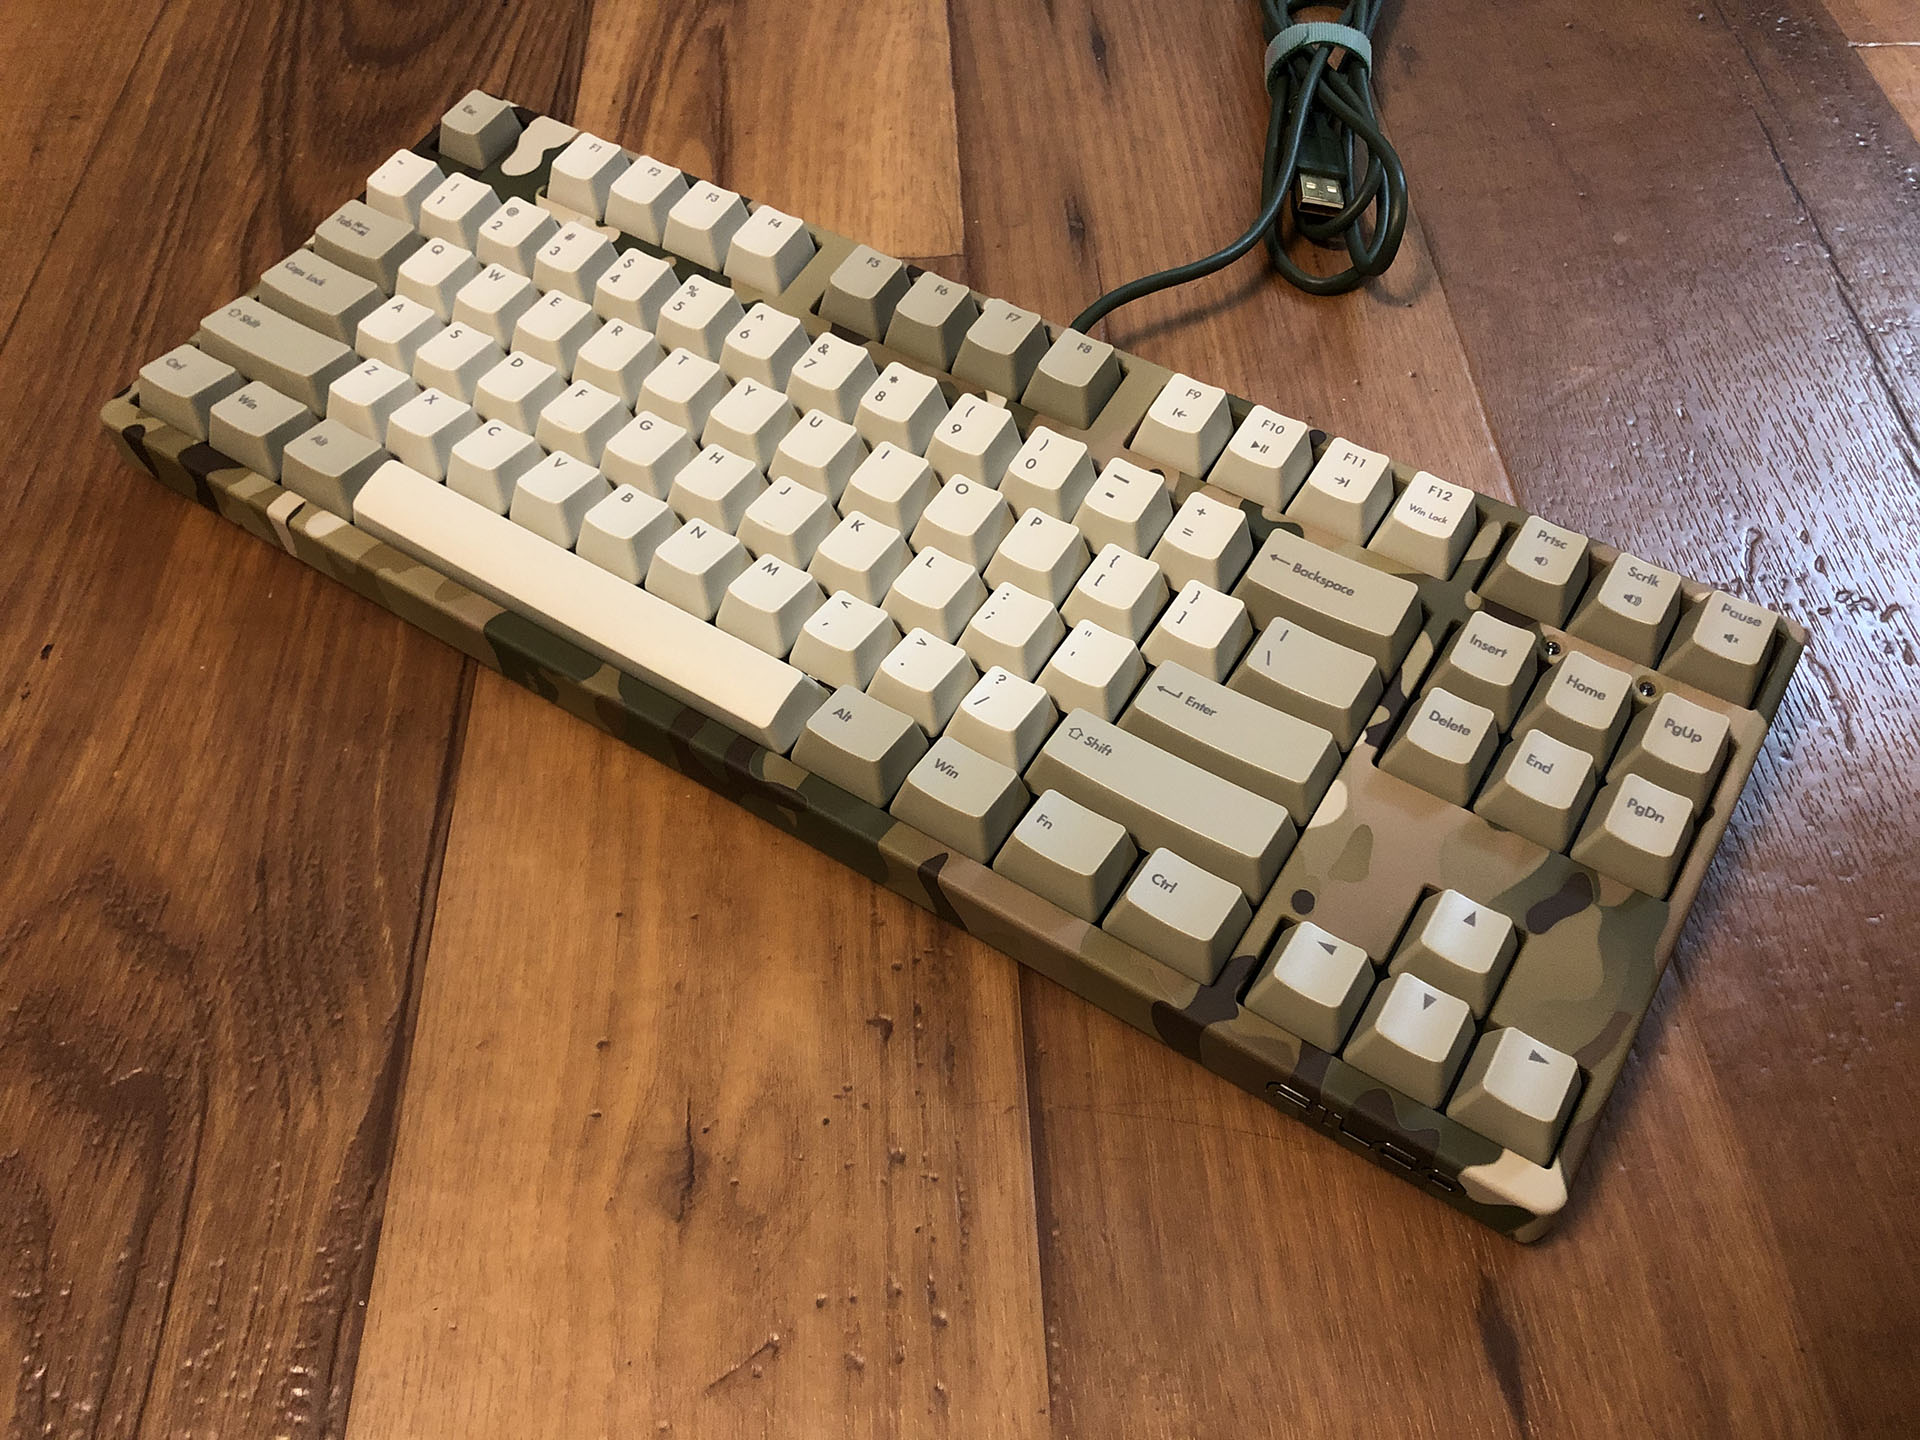
Here’s the full case in all of its hydrodipped glory, adorning the now heavily-modded V80:

With its new aesthetic, I think this board might look more at home on a desk in a hunting lodge, rather than behind the counter at an Army surplus store.

And with that, the Country Living keeb is complete. Time to start up the fire pit-and crack open a PBR.

Originally posted November 2020

  • Client: tech agent, gamer
  • Budget: $200
  • Core goals: small, quiet, wireless
  • Form-factor: 60%

A silent, wireless 60% purpose-built for gaming. Read below if you’d like to know more.

A local friend of mine that we’ll call Agent B asked me not long ago, “so – when are you building me a keyboard?” I didn’t waste any time and went about finding the use-case priorities, starting with form-factor and budget.

The Background:

Agent B liked his existing full-size with Hyper-X reds, but found it was way too big for comfortable keyboard-and-mouse gaming. One-by-one I eliminated key-clusters until we settled comfortably on 60%. He’d been wanting to get his feet wet with an entry-level custom, but found the sheer volume of options kind of daunting, and wasn’t super interested in digging down the rabbit hole himself – so hey, that’s where I come in. He thought the aluminum and brass stuff was really cool, but for him the priority was quiet, pleasant operation with bluetooth – so I selected the GK61s as the starting platform.

Obligatory pH balance:

As far as the custom world goes, the GK’s are about as entry-level and budget as one can get, and I’m sure plenty wouldn’t consider them “custom” at all in that they’re essentially mass-market products produced at mass-market quality. For our purposes here, “custom” will refer to the customization of the build rather than implying a bespoke nature to all of the major components. The inconsistencies of sound and feel inherent to tray-mount w/standoff designs are mitigated by the soft, quiet dampeners of Agent B’s chosen switch.

A peek at what’s to come.

The Priorities:

  • $200 max parts budget
  • Small form-factor
  • Bluetooth
  • Quiet
  • Easy to see, if not back-lit legends
  • Aiming for black and green colors, but not at the expense of anything above
  • Wasn’t yet sure about switches or caps, so I provided some examples

The Selections:

  • GK61s (bluetooth 60% hot-swap, rgb, bare-bones)
  • MDA Big Bone (thick dye-sub PBT key-caps)
  • GMK plate mount stabs, clipped & band-aid modded
  • Gazzew silent linear stems
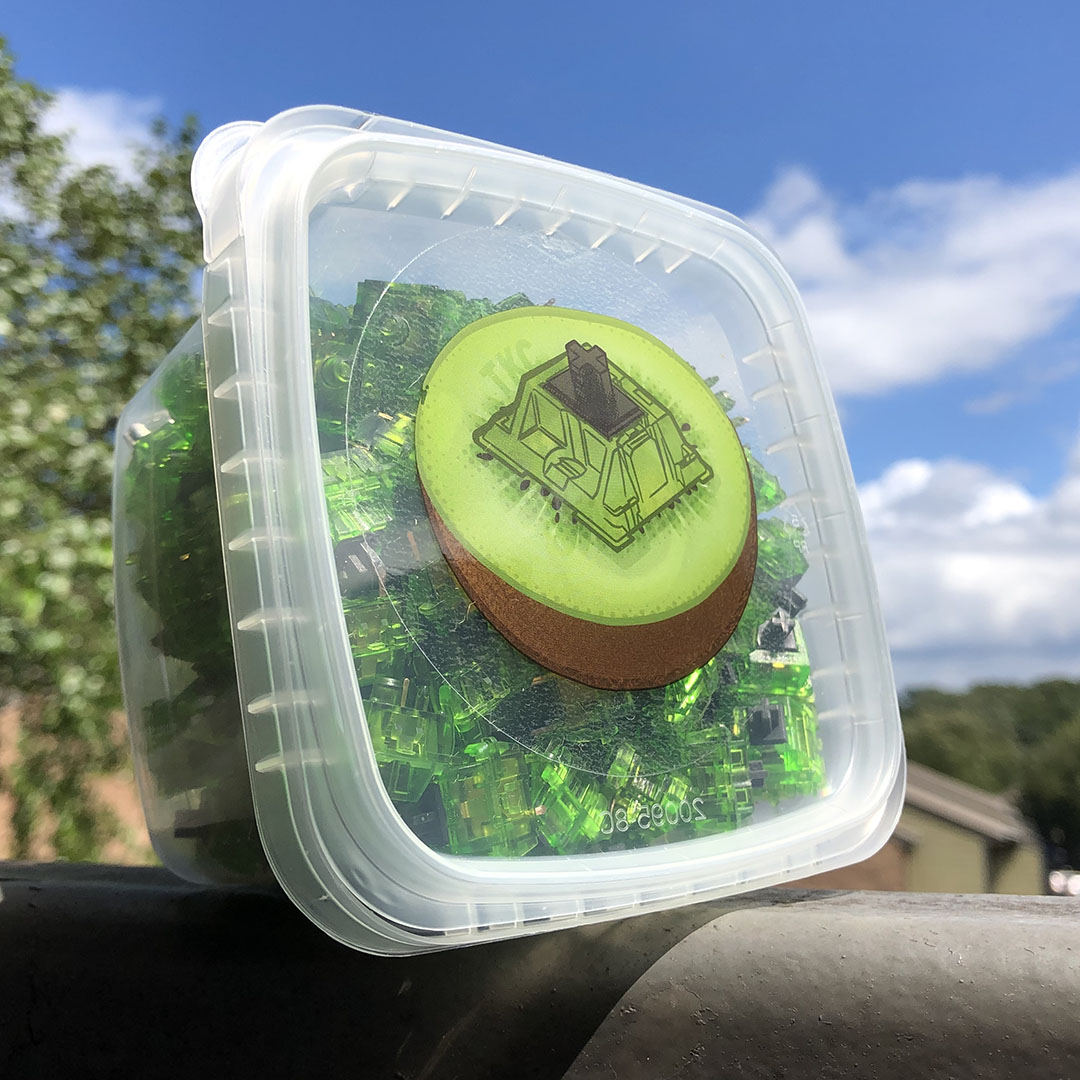
  • TKC Kiwi housings
  • YOK Panda springs

The Switches:

We settled on the above criteria after some back-and forth questions and trying a few keyboards in my own collection. After trying well over a dozen switches, he settled firmly upon an old frankenswitch I’d made with Gazzew’s first run of silent linear stems and YOK Trash Panda housings. He liked how quiet it was, and especially liked the dampened bottom-out feel.

Preparing for the task at hand.

The Keycap Profile:

After trying quite a few keycap profiles, he settled just as firmly upon MDA, citing the wide, mild spherical tops of the caps as the deciding factor. Personally, I found that the shape of this profile has allowed for some of my fastest typing speeds, but at the cost of some accuracy and confidence.

MDA is a pretty unique profile – and Agent B found it suitable for his gaming needs.

Service Inclusions:

  • Spacing washers for extra stab stability at bottom-out
  • TX clear polycarb films
  • Tribosys 3204 for the stems and lower housings
  • Teflon TriFLow for the springs
  • Dielectric & silicone greases for the stabs
  • Improvised case foam
  • Grafiti Chiton Fat 12 carrying sleeve

I’d started with Deskeys films, but found them better-suited for different housings.

I let Agent B know that choices were very limited with MDA, and that we likely wouldn’t find his desired color scheme of green and black. He didn’t mind and remained interested in the profile, so for the build I set aside one of the last remaining base kits of MDA Big Bone, which I’d just recently acquired. The alignment is a little questionable on some of the legends, but these caps feel like well-loved worry-stones – which is to say – solid, smooth, and weighty with just a touch of texture.

Under-served key-cap profile aside, the main stars of this build are the switches. Since green wasn’t available for MDA without dyeing the caps (which we might still do later), I suggested using the Gazzew / Outemu silent linear stems with the Kiwi housings releasing in a matter of days. He thought they were rad and so did I, so I picked up a 120 pack with the intention of buying an extra couple from someone else so I could cover a 60% for myself once Agent B’s build was finished.

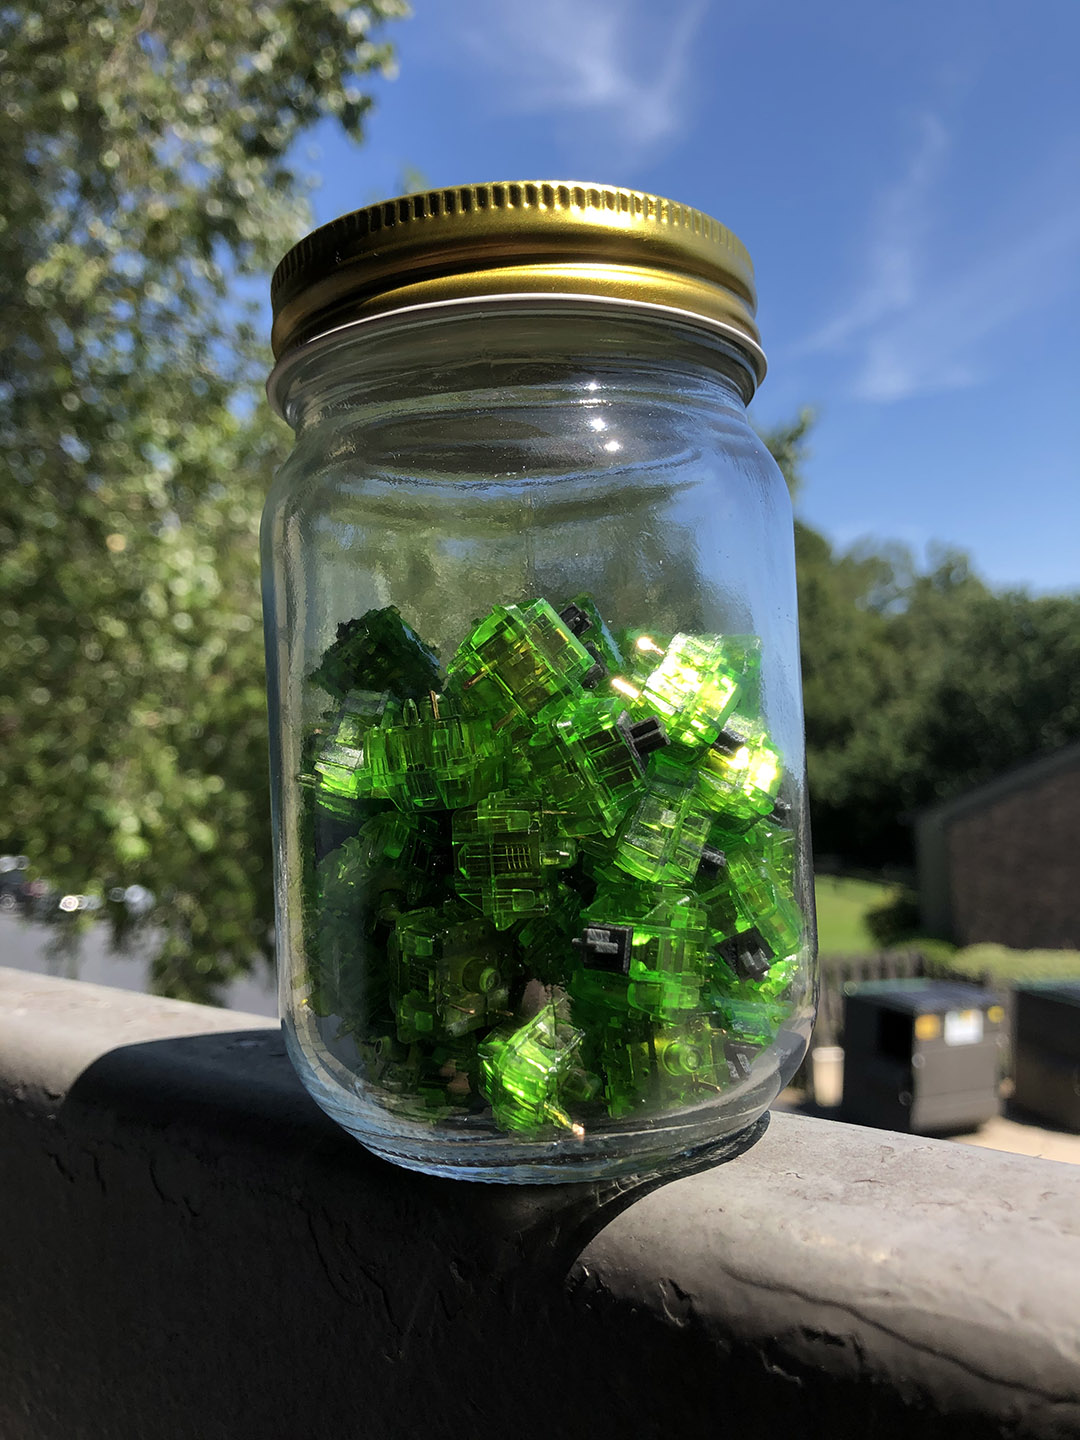
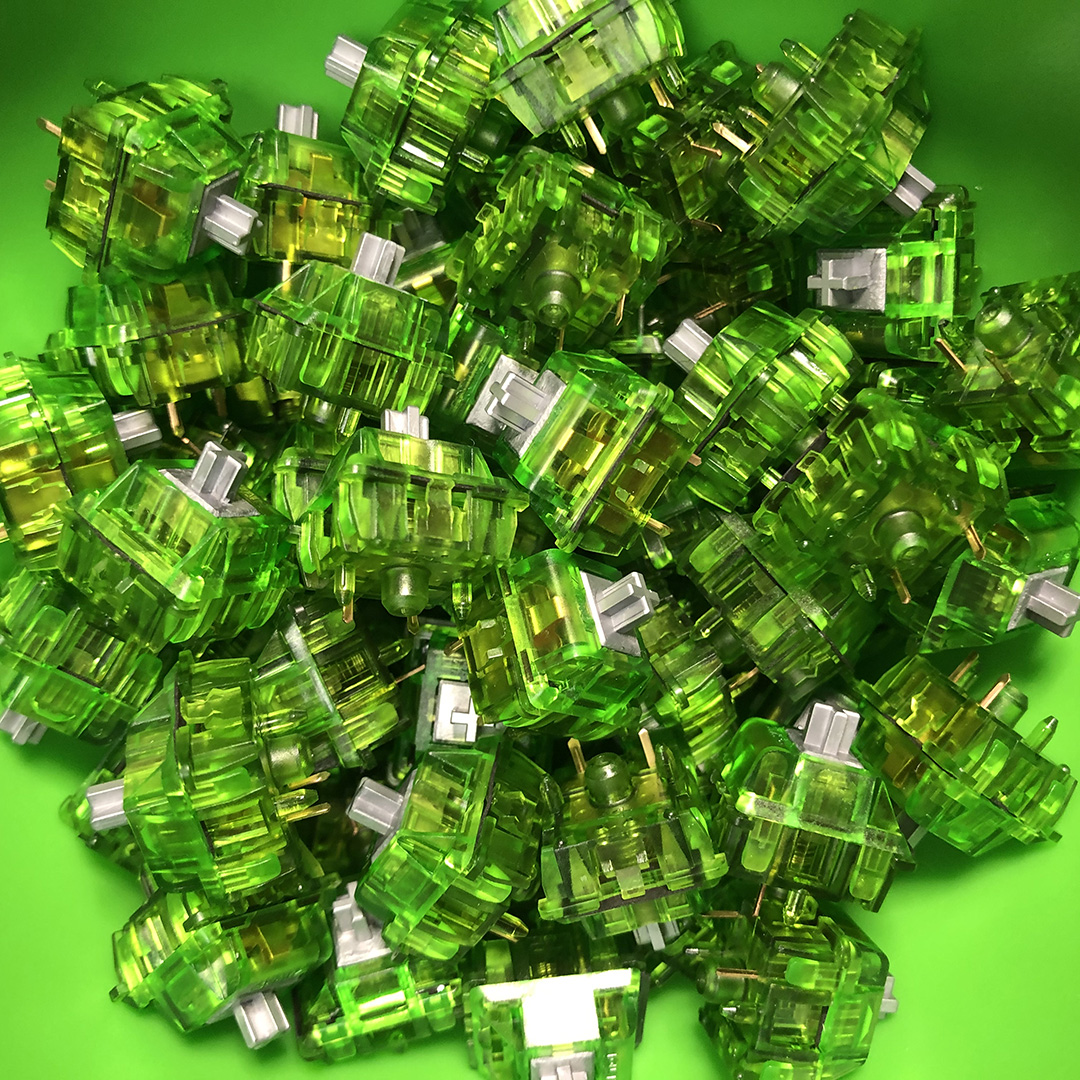
Agent B’s favorite color is green – Kiwis seemed like a great option for appropriately virescent housings.

The Kiwis came in and lucky me – the tub came with two extras – exactly how many I needed.

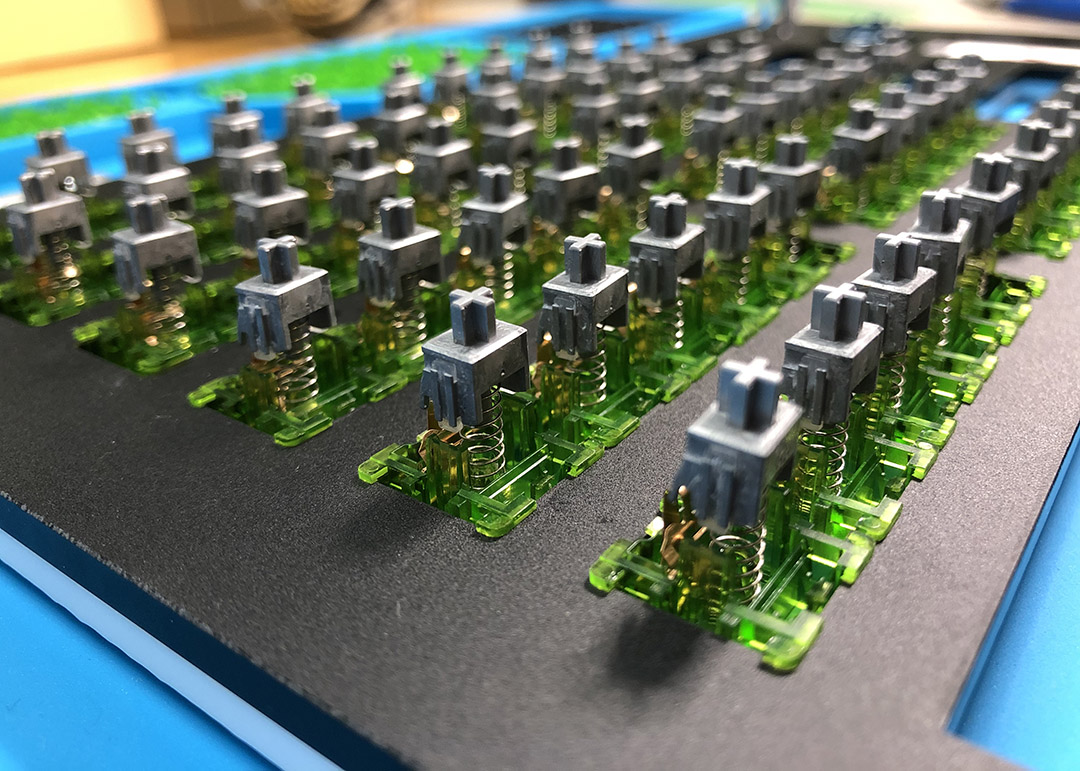
Once the Kiwis came in, I set to dis-assembling half of them for the purpose of installing gaskets and the aforementioned stems. I ended up replacing the black silicone gaskets I’d initially planned to use (pictured elsewhere) with clear polycarbonate films (pictured on the open housings below).

These were much easier for me to place consistently, and I think they look better, too.

After that I removed most the existing, well-used Gazzew #2 blend lube on the stems from their previous life and gave them some fresh Tribosys 3204. Since Agent B liked the weight of the Panda version, I ported those springs over as well, bag-lubing them with Teflon spray in the process.

All lubed-up and ready for final assembly.

A closer look at the Gazzew silent linear stems and Panda springs.

Here’s a timelapse of the full switch tuning process:

The final result is a brilliant green and silver switch that’s remarkably quiet and comfortably soft even with very firm typing. I maintain that just about any switches with the Gazzew / Outemu silent linear stem are among the most quiet possible in the mx-compatible space – at least for now. Beyond that, the Kiwi housings provide nice, tight tolerances for the stems and overall make for a smooth, crisp operation – especially considering the soft dampeners.

Supergreen. Here you can see the Deskeys gaskets I later replaced with the TX films.

A close look at the switches, stabs, and washers installed in the GK61s, still sporting the soft Deskeys gaskets.

I dis-assembled the GK61s and went about installing some packing foam underneath the PCB and removed the microphone from under the space bar. It’s meant for responsive lighting modes, but I know he won’t be using those. What he will be using is solid green back-lighting (see below), so I went ahead and flashed that in as the default when the keyboard powers on.

Here’s a timelapse of the full assembly process, including modding the stabs:

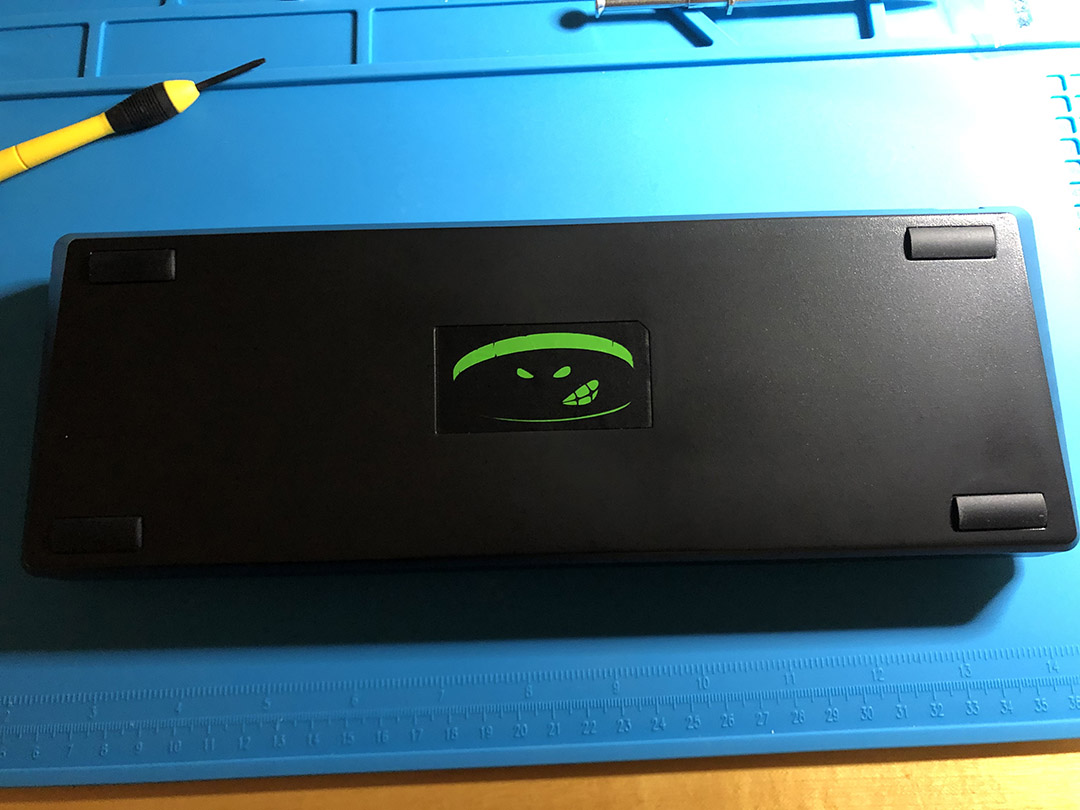
Being inspired by the green and silver color-scheme and the way the bright green housings peek-out from under the gray keys, I decided to call them Ninja Turtles – and so for the finishing touch, I made a custom-designed sticker badge depicting a familiar tooth-clenched character peeking out from under a man-hole cover.

A finishing touch.

Are gee bees? As long as they come with green. Keebtalk vinyl transfer sticker prototypes in the background, which I was working on for a giveaway at around the same time.

Possible future mods include tinting the caps green with dye, a wild green custom cable, and a glossy coat of oleophobic, eggplant-colored paint for the case because 90’s kids. It’s not terribly striking to look at, but typing on it for the first time might give you the same strange sensation you’d get walking into an anechoic chamber.

You reach for the fat-keyed mechanical keyboard expecting punchy reverberations through your fingers to compliment the sharp clicks and clacks of typing – but… nothing? You think for a brief moment that you may have gone deaf, until you hear yourself say, “…whoa.”

Here’s a quick demo of just how quiet this keeb is; the loudest sound you’ll hear are my fingernails slapping against the keycaps:

Another day, another keeb – this was actually one of my early commissions, and one the probably set the tone for how I did things moving forward. I had a lot of fun with this one, as usual – and I think it solidified for me just how much I enjoy customizing keebs for people.