Originally posted November 2020
- Client: tech agent, gamer
- Budget: $200
- Core goals: small, quiet, wireless
- Form-factor: 60%
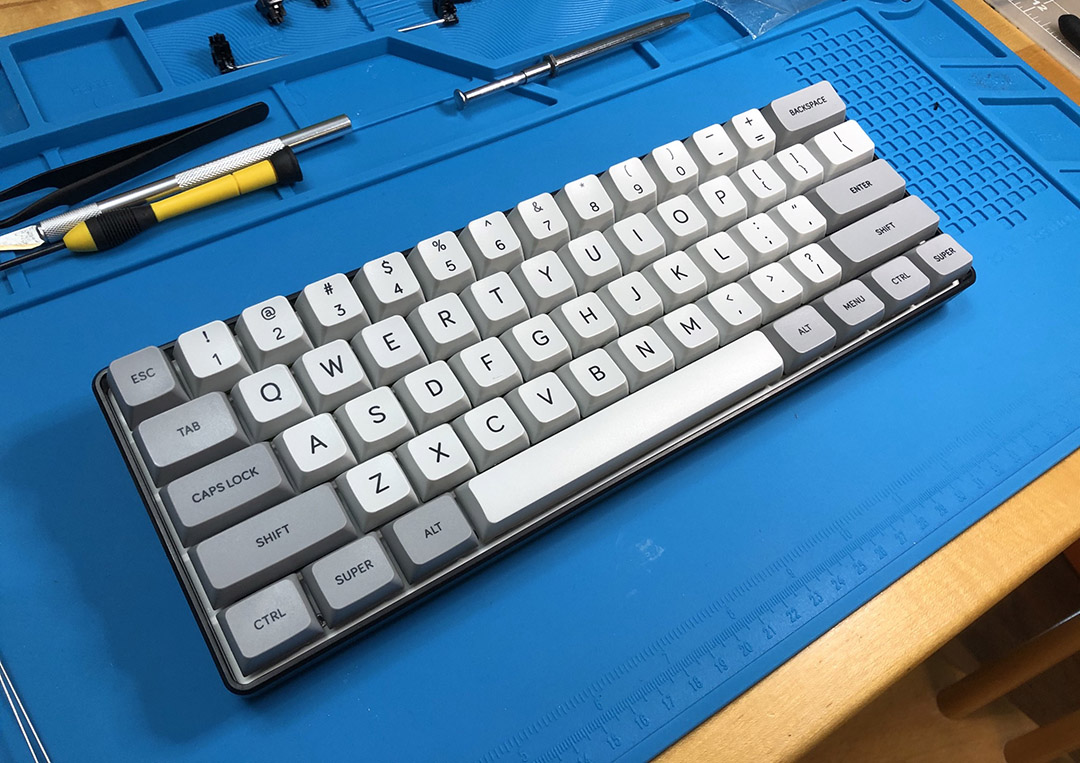
A silent, wireless 60% purpose-built for gaming. Read below if you’d like to know more.
A local friend of mine that we’ll call Agent B asked me not long ago, “so – when are you building me a keyboard?” I didn’t waste any time and went about finding the use-case priorities, starting with form-factor and budget.
The Background:
Agent B liked his existing full-size with Hyper-X reds, but found it was way too big for comfortable keyboard-and-mouse gaming. One-by-one I eliminated key-clusters until we settled comfortably on 60%. He’d been wanting to get his feet wet with an entry-level custom, but found the sheer volume of options kind of daunting, and wasn’t super interested in digging down the rabbit hole himself – so hey, that’s where I come in. He thought the aluminum and brass stuff was really cool, but for him the priority was quiet, pleasant operation with bluetooth – so I selected the GK61s as the starting platform.
Obligatory pH balance:
As far as the custom world goes, the GK’s are about as entry-level and budget as one can get, and I’m sure plenty wouldn’t consider them “custom” at all in that they’re essentially mass-market products produced at mass-market quality. For our purposes here, “custom” will refer to the customization of the build rather than implying a bespoke nature to all of the major components. The inconsistencies of sound and feel inherent to tray-mount w/standoff designs are mitigated by the soft, quiet dampeners of Agent B’s chosen switch.

A peek at what’s to come.
The Priorities:
- $200 max parts budget
- Small form-factor
- Bluetooth
- Quiet
- Easy to see, if not back-lit legends
- Aiming for black and green colors, but not at the expense of anything above
- Wasn’t yet sure about switches or caps, so I provided some examples
The Selections:
- GK61s (bluetooth 60% hot-swap, rgb, bare-bones)
- MDA Big Bone (thick dye-sub PBT key-caps)
- GMK plate mount stabs, clipped & band-aid modded
- Gazzew silent linear stems
- TKC Kiwi housings
- YOK Panda springs
The Switches:
We settled on the above criteria after some back-and forth questions and trying a few keyboards in my own collection. After trying well over a dozen switches, he settled firmly upon an old frankenswitch I’d made with Gazzew’s first run of silent linear stems and YOK Trash Panda housings. He liked how quiet it was, and especially liked the dampened bottom-out feel.
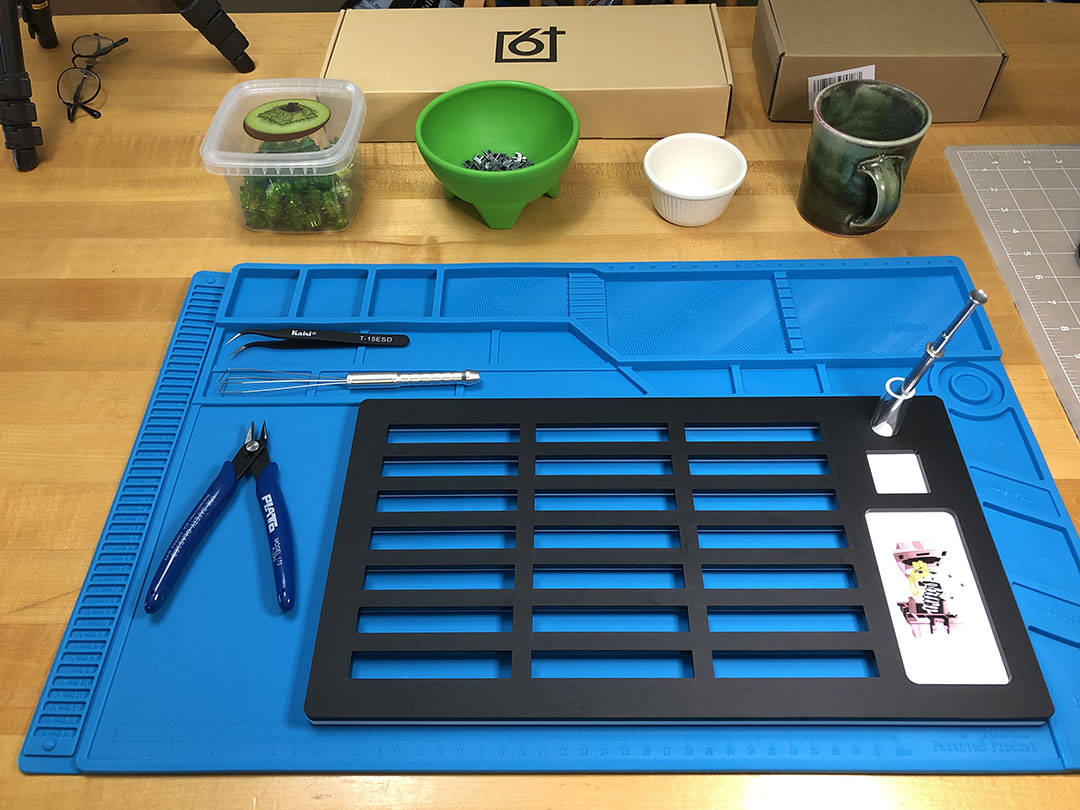
Preparing for the task at hand.
The Keycap Profile:
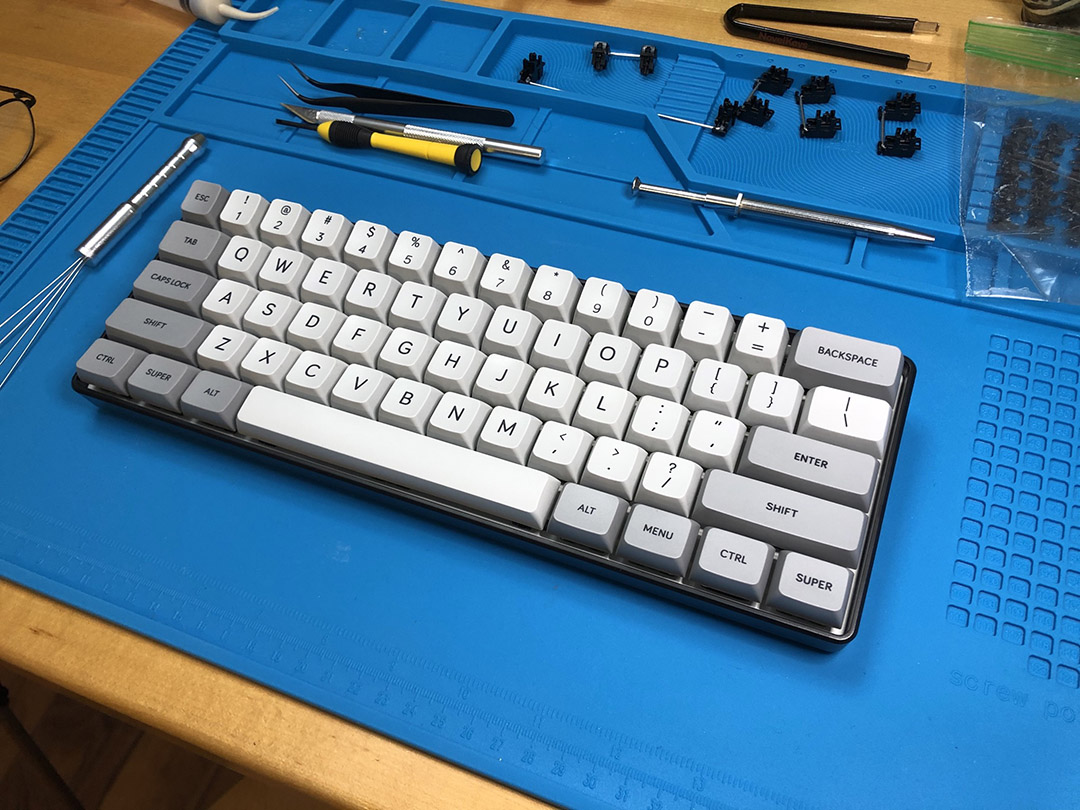
After trying quite a few keycap profiles, he settled just as firmly upon MDA, citing the wide, mild spherical tops of the caps as the deciding factor. Personally, I found that the shape of this profile has allowed for some of my fastest typing speeds, but at the cost of some accuracy and confidence.
MDA is a pretty unique profile – and Agent B found it suitable for his gaming needs.
Service Inclusions:
- Spacing washers for extra stab stability at bottom-out
- TX clear polycarb films
- Tribosys 3204 for the stems and lower housings
- Teflon TriFLow for the springs
- Dielectric & silicone greases for the stabs
- Improvised case foam
- Grafiti Chiton Fat 12 carrying sleeve
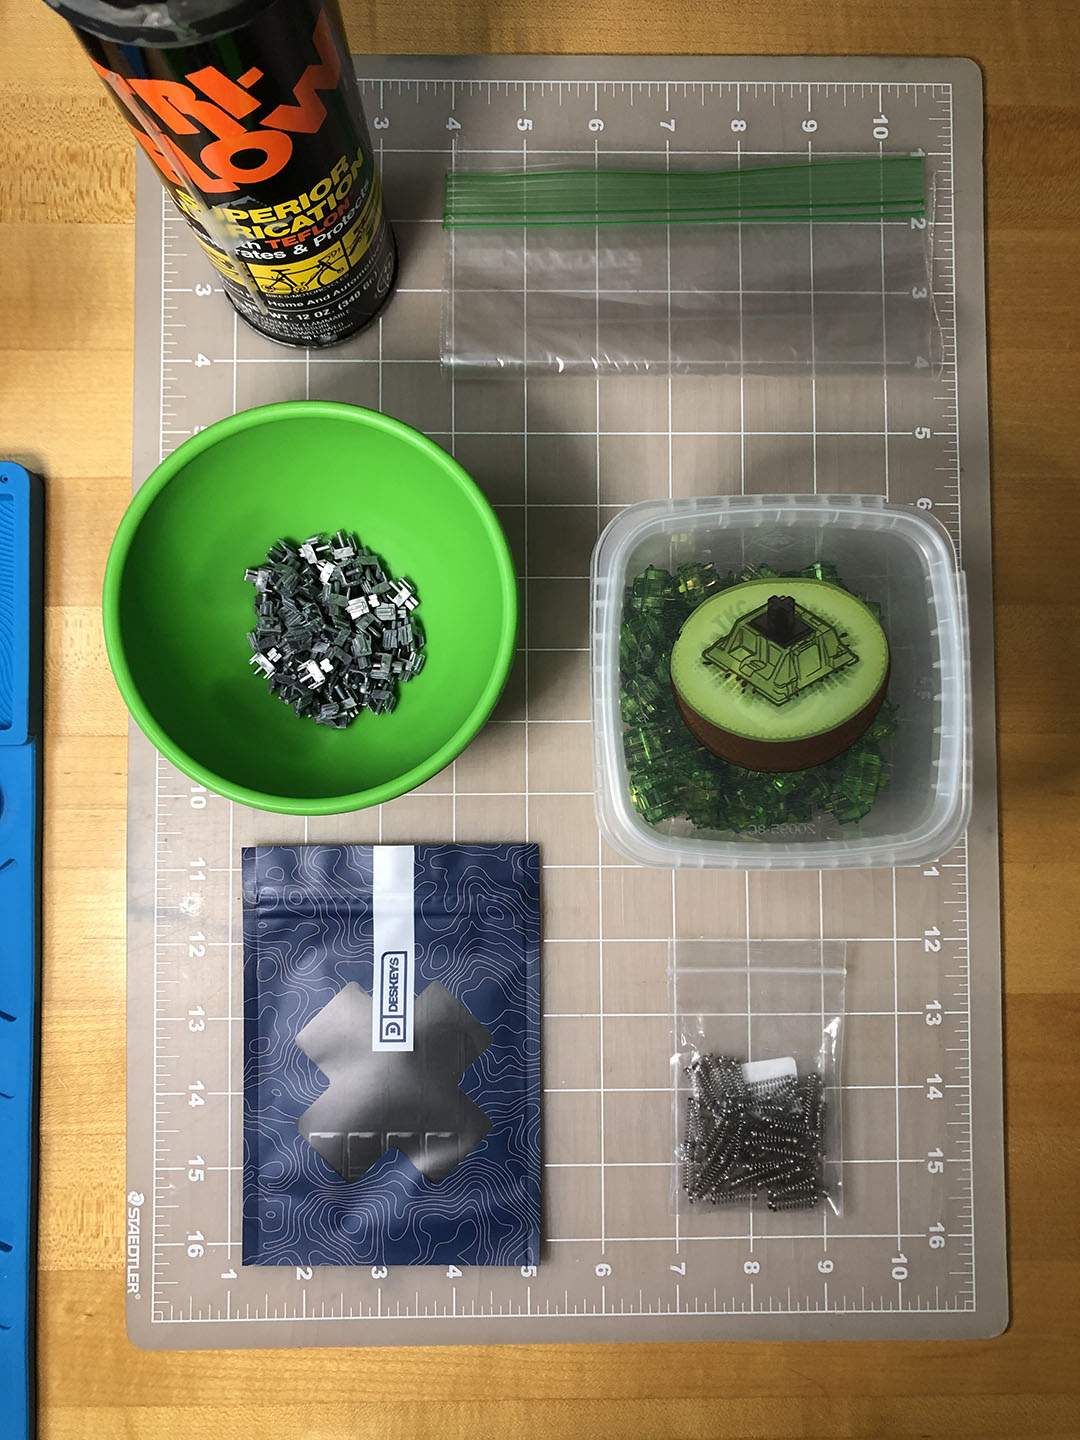
I’d started with Deskeys films, but found them better-suited for different housings.
I let Agent B know that choices were very limited with MDA, and that we likely wouldn’t find his desired color scheme of green and black. He didn’t mind and remained interested in the profile, so for the build I set aside one of the last remaining base kits of MDA Big Bone, which I’d just recently acquired. The alignment is a little questionable on some of the legends, but these caps feel like well-loved worry-stones – which is to say – solid, smooth, and weighty with just a touch of texture.
Under-served key-cap profile aside, the main stars of this build are the switches. Since green wasn’t available for MDA without dyeing the caps (which we might still do later), I suggested using the Gazzew / Outemu silent linear stems with the Kiwi housings releasing in a matter of days. He thought they were rad and so did I, so I picked up a 120 pack with the intention of buying an extra couple from someone else so I could cover a 60% for myself once Agent B’s build was finished.
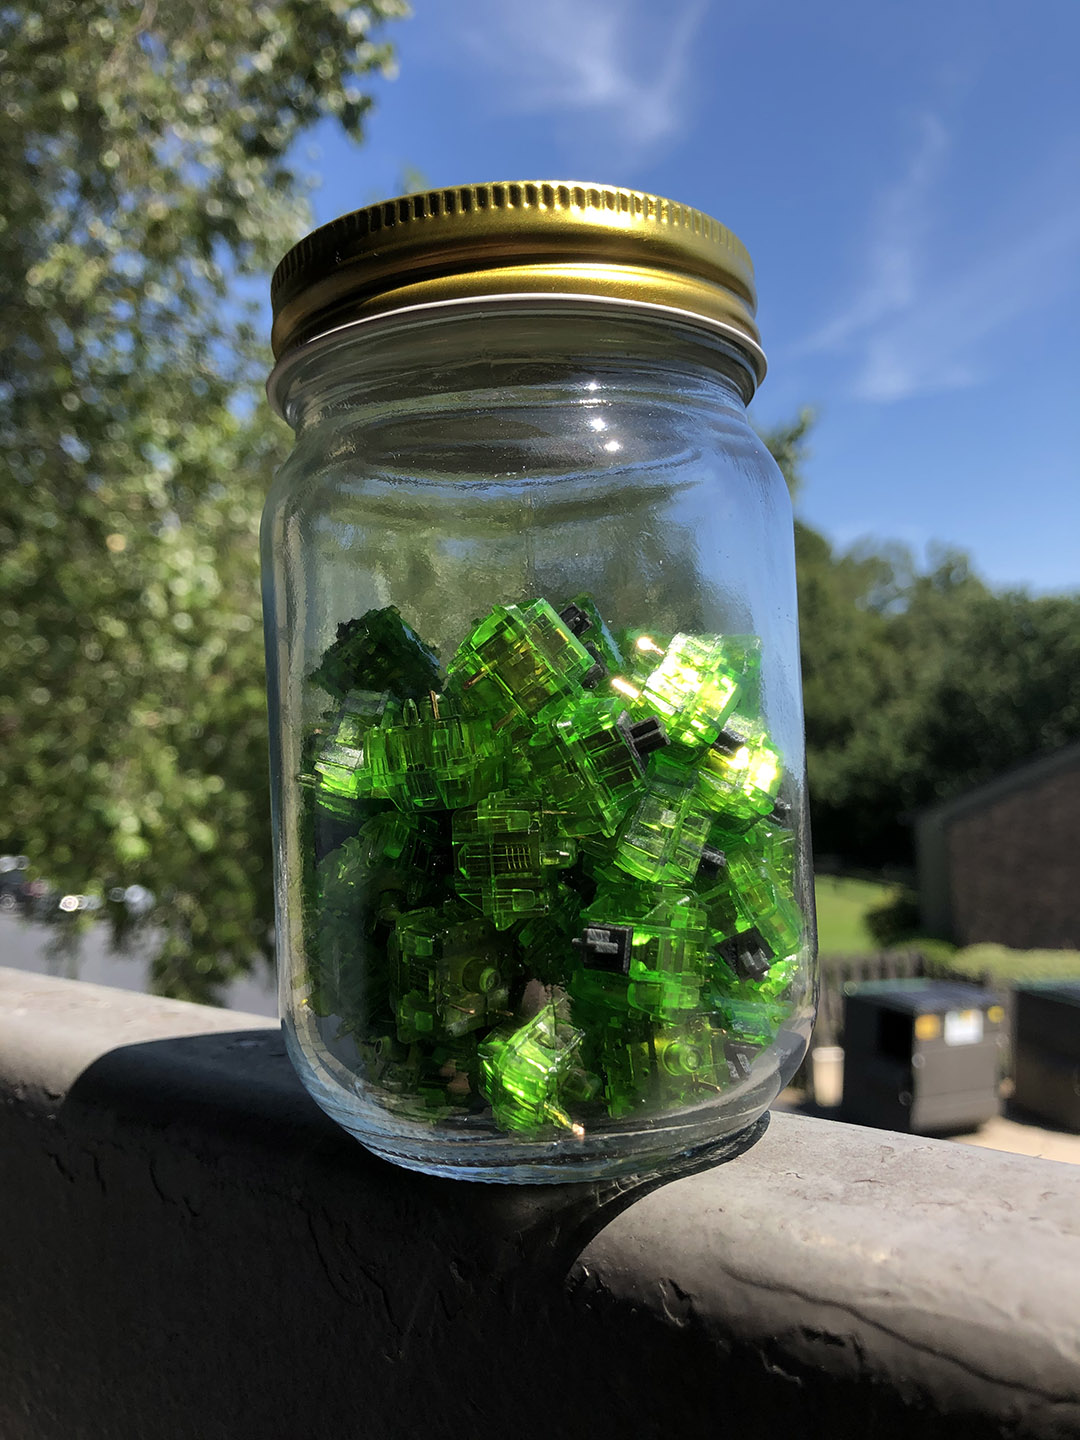
Agent B’s favorite color is green – Kiwis seemed like a great option for appropriately virescent housings.
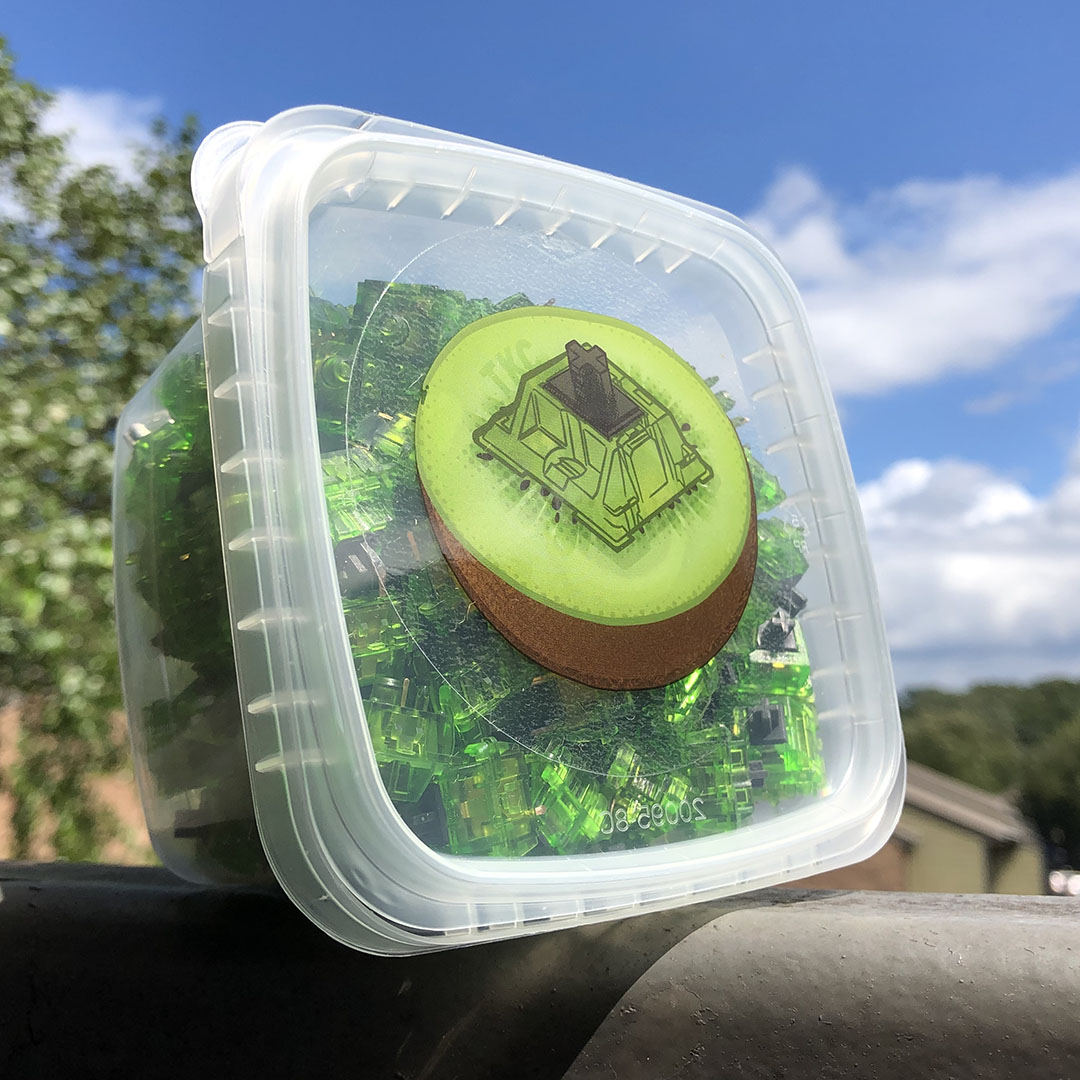
The Kiwis came in and lucky me – the tub came with two extras – exactly how many I needed.
Once the Kiwis came in, I set to dis-assembling half of them for the purpose of installing gaskets and the aforementioned stems. I ended up replacing the black silicone gaskets I’d initially planned to use (pictured elsewhere) with clear polycarbonate films (pictured on the open housings below).

These were much easier for me to place consistently, and I think they look better, too.
After that I removed most the existing, well-used Gazzew #2 blend lube on the stems from their previous life and gave them some fresh Tribosys 3204. Since Agent B liked the weight of the Panda version, I ported those springs over as well, bag-lubing them with Teflon spray in the process.

All lubed-up and ready for final assembly.
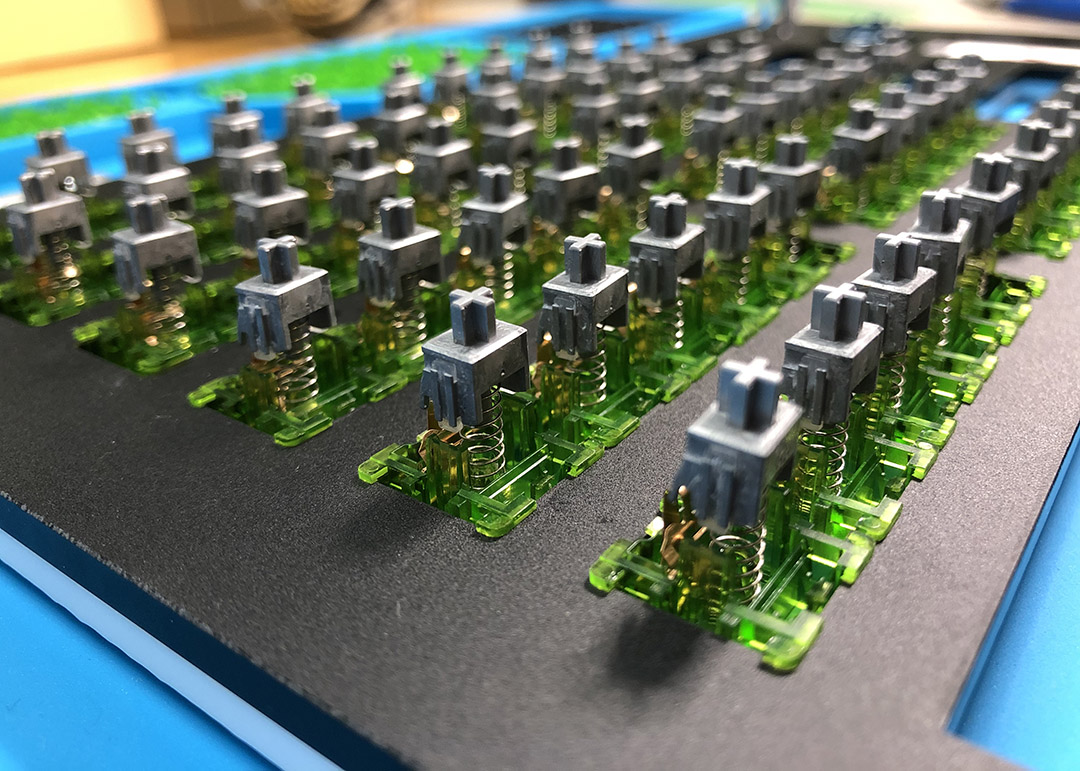
A closer look at the Gazzew silent linear stems and Panda springs.
Here’s a timelapse of the full switch tuning process:
The final result is a brilliant green and silver switch that’s remarkably quiet and comfortably soft even with very firm typing. I maintain that just about any switches with the Gazzew / Outemu silent linear stem are among the most quiet possible in the mx-compatible space – at least for now. Beyond that, the Kiwi housings provide nice, tight tolerances for the stems and overall make for a smooth, crisp operation – especially considering the soft dampeners.

Supergreen. Here you can see the Deskeys gaskets I later replaced with the TX films.

A close look at the switches, stabs, and washers installed in the GK61s, still sporting the soft Deskeys gaskets.
I dis-assembled the GK61s and went about installing some packing foam underneath the PCB and removed the microphone from under the space bar. It’s meant for responsive lighting modes, but I know he won’t be using those. What he will be using is solid green back-lighting (see below), so I went ahead and flashed that in as the default when the keyboard powers on.
Here’s a timelapse of the full assembly process, including modding the stabs:
Being inspired by the green and silver color-scheme and the way the bright green housings peek-out from under the gray keys, I decided to call them Ninja Turtles – and so for the finishing touch, I made a custom-designed sticker badge depicting a familiar tooth-clenched character peeking out from under a man-hole cover.
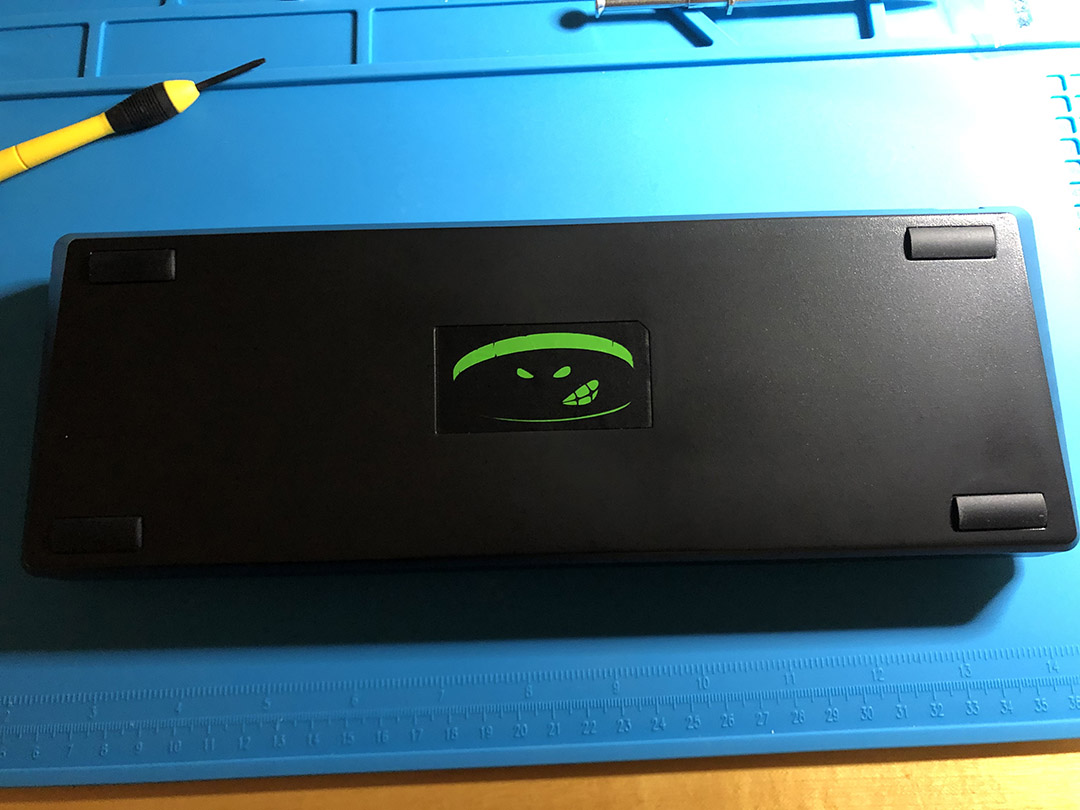
A finishing touch.

Are gee bees? As long as they come with green. Keebtalk vinyl transfer sticker prototypes in the background, which I was working on for a giveaway at around the same time.
Possible future mods include tinting the caps green with dye, a wild green custom cable, and a glossy coat of oleophobic, eggplant-colored paint for the case because 90’s kids. It’s not terribly striking to look at, but typing on it for the first time might give you the same strange sensation you’d get walking into an anechoic chamber.
You reach for the fat-keyed mechanical keyboard expecting punchy reverberations through your fingers to compliment the sharp clicks and clacks of typing – but… nothing? You think for a brief moment that you may have gone deaf, until you hear yourself say, “…whoa.”
Here’s a quick demo of just how quiet this keeb is; the loudest sound you’ll hear are my fingernails slapping against the keycaps:
Another day, another keeb – this was actually one of my early commissions, and one the probably set the tone for how I did things moving forward. I had a lot of fun with this one, as usual – and I think it solidified for me just how much I enjoy customizing keebs for people.